Now that you are diving further into bra making you may have come across a few patterns that recommend a foam bra cup. Foam cup bras are pretty common in ready to wear but they can feel daunting when you are considering making one yourself. If you are not exactly sure what a foam cup bra is it is basically a padded lining added within the fabric of your bra cup that gives your breast form and support. Sometimes these cups are removable like in maternity bras, swimsuits or even sports bras or they are sewn into the bra. In this tutorial, we will be discussing foam cups that are sewn directly into the bra and removable foam cup inserts. You will find that the instructions are very similar with some minor tweaks.
This post contains affiliate links. When you click and make a purchase from these links, we might get a commission. It doesn’t cost you anything extra!
How do you make a foam cup bra?
First, decide on your bra cup style. Next, draft your cup pattern pieces on drafting paper (any paper will suffice). Then adjust your pattern for your foam cup – you will need to remove the seam allowance for all areas except the wire seam. Create a test cup at this point using paper and make any necessary adjustments. Once you have your final foam cup pattern place it on your foam and outline the pattern then cut it out. You will have at least two pattern pieces depending on the style of foam cup you have chosen. To sew the two pieces together you need to butt the raw edges together then stitch them with a 3-step zig-zag stitch. Do not overlap your foam – that is a big no no in foam cup sewing because it will add bulk rather than a seamless appearance.
What exactly is bra foam?
Bra foam is used to create bra cups or add padding to bra straps. Bra foam is different from bra pads because it does not come as a finished cup. Rather it is a piece of foam fabric that you will cut and manipulate to your specified cup size. It is also commonly used in swimwear.
Types of Foam
- Cut and sew foam
- Bra foam
- Foam bra padding
- Sheet Foam
- Polylaminate Foam
- Space Foam
There are several types of foam that you can use and the names can be interchangeable. Basically, bra foam is a layer of foam sandwiched between a layer of fabric on each side. Technically speaking, the fabric has been laminated to each side and typically this fabric is polyester. You can purchase this foam in a range of thicknesses between 2mm-5mm. However, the foam thickness you ultimately choose should be based on the recommendation of your pattern’s designer and your personal preference for padding.
In addition, there is also a different type of foam called space foam that does not have fabric laminated to it rather the exterior fabric is knitted to the cup. This creates a more breathable cup which is always a plus for undergarments!
For a list of online retailers carrying all sorts of foam keep reading or check out this article HERE.
Supplies
- Bra foam of your liking (or what your pattern recommends)
- Drafting Paper (I use medical paper from Amazon.com)
- Cardstock
- Desired Bra Pattern
- Seam Tape
- Ballpoint pen
- Sharpie for labeling
Optional Supplies:
How to Sew A Foam Cup Directly Into Your Bra
Draft Your Pattern – Foam Cup
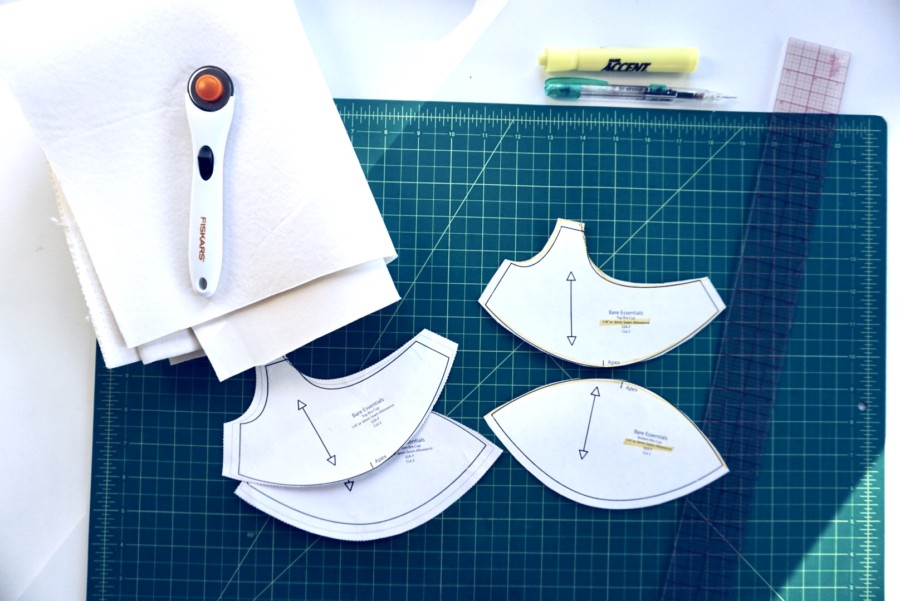
Step 1: Take your desired bra cup pattern and trace out the pieces onto your drafting paper or make a copy of the pattern. If you have traced your pattern be sure to properly label each side of the pattern pieces to avoid confusion. If you made a copy, be sure to label which is the copied pattern.
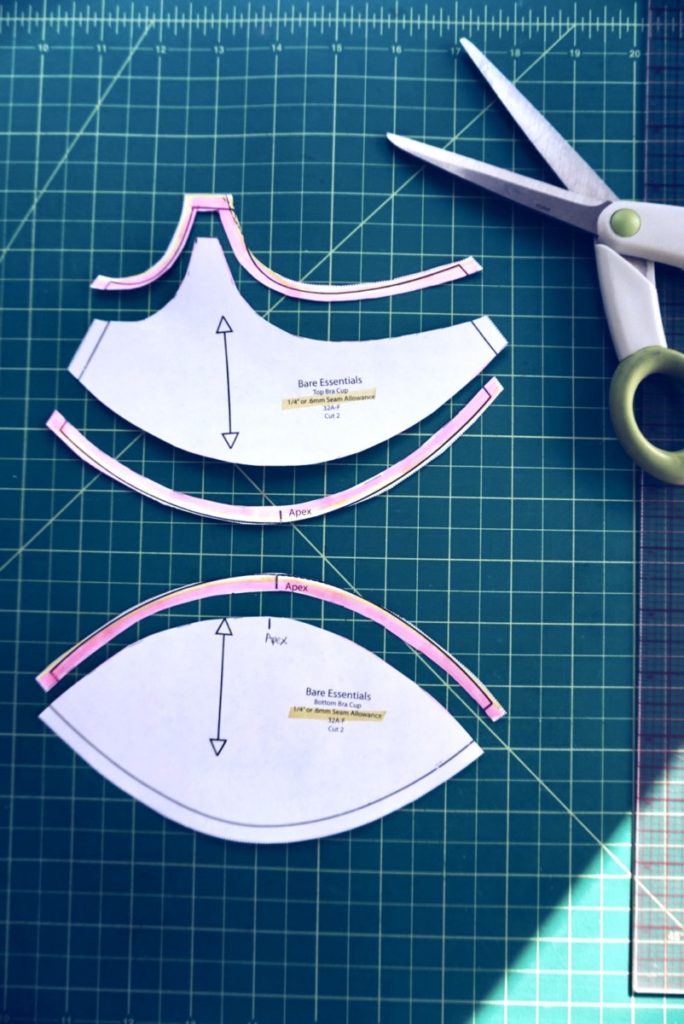
Step 2: Cut away any seam allowances that do not touch the wireline for a full band bra. Cut away all the seam allowances for a partial band bra. This could change based on your neckline but in this tutorial we will be demonstrating a neckline that is finished with fold over elastic.
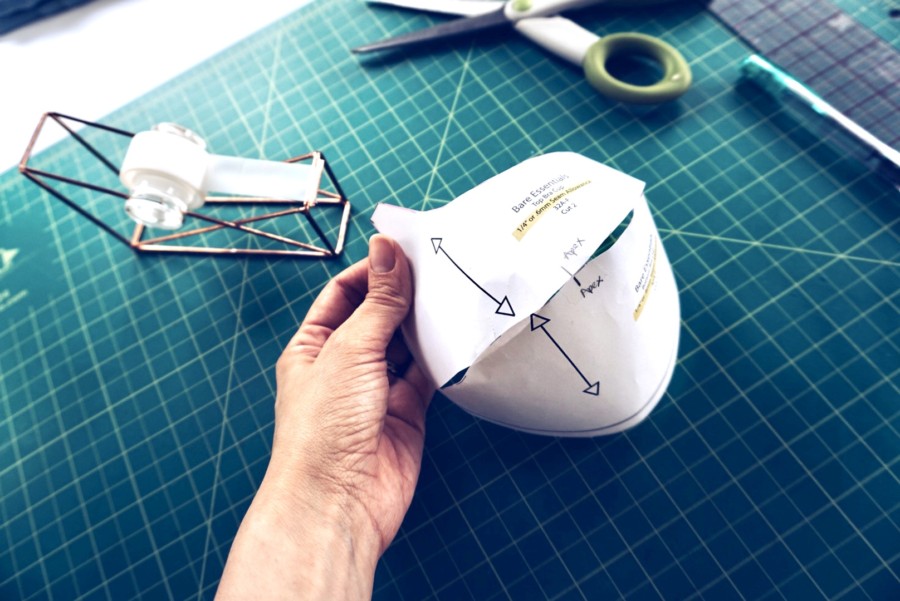
Step 3: At this point you can tape your paper pieces together to verify the cup fit. If the cup seems to fit well then move onto the next step. If not, verify your pattern size and re-trace the new cup size.
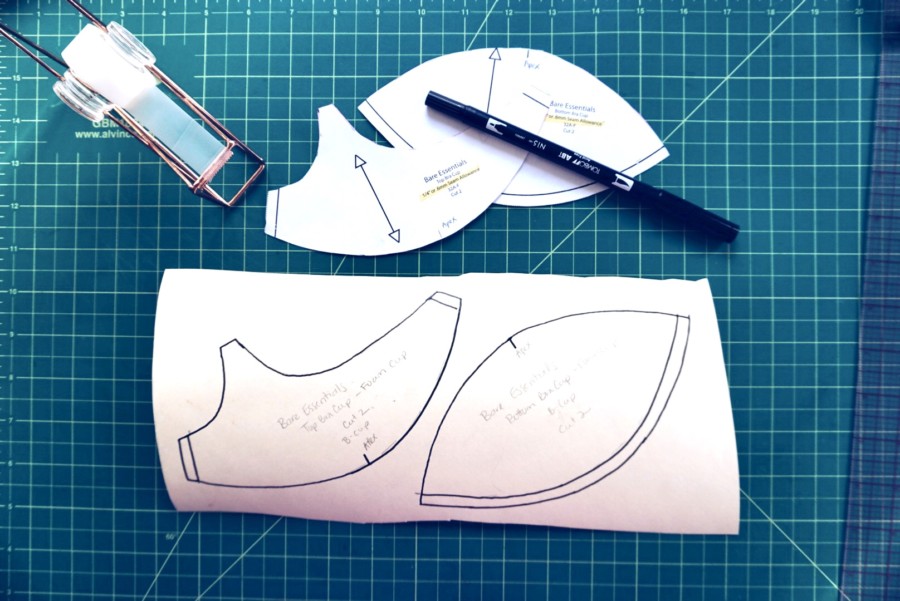
Step 4: Retrace your new pattern pieces onto cardstock remembering to label each side. These are your foam pattern pieces.
Step 5: Add seam allowance to the neckline portion depending on the style of your bra pattern or is recommended by the pattern designer. This tutorial will not be using neckline elastic so do not re-apply the seam allowance to the neckline.
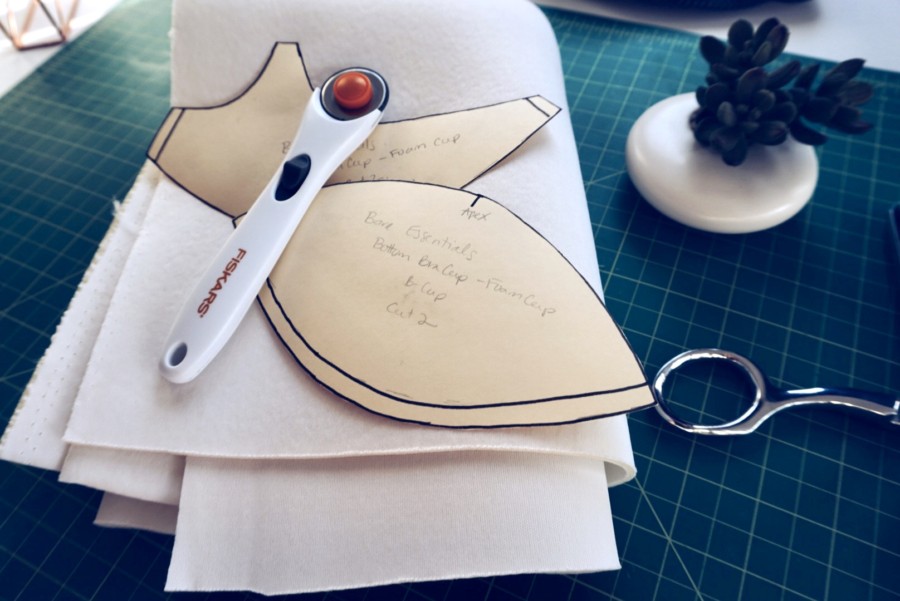
Step 6: Cut out your foam bra paper pattern pieces and mark where the notches are located. Verify that all the matching sides actually match.
Cut Out Your Foam – Foam Cup
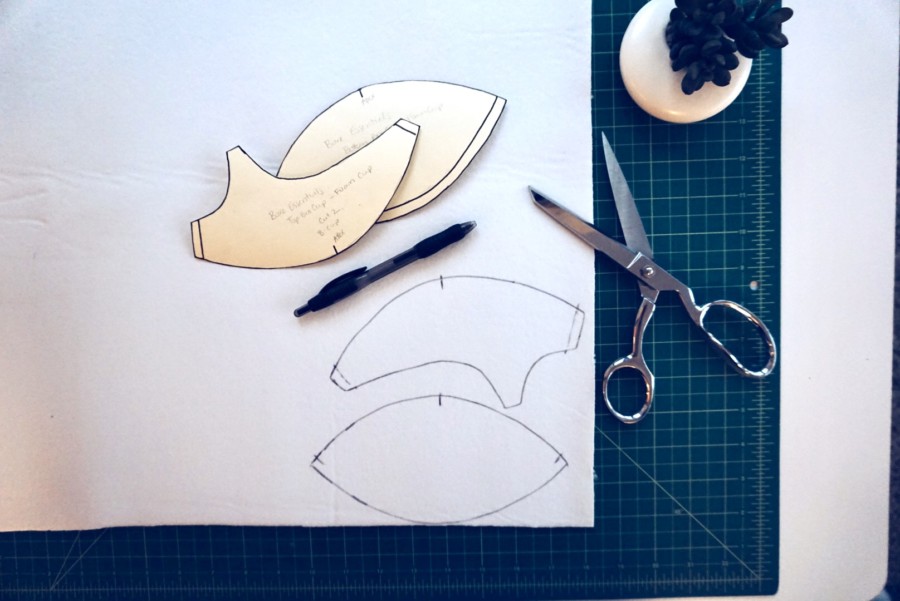
Step 1: Place your paper foam pattern pieces on your desired foam and trace the pieces with a ballpoint pen.
Step 2: Remove the pattern paper and cut out your foam pieces. Make sure to mark the notches then verify that the matching sides actually match.
Sew Your Foam Cup
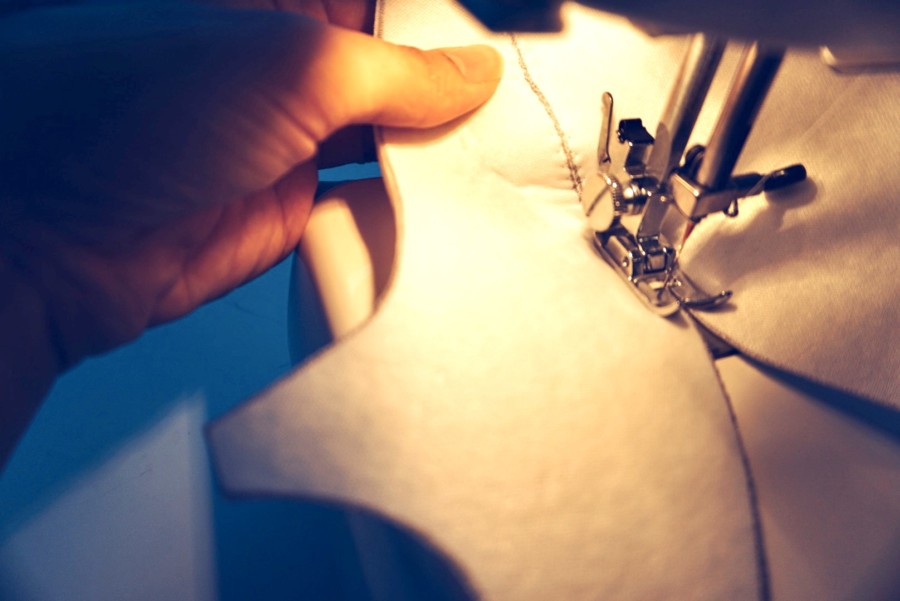
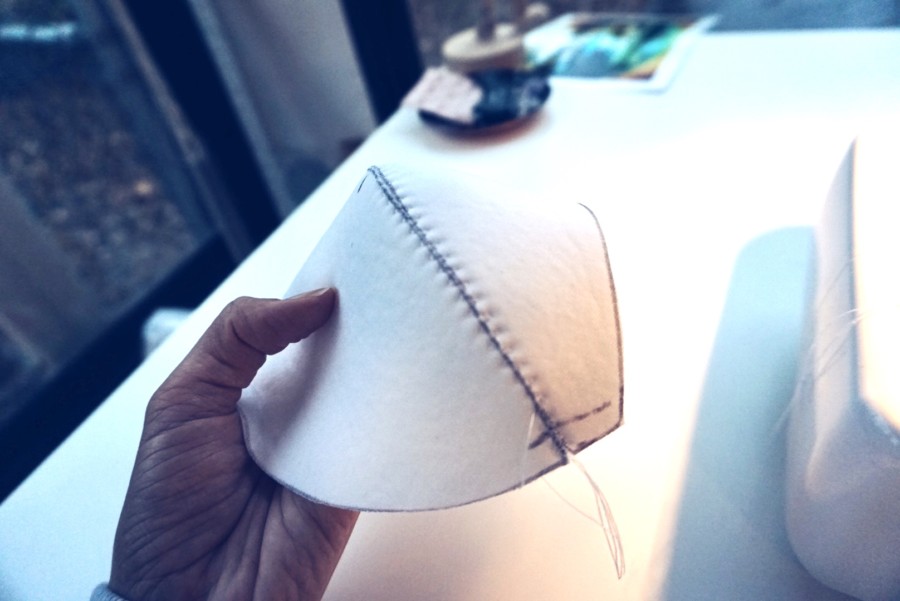
Step 1: Butt your matching seams together (do not overlap!) then slip the butted seam under your presser foot and sew a 3 step zig-zag stitch. Make sure your zigzag is wide enough to catch both sides on the foam securely without squishing or gapping.
Step 2: Repeat this for the other matching sides as well.
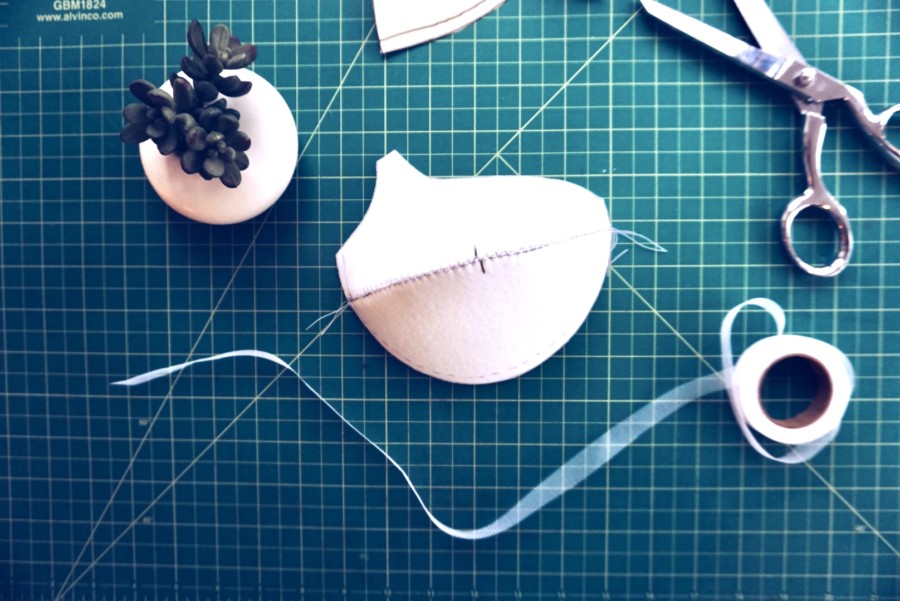
Step 3: You have the option of adding seam tape. This is especially necessary if you have sensitive skin and want to avoid any chaffing. If that is not an issue for you then you may just like the look of a clean seam.
Step 4: To add seam tape – use seam tape cut on the bias that you either buy in store or make yourself. Make sure your seam tape has enough give to move with your cup as it stretches with daily wear and that is wide enough to cover your zig-zag stitch.
Step 5: Cut out your seam tape and center it on your foam seam.
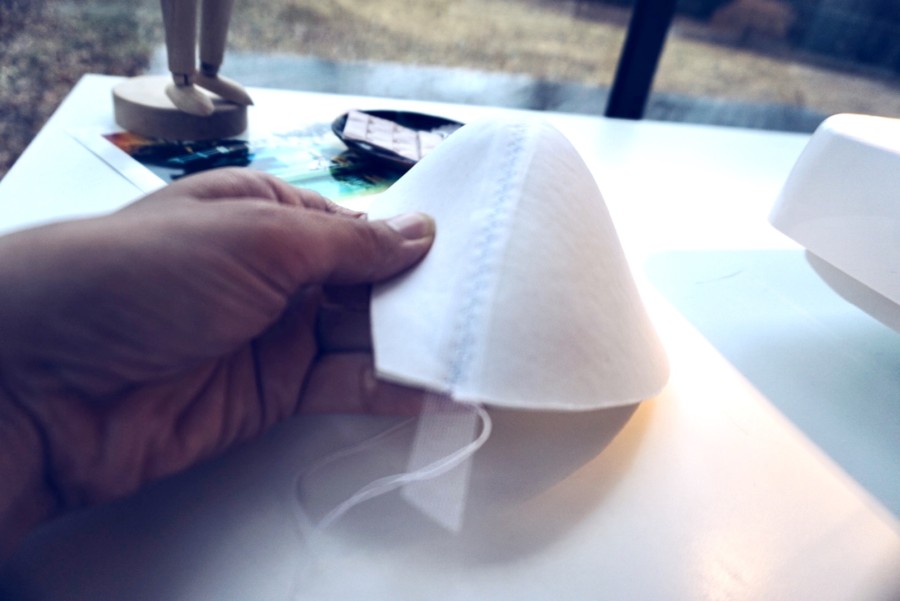
Step 6: Sew your seam tape to your foam cup using a 3-step zig-zag stitch or zig zag stitch or sew along either side of the tape. Trim any excess tape.
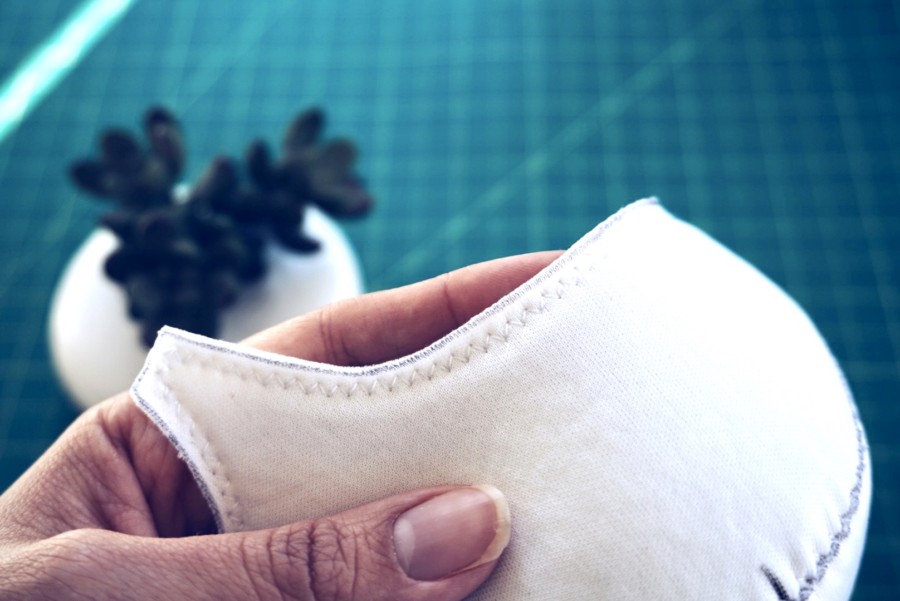
Step 7: Finish the neckline and underarm with a zigzag stitch to flatten the foam. You can also use a narrow serging.
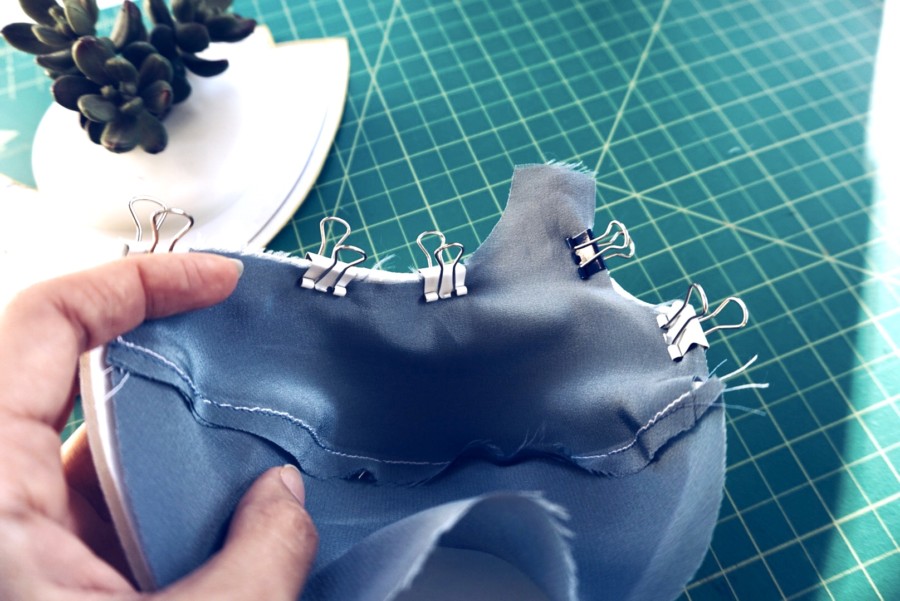
Step 8: Join the fabric cup to the foam cup at the neckline with the right side of the fabric cup facing the inside of the foam cup. Straight stitch with a 1/8” allowance.
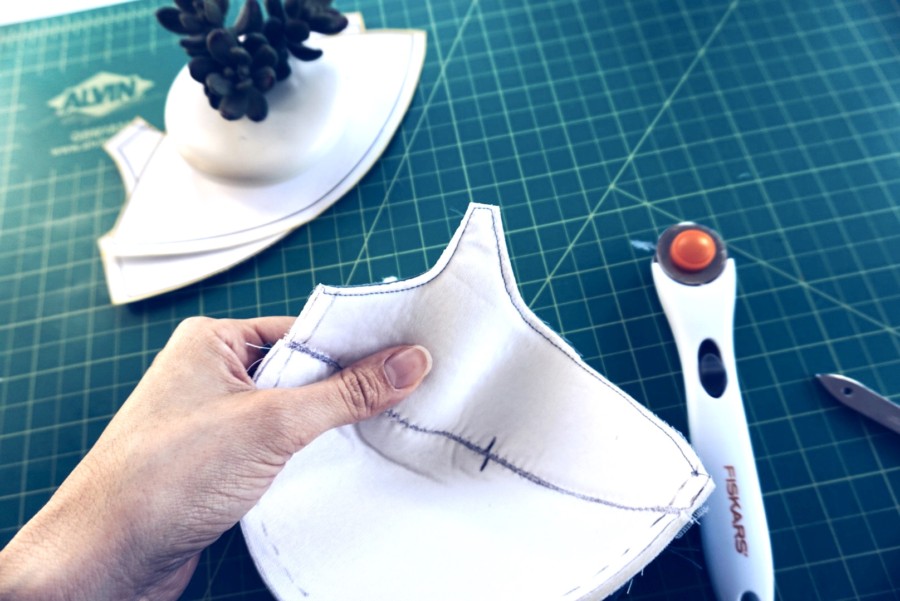
Step 9: Trim the excess and clip any corners so it is easier to turn out. Turn the fabric cup to the front of the foam cup.
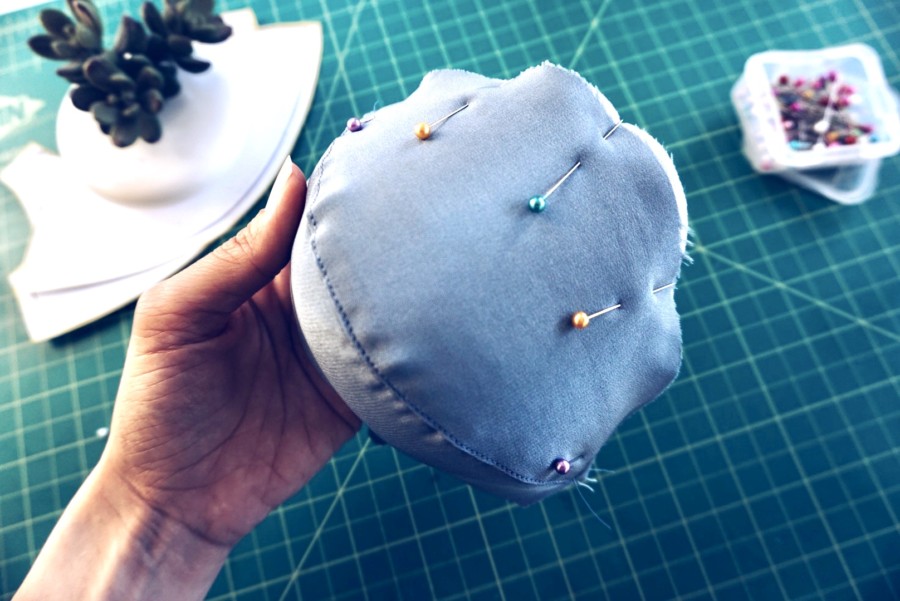
Step 10: Pin the bottom of the fabric cup to the bottom of the foam cup. Use silk pin needles but be very careful as to not pinch the silk fabric if that is what you are using by smoothing the fabric out as you go. Baste at 1/8” allowance.
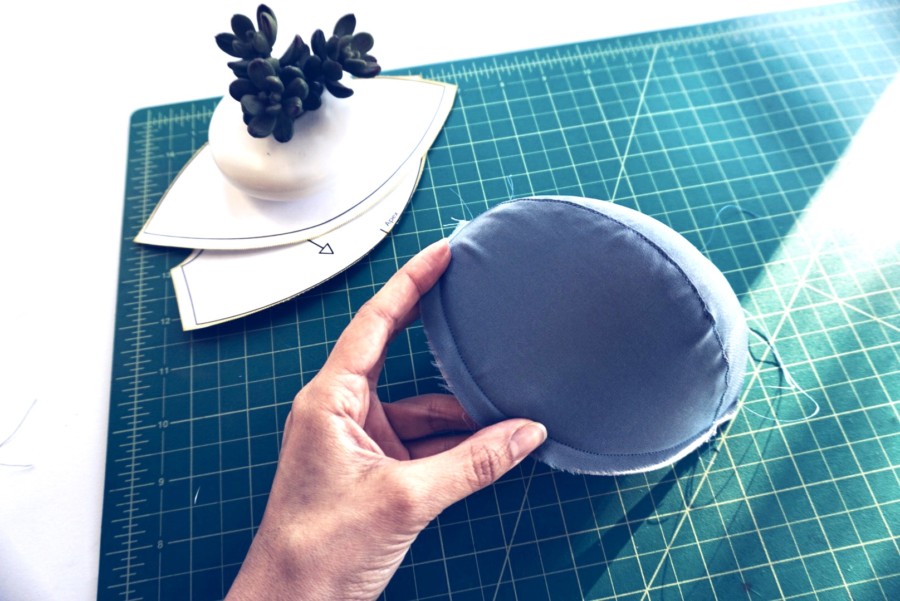
Step 11: Trim the excess foam and fabric from the bottom of the cup using a rotary cutter.
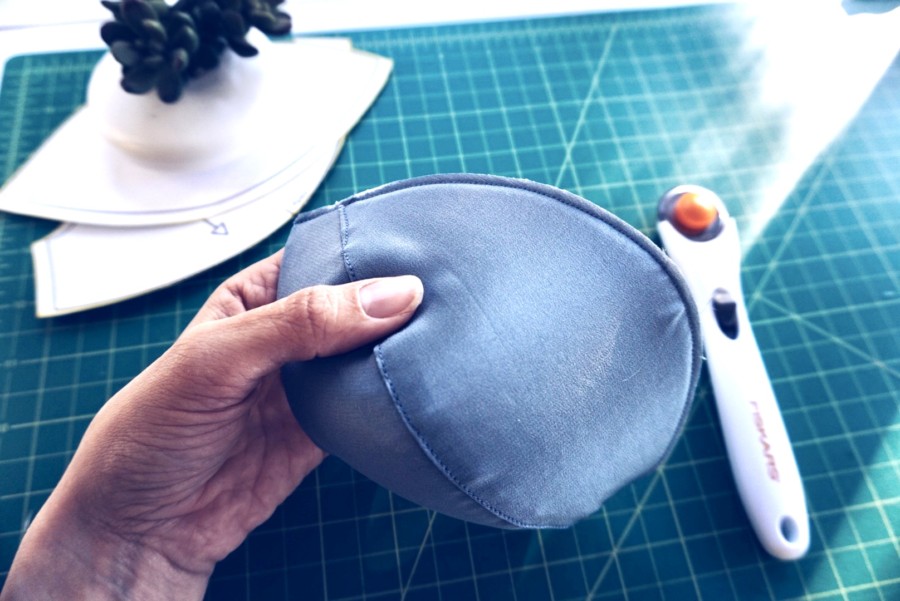
Step 12: Now you are ready to sew your cup into the cradle of your bra band.
How To Make A Foam Cup Insert
If you would like to make an insert rather than sew your foam cup directly into your bra the method is very similar. If you are not sure which method you would like to use typically a foam cup insert is used as an optional piece for sports bras or swimwear that have a cut out insert on the inside of the cup. You can easily fold up your cup, insert into between the bra cup fabrics then reshape the bust as needed. Reference the photos above to Step 7 of Sew Your Foam Cup if you are following this tutorial.
Draft Your Pattern – Foam Cup Insert
Step 1: Take your desired bra cup pattern and trace out the pieces onto your drafting paper. Properly label each side of the pattern pieces to avoid confusion.
Step 2: Cut away any seam allowances.
Step 3: At this point you can tape your paper pieces together to verify the cup fit. If the cup seems to fit well then move onto the next step. If not, verify your pattern size and re-trace the new cup size.
Step 4: Retrace your new pattern pieces onto cardstock remembering to label each side. These are your foam pattern pieces.
Step 5: Cut out your foam bra paper pattern pieces and mark where the notches are located. Verify that all the matching sides actually match.
Cut Out Your Foam – Foam Insert
Step 1: Place your paper foam pattern pieces on your desired foam and trace the pieces with a ballpoint pen.
Step 2: Remove the pattern paper and cut out your foam pieces. Make sure to mark the notches then verify that the matching sides actually match.
Sew Your Foam Cup – Foam Cup Insert
Step 1: Butt your matching seams together (do not overlap!) then slip the butted seam under your presser foot and sew a 3 step zig-zag stitch. Make sure your zigzag is wide enough to catch both sides on the foam securely without squishing or gapping.
Step 2: Repeat this for the other matching sides as well.
Step 3: You have the option of adding seam tape. This is especially necessary if you have sensitive skin and want to avoid any chaffing. If that is not an issue for you then you may just like the look of a clean seam.
Step 4: To add seam tape – use seam tape cut on the bias that you either buy in store or make yourself. Make sure your seam tape has enough give to move with your cup as it stretches with daily wear and that is wide enough to cover your zig-zag stitch.
Step 5: Cut out your seam tape and center it on your foam seam.
Step 6: Sew your seam tape to your foam cup using a 3-step zig-zag stitch or sew along either side of the tape.
Step 7: Trim any excess tape and insert the cup into the bra.
List of Online Bra Foam Shops
There are plenty of online retailers that have a variety of foam ready for you to order. The list below organized by region should send you off on the right track as you look for your desired bra cup foam.
Foam Cup Bra Patterns
Here is a list of a few pattern designers that offer bras with a foam cup option. Some of these options are PDF downloads while others are paper patterns. Be sure to read their instructions and recommendations before your purchase any materials including your bra foam.
Boylston Bra by Orange Lingerie
- Description: This popular bra pattern is a full frame underwire bra for everyday use. It features a demi cup that can be lined with cut and sew foam. It is intended to provide supportive comfort while allowing the bra maker the versatility of experimenting with prints and color.
- Level: Advanced
- Sizes: A-DD, DDD-JJ
- Format: PDF Download
Amethyst Lace Bra by Pin Up Girls
- Description: This is a full band bra that can be made with or without underwires. The cup is split into 4 pieces with a narrower upper cup for superior lift. You can sew this bra with or without a foam lining but be sure to choose fabrics accordingly. The cups and band of this pattern are interchangeable with the Ruby Full Band Bra from Pin Up Girls as well.
- Level: Advanced
- Sizes: 100 unique bra sizes
- Format: Paper
Ruby Full Band Bra by Pin Up Girls
- Description: This is a full band bra that can be made with or without underwires. The cup is split into 4 pieces with a narrower upper cup for superior lift. You can sew this bra with or without a foam lining but be sure to choose fabrics accordingly. The cups and band of this pattern are interchangeable with the Amethyst Lace Bra from Pin Up Girls as well.
- Level: Advanced
- Sizes: 100 unique bra sizes
- Format: Paper
Queen Bra Elite or Call in order
- Description: This bra pattern is a two piece cup wired bra with optional padding. It can be ordered over the phone directly from the designer or ordered online from Bra Builders.
- Level: Advanced
- Sizes: 32D-48H
- Format: Paper
The Bralette by So Sew Easy *free
- Description: Light support and modest coverage intended as a summer undergarment. This pattern has the option of adding modesty cups. It is not recommended for those over a C cup.
- Level: Beginner friendly
- Sizes: 30″-34″(S), 34″-38″(M), 38″-42″(L), 42-44″(XL)
- Format: PDF download
Conclusion
Sewing custom-made foam cups is really a game changer when it comes to lingerie making. It creates a professional look and feel to your bras and it allows for more structure and support. As you can see, sewing a foam cup really isn’t that difficult. It is an additional step but it is a great skill to have and will give you the confidence needed to master lingerie making. If you haven’t sewn up foam cups already then please head on to your sewing machine and get started!
Happy bra-making!

