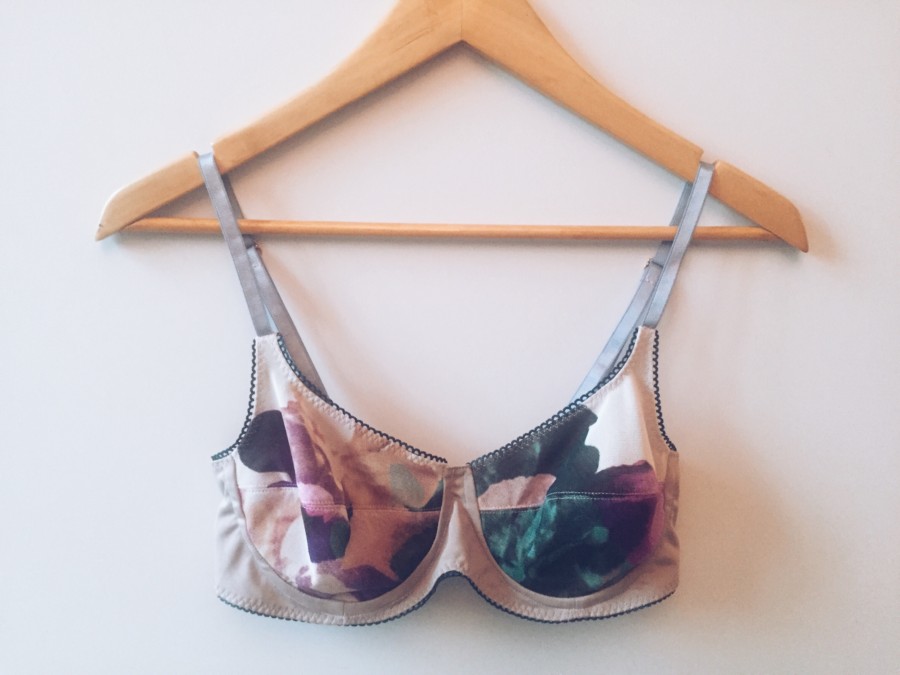
Bare Essentials Bra Pattern | Demi Cup
Isn’t funny how you can look at something and be totally mystified by and it then try it out and realize you absolutely love it! That is how I felt about bras. They always seemed insurmountable to me (no pun intended haha) until I tried making a few on the simpler side and really fell in love with the process. So much so that I bought books on how to construct my own bras which led me to the Bare Essentials bra pattern.
As a result, I started spending all my free minutes on reading said books, and blogs and tutorials or just admiring everyone’s handmade bras online. I’m passionate about sewing but for some reason bras excite me more than anything.
This new found love lead me to Bare Essentials – Bras: Construction and Pattern Drafting for Lingerie Design by Jennifer Lynne Matthews-Fairbanks. I also took the Craftsy.com course, Sewing Bras: Construction & Fit with Beverly Johnson.
This post contains affiliate links. When you click and make a purchase from these links, we might get a commission. It doesn’t cost you anything extra!
Fit for your Bare Essentials Bra Pattern:
These got me started on a serious bra-making journey. For my first “serious” bra I used the Bare Essentials bra pattern. I measured myself just as instructed and low and behold I have been wearing the wrong bra size my whole life. Go figure…
No wonder the straps always hurt or the band popped up in the back or didn’t lay correctly against my chest. I’m sure you ladies know exactly what I am talking about. Going to the store and getting measured is awkward and a bit confusing. You have to rely on someone who may not have the proper training to even measure you correctly. Then buy what fits best even if it isn’t great. Let’s not forget to mention the exorbitant prices on a necessary piece of clothing that doesn’t even fit right! More reasons to make your own bras right?
To get the right fit you must be braless for at least one measurement (this is optional of course). Going braless is a bit awkward to do with a stranger so make sure you really understand how to do it properly yourself. Or you ask for the help of someone you are very comfortable with who will do a good job. Both Bare Essentials and the Beverly Johnson course go over in detail how to measure yourself. Bare Essentials even talks about how to measure yourself after having a baby which is really helpful for many women.
My Measurements:
As for my measurements, I measured at a US 32 for the band and “C” for the cup. I typically wear a 34C which clearly means my band is too big. I used the Bare Essentials guide as I thought that would be more conducive to sewing up the Bare Essentials bra pattern.
Materials:
On to my fabric… I had leftover fabrics from other projects but I really wanted to experiment a bit more. Off I went with my dear friend to do a little shopping downtown. I will say that things got a bit overwhelming as I couldn’t find the right sizes and matching colors of straps and elastics. I did pick up this beautiful floral mesh fabric and some deep blue picot elastic and light blue strap elastic. Not to mention, I found the underwire, underwire channeling and hook and eye pieces as well.
Luckily, I realized that I could match these with some leftover viscose fabric from my Araine Slip from Seamwork magazine. I also had some tulle that I could use as a stabilizer for the front band since the viscose has some stretch.
Here is how it went – Bare Essentials Bra:
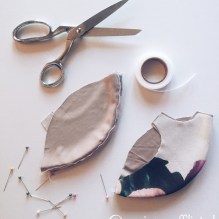
I made copies from the back of the book then cut out my Bare Essentials bra pattern and laid out my fabric/patterns as the pattern pieces directed. I used fabric sheers but honestly I needed to use a rotary cutter. After pressing my pieces and allowing them to cool I used a fabric glue stick to attach the stabilizer pieces. I then sewed the two cup pieces together, trimmed the seams (a small detail scissor would have been great for this) and added stay tape for added comfort and stability.
Next, I attached the picot elastic then started my work on the band- I call this “band practice” haha. Moving on, I edgestitched the center front, and front side band pieces. I didn’t need to edgestitch the back side bands so I sewed them on and reinforced the seam. Then I sewed the picot elastic to the bottom edge of the band.
Mistake #1 – Bare Essentials Bra:
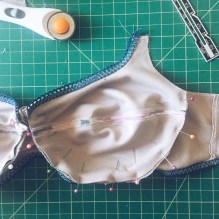
Next, I attached the cup to the band but to my dismay the cup was much bigger than the actual band (as you can see in the photo the seam line hits the top of the band when it should be about an inch lower). I thought this was odd and double checked that I cut out the right pattern and I had. I decided I would just alter the pattern a bit so that band would be flush with the top of the cup and went ahead and sewed it on.
This would have worked but once I tried it on the cup was much too big and the bra would not have been the least bit wearable. Maybe the underwire will fix this I thought! LOL so I decided to add it and guess what? It still didn’t work out SO… in comes the seam ripper, wasted thread and wasted time. (Howard looking at the wasted thread with dismay).
My next course of action was to cut out a cup in muslin fabric on the bias just to be sure that I cut out the pattern correctly. Fingers crossed because I highly doubt it is an error with the Bare Essentials bra pattern itself. As it turns out I did, I just screwed up the fabric. Upon further investigation there are two reasons why my cup was too big:
- I didn’t use a rotary cutter AND
- There were too many wrinkles in my fabric that ended up distorting the final size once re-pressed (is that a word in sewing? Haha).
Moving forward, I used the new muslin cup as a guide to trim off the excess fabric for my big ol’ cups. This worked out quite well and viola the cup actually fit the band the way it was supposed to! More importantly it actually fit me!
Mistake #2 – Bare Essentials Bra:
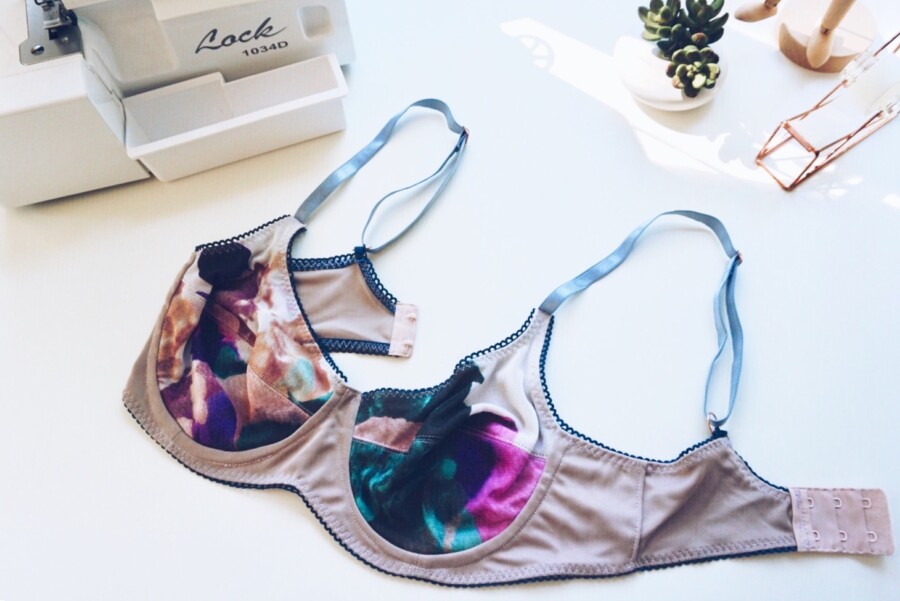
Off I went to sew on the underwire, insert the underwire and add on the picot elastic. There was still one more problem though… The band was too long! Ugh… not again.
I thought I cut it out correctly. No, no I did not for the same reasons as above. Out comes a RTW bra for my guide, my rotary cutter, a lot more patience and some problem-solving skills. 😉
Once that was measured and cut I was able to attach the last piece of picot elastic to the back. This piece of elastic is intentionally longer so you can create a loop for the strap ring to attach to the band. I made the straps and attached them (be careful not to twist the strap before you sew the elastic loop to the band). Finally, I attached the hook and eye pieces. My first “serious” bra was now complete and boy did I learn SO MUCH! 🙂
But how did the Bare Essentials bra pattern fit…?
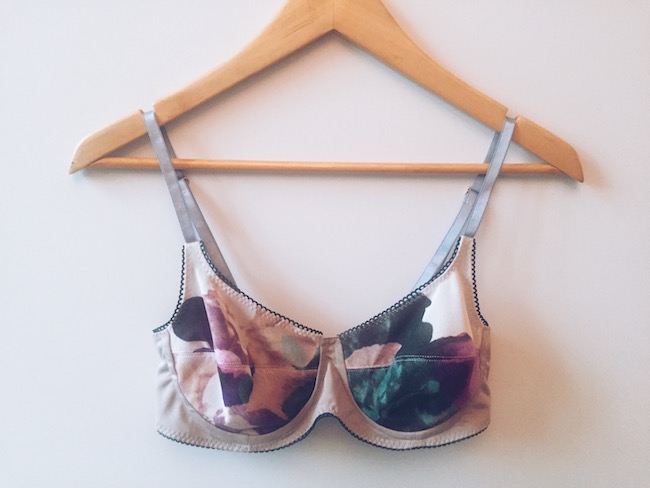
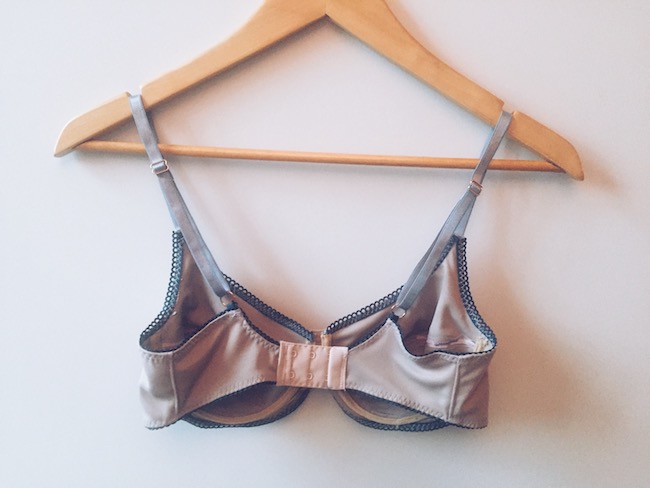
Well the bra actually fits quite nicely but I’m a bit picky and of course I can see all the mistakes as any typical sewist would in my position. My biggest complaint is I am not a fan of the horizontal seam line over the apex of the bust on the cup. It could be that I’m just not used to wearing this style but I don’t feel it suits me. Otherwise, I would like to use a stiffer fabric for the front band next time rather than a fabric with 20% stretch backed with a stabilizer. The stabilizer did its job but the stretch fabric ripples since it can’t stretch. I don’t like how that looks though it lays properly against the body.
Finally, now that I’ve sewn this I will know what to look out for and have a better handle on the precision needed for lingerie sewing. I’m not sure I will sew this exact Bare Essentials bra pattern again but I’d love to experiment with others in the book.
Recommendations – Bare Essentials Bra:
- Please whatever you do use a rotary cutter (ideally 18mm or 28mm for detail cuts) and a cutting mat and press your fabric before you do!
- Also, bra making takes time so be patient with yourself. You won’t regret it. 🙂
- For your cup and front band DO NOT use a fabric with more than 20% stretch – this is imperative as the size will be distorted and you will not be happy with your bra
- Use a stabilizer fabric if you have any stretch on your front band fabric (of course the stretch should still be no more than 20%)
- Your back band should have no more than a 50% stretch – any more will distort your bra
- If your machine has the option use a 3-step zigzag stitch – it allows for the best amount of stretch which is perfect for lingerie
- Be careful not to twist your straps before sewing them on
- Take it slow and have fun most of all! 🙂
Happy Sewing!

