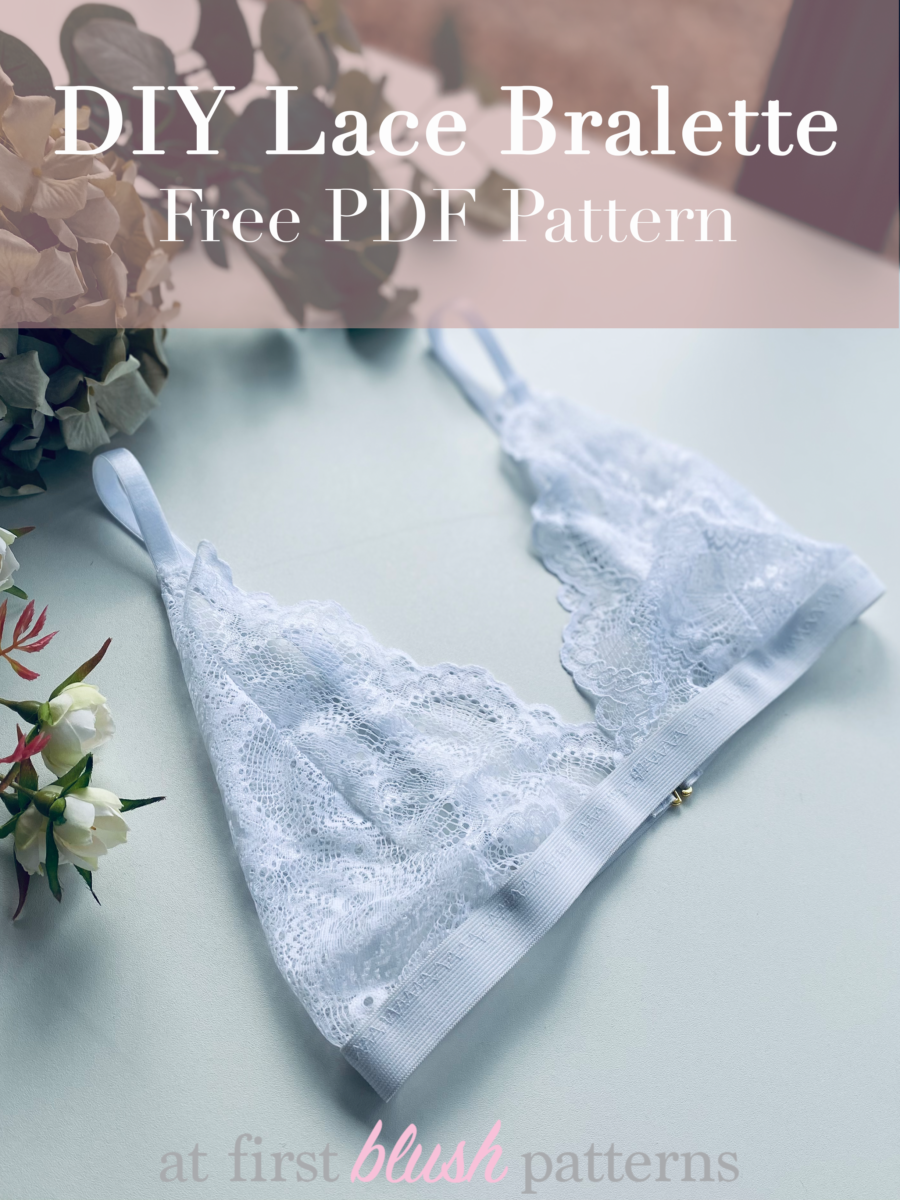
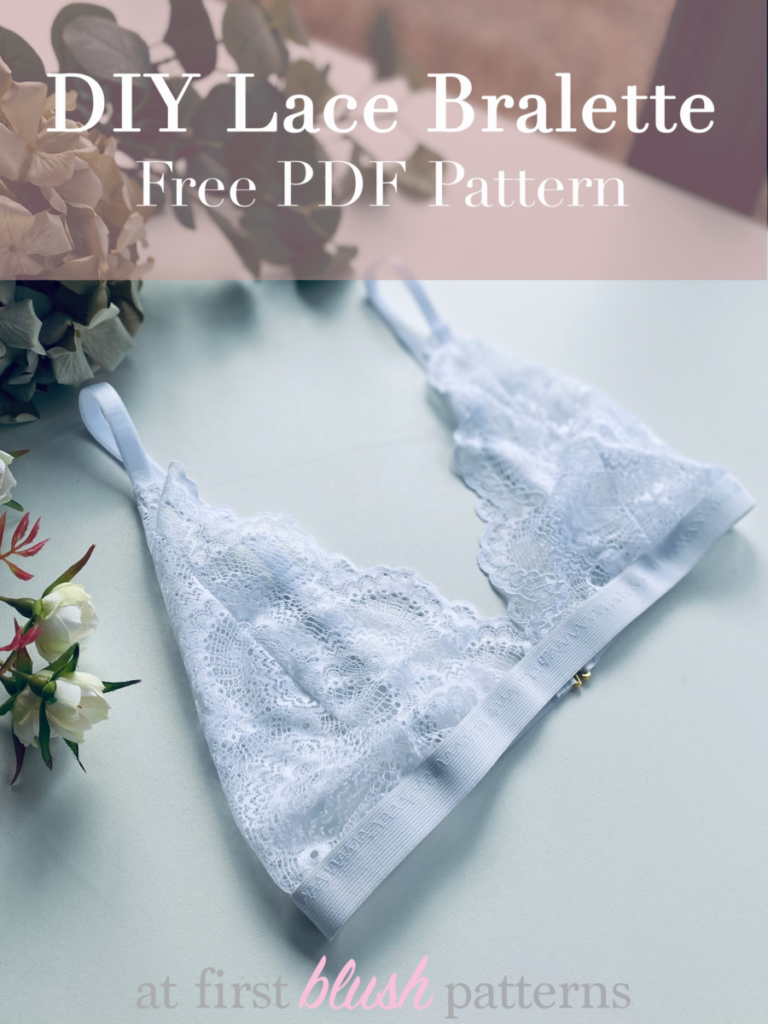
Check out this Free and Easy DIY Lace Bralette for Beginners. This bralette is perfect loungewear, under your favorite camisole or baggy button down shirt.
This post contains affiliate links. When you click and make a purchase from these links, we might get a commission. It doesn’t cost you anything extra!
How to Make a DIY Bralette at Home
Making a DIY Bralette at home is pretty easy and actually a lot of fun. Making your own bralette is very satisfying and there are so many helpful (and free!) tutorials on the internet today. To make your own DIY bralette you will need the typical sewing supplies. With that you will be able to either follow a tutorial to make your own pattern, adjust a pattern to your size or cut out a pattern that is already your size. In addition to your basic tools, you will need fabric and elastic. If you are following this tutorial you will need stretch lace, waistband elastic, bra strap elastic, 2 rings and sliders, 1 g-hook.
DIY Lace Bralette for Beginners with Free PDF Pattern
Ready to sew your Lace Bralette? Perfect! This DIY Lace Bralette tutorial is great for beginners. I have provided a free PDF Bralette Pattern in a size Medium that you can download below. You can adjust this pattern to your size with a few simple measurements. I have provided a guide on how to measure yourself in order to adjust this pattern below as well.
Fabric and Notions Needed:
- Stretch Lace
- 3/4” waistband elastic or wider
- Bra Strap Elastic
- Ring and Slider (same width as the bra strap)
- G-Hook (for closure)
- Polyester Thread
- Ballpoint Needle
- Sewing Machine
- Pins
- Fabric Scissors
- Paper Scissors
- Applique/Embroidery Scissors
- Self-Healing Cutting Mat
- Rotary Cutter
- Tape Measure
- 18” Clear Ruler
Download the Free PDF Bralette Pattern Here (Size Medium)
Printing Your DIY Lace Bralette Pattern
What is the best way to print your PDF sewing pattern?
Once you have downloaded your pattern open up the file and follow the specific directions laid out. If you are In the United States, you will be instructed to print your pattern on an 8.5” x 11” letter size printer paper. If you are in Europe and other regions that use the metric system, you will be asked to print your PDF pattern on an A4 size printer paper. These two printer paper sizes are essentially the same and should work interchangeably no matter what pattern you are printing.
What printer settings should I check before printing my PDF sewing pattern?
Before printing your PDF pattern look out for these settings and adjust them accordingly.
- Letter size paper (United States)
- A4 size paper (All other regions)
- Under Scaling select Actual Size or 100% (All regions)
- Single-sided paper (All regions)
- DO NOT “scale to fit” or “shrink to fit” or “fit to page”
- Print a “Test” page first
- If the pattern printed accurately then you are ready to print the final copy and cut it out
How to adjust the DIY Lace Bralette pattern for your size
The easiest way to adjust this pattern for your size is to measure your bust.
Step 1: Measure from the top point of the bra cup where you would like your strap to attach all the way around to your underbust.
Step 2: Measure from the center of your chest across your bust (over the apex of your breast) all the way to the side of your body.
Step 3: Adjust your paper pattern to these measurements either by addition or subtraction. Don’t forget to take out the 3.8” seam allowance on the center seam of your paper pattern as to not make your cup larger than needed. Add the seam allowance back in once you are ready to cut out your adjusted paper pattern.
Additional consideration: Remember that all fabrics have a different stretch that will determine the end result of your bralette. Make sure that you consider the amount of stretch in your fabric when taking your measurements. If you are using a very stretchy fabric you may want to shrink your pattern size so that when the fabric is stretched it fits you comfortably.
DIY Lace Bralette Sewing Instructions
Seam Allowances are 3/8”
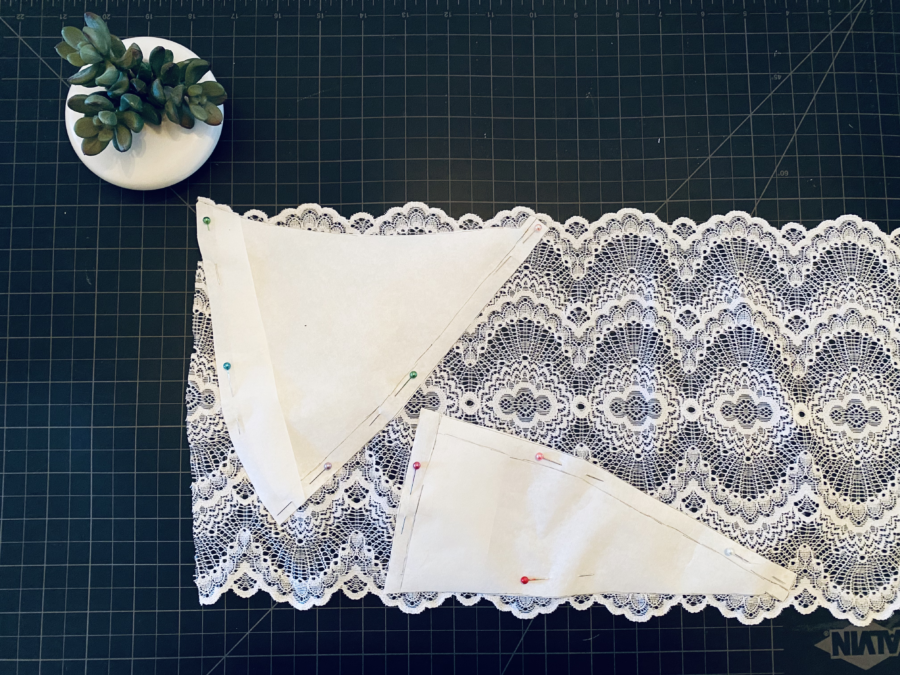
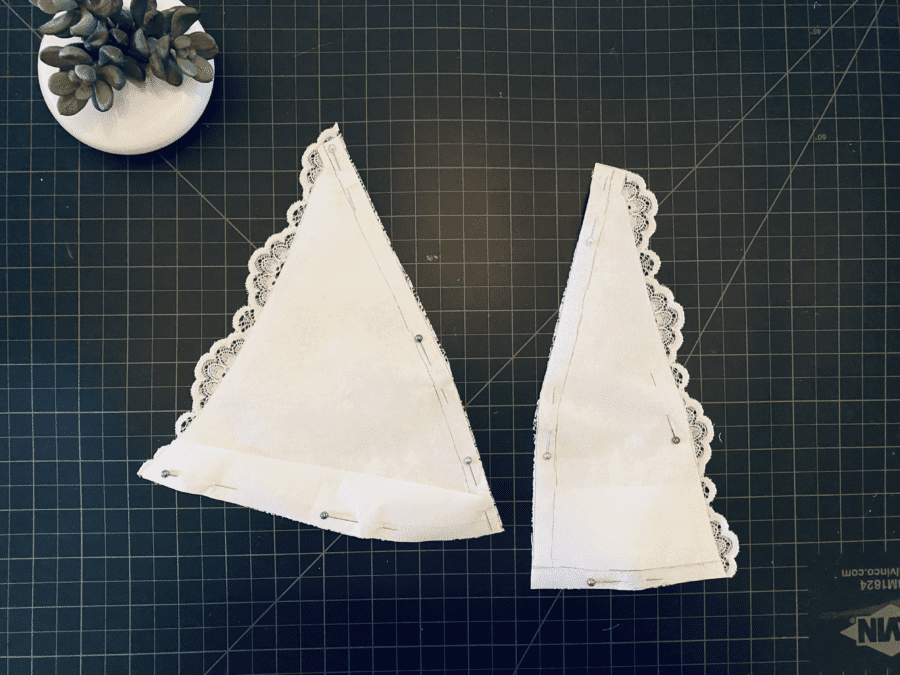
Step 1: Cut out the pattern and adjust to your size if necessary. Lay your pattern out on stretch lace. The outside edges of the fabric should be on the scalloped edge of the lace.
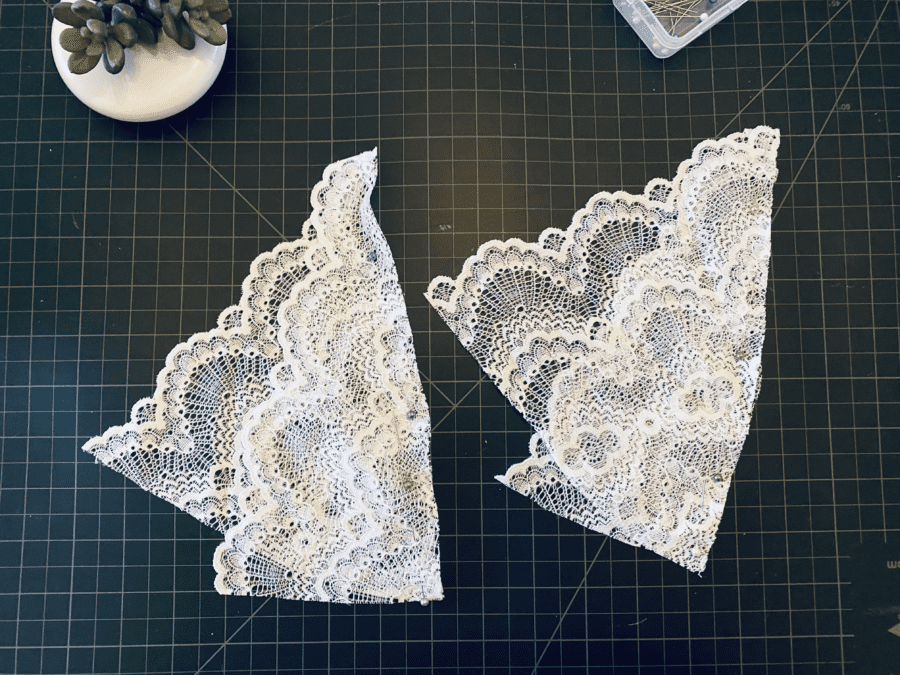
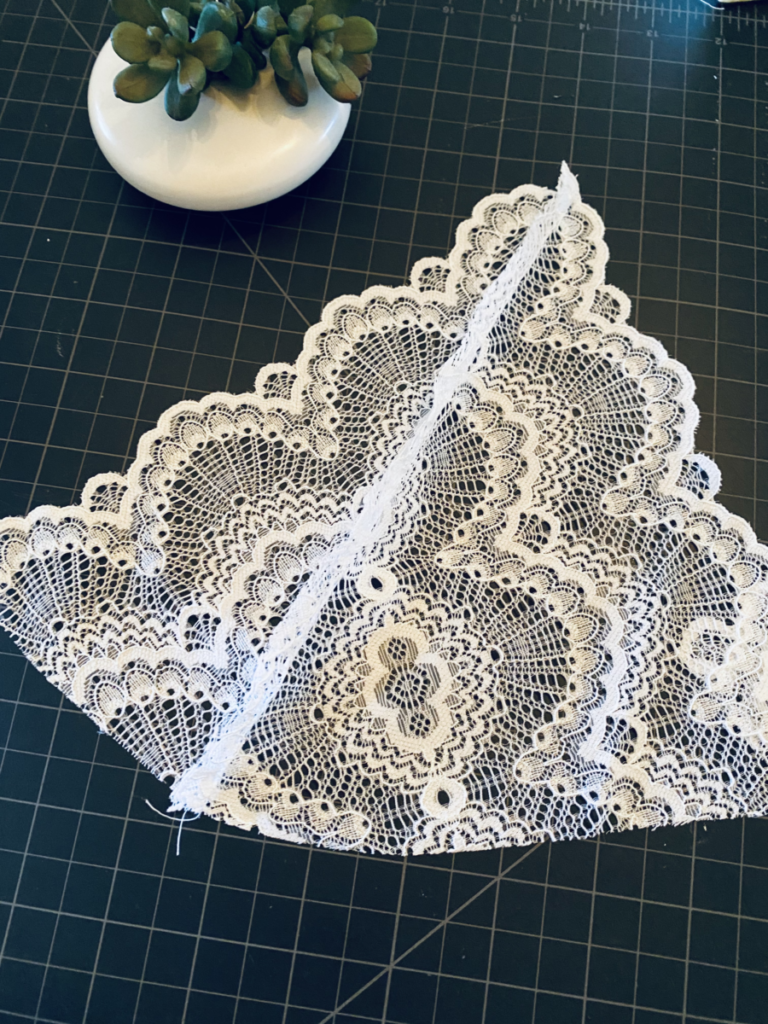
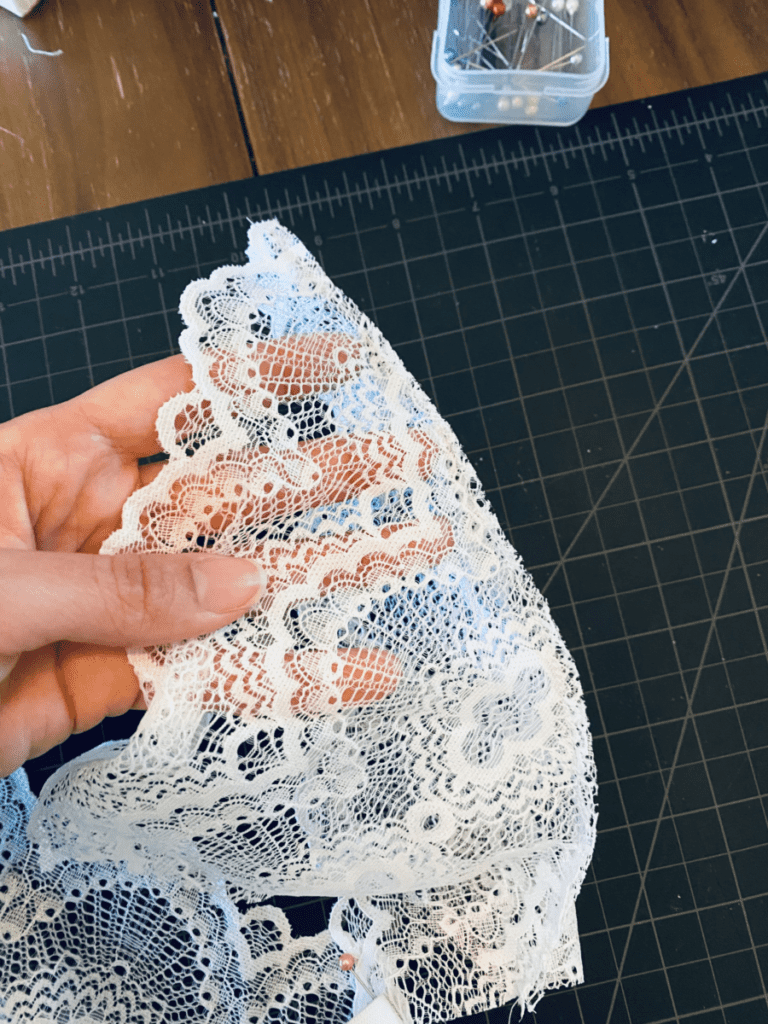
Step 2: Match the interior seam of the outer bralette cup and the inner bralette cup was with right sides together. Sew using a straight stitch. Repeat for the other side. Trim the seam.
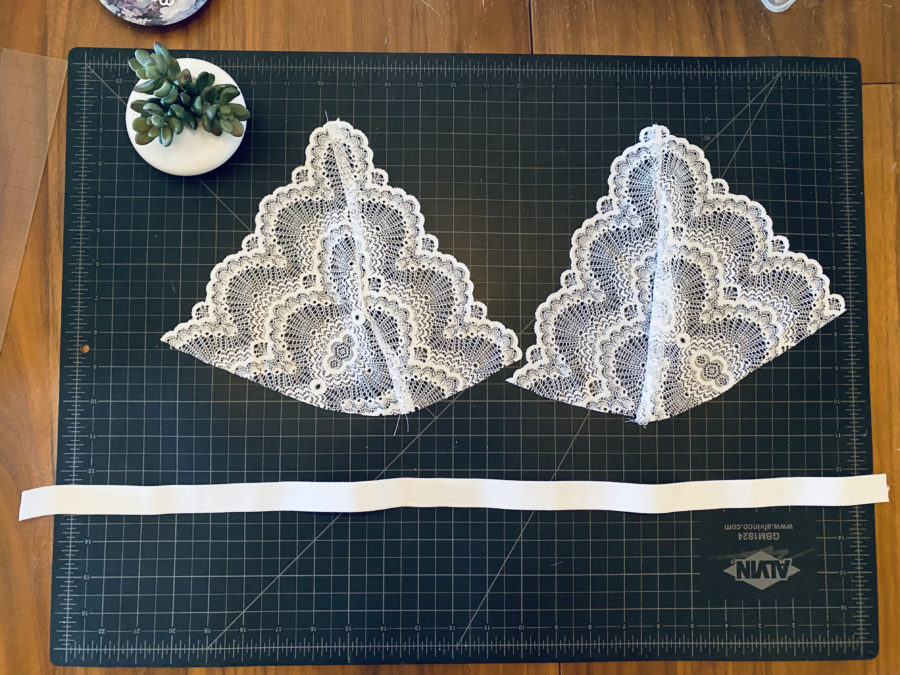
Step 3: Using a measuring tape- measure around your ribcage and under your bust then subtract by 2”. This is your bra band measurement. Cut out your bra band elastic (aka waistband elastic).
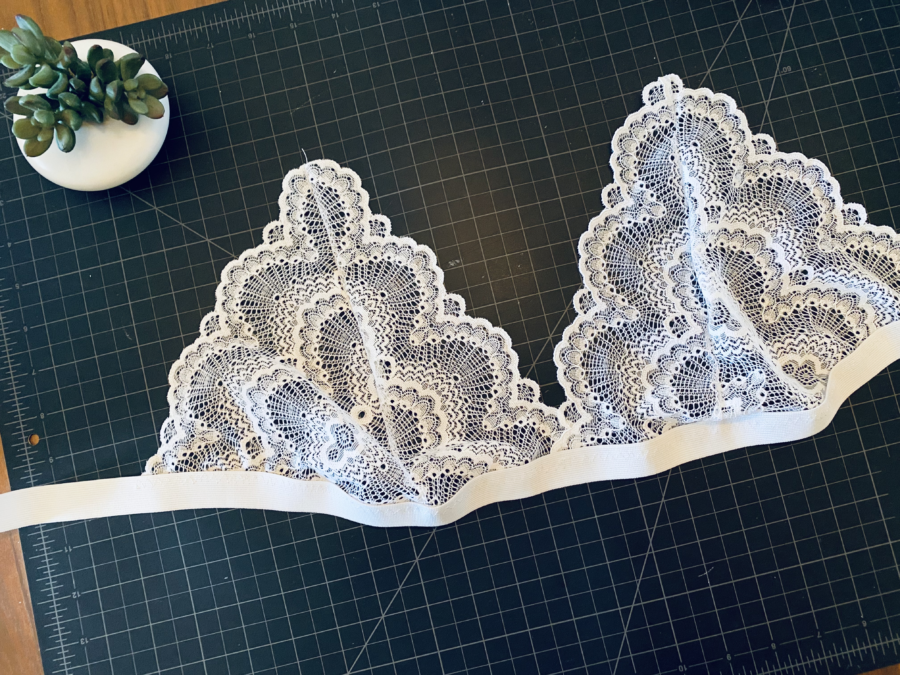
Step 4: Mark the center of your bra band. Line up your bralette cups on the bra band using the center mark. Overlap your cups as much as you would like. Pin your cups to the elastic. The elastic should remain on top and the lace will be covered by the band. Sew using a 3-step zigzag stitch. Make sure to stretch the elastic as you sew while maintaining an even length on the band for both sides.
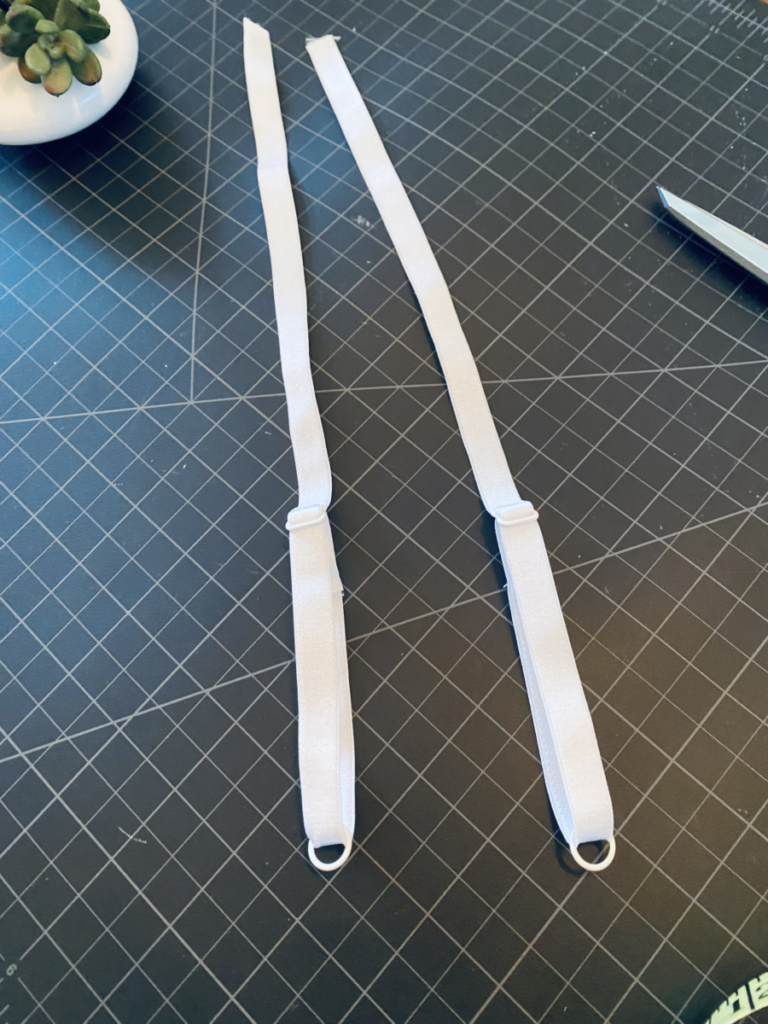
Make your Bra Straps
Step 5: Cut your bra strap elastic to 18”.
Thread the elastic through the slider by inserting the strap through the center of the slider with the plush side facing the middle bar of the slider. Fold the edge over about ¾” with the shiny side facing out and the plush side folding over the middle bar. Tack the edge down with a narrow zigzag stitch. Sew over this a couple of times to make sure it is secure.
Take the other end of your strap and slide the ring through. Then loop the elastic toward the slider with the plush side sandwiching the ring and the end of the bra strap elastic passing through the slider once again with the plush side against the shiny side of the strap. Adjust the strap to your desired length.
For a more detailed tutorial with photos of each step please use my guide: How to Sew Adjustable Bra Straps
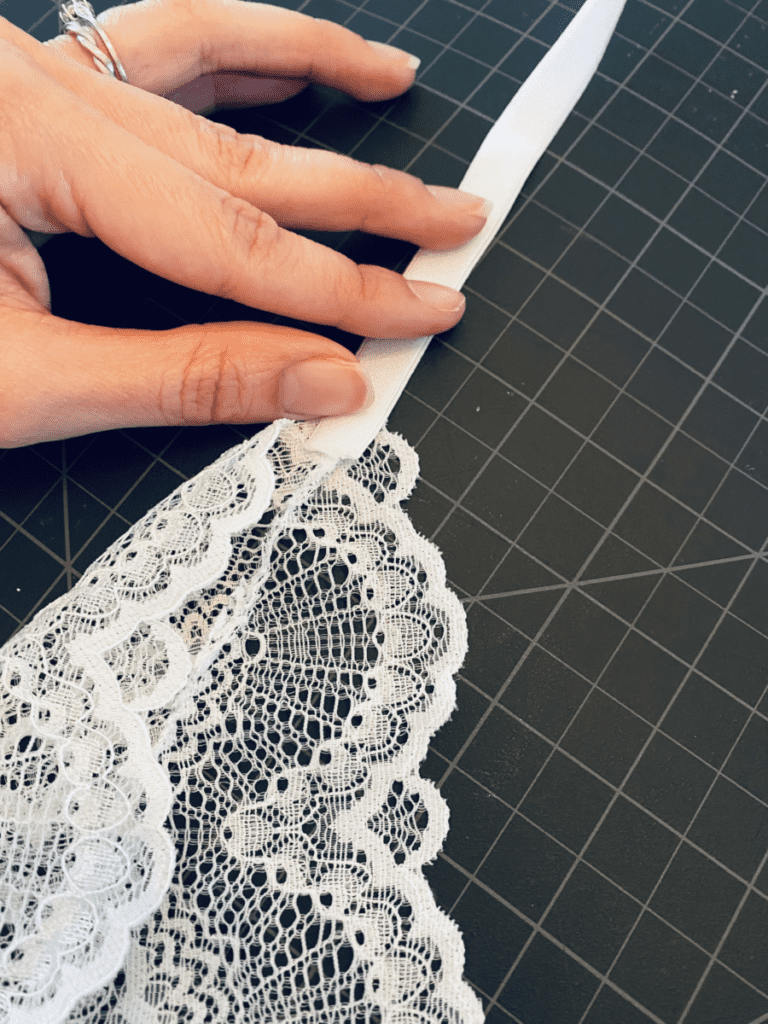
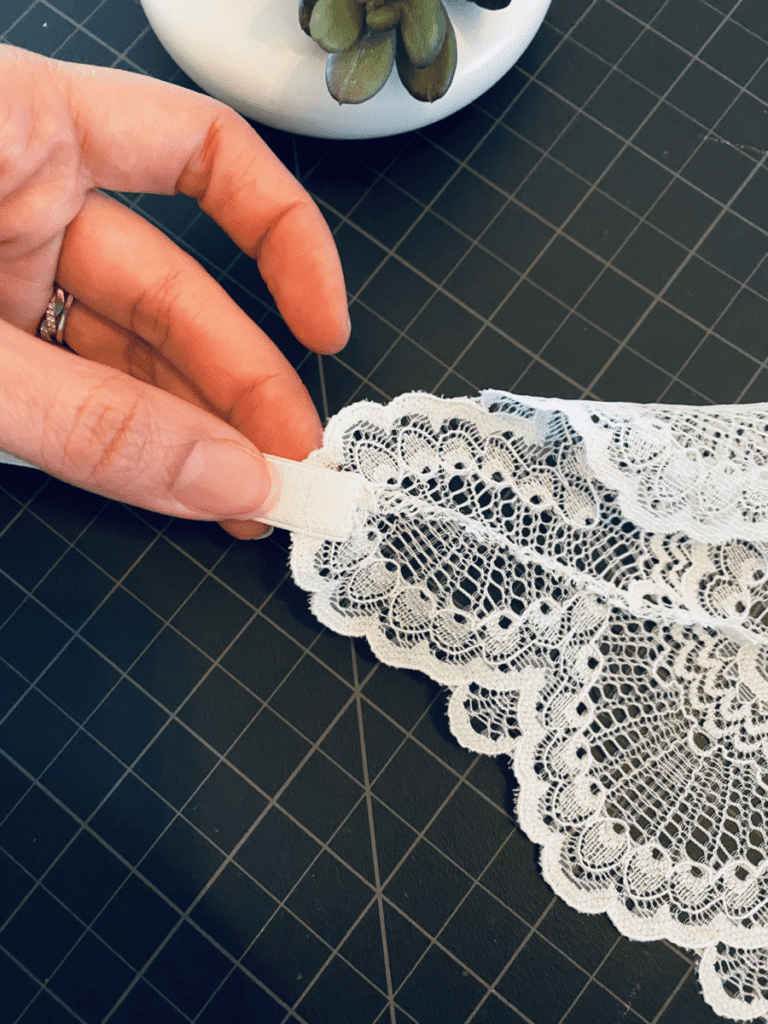
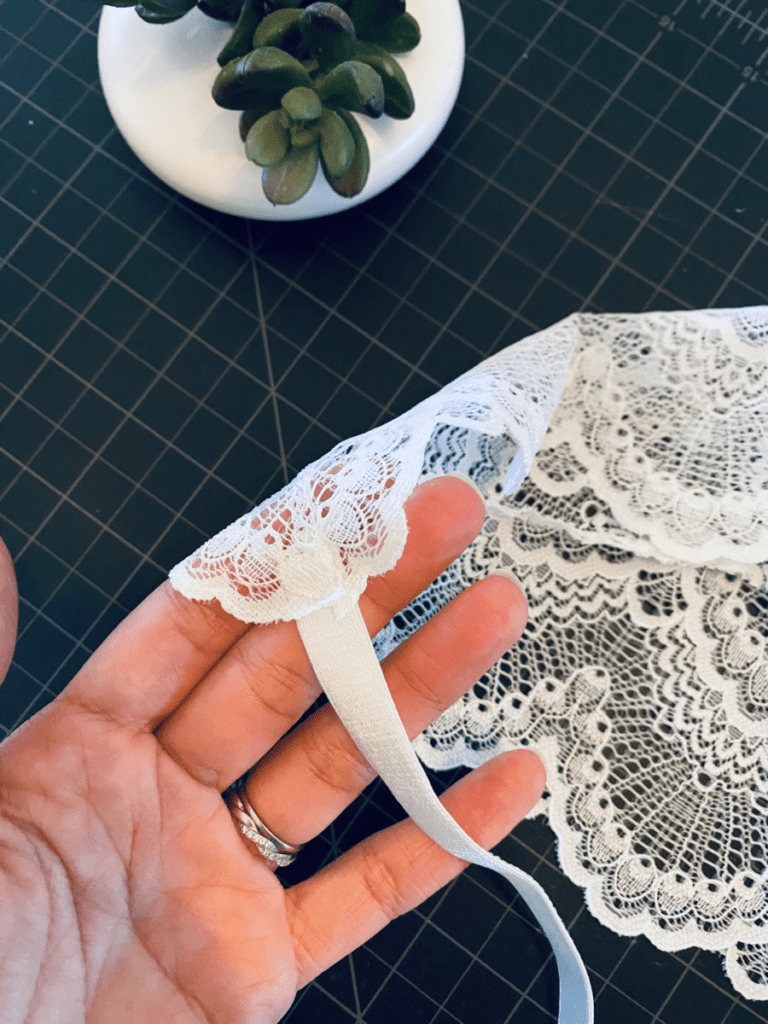
Step 6: Sew the top of each strap (the side without the ring) to the top of the bralette cup. Sew in a square with a narrow zigzag stitch to secure the strap well.
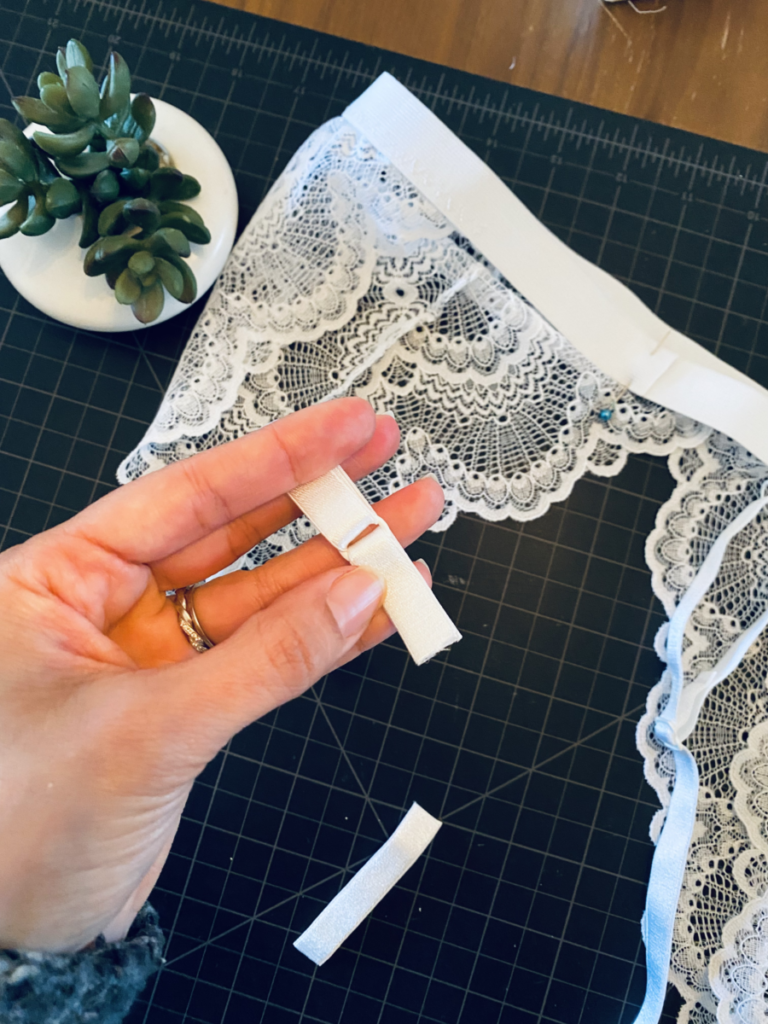
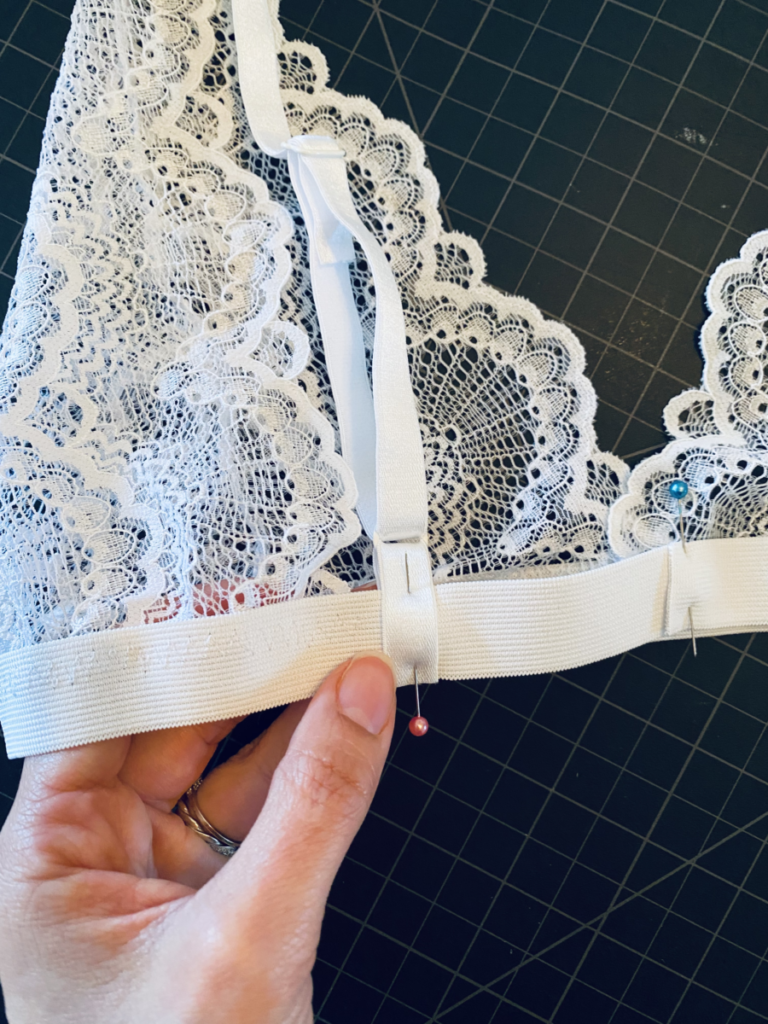
Step 7: Attach the Bra Strap to the elastic bra band in the back. Cut about 3” (Adjust to your needs) of bra strap. Insert the small piece of bra strap elastic into the ring attached to your finished bra strap making sure that the right side is facing outward. Sandwich the bra band between the bra strap elastic. Make sure the bra strap ends at the edge of the bottom of the bra band and that the straps are even in the back. Pin in place.
Before we sew the strap let’s add the G-Hook to make sure out measurements are correct.
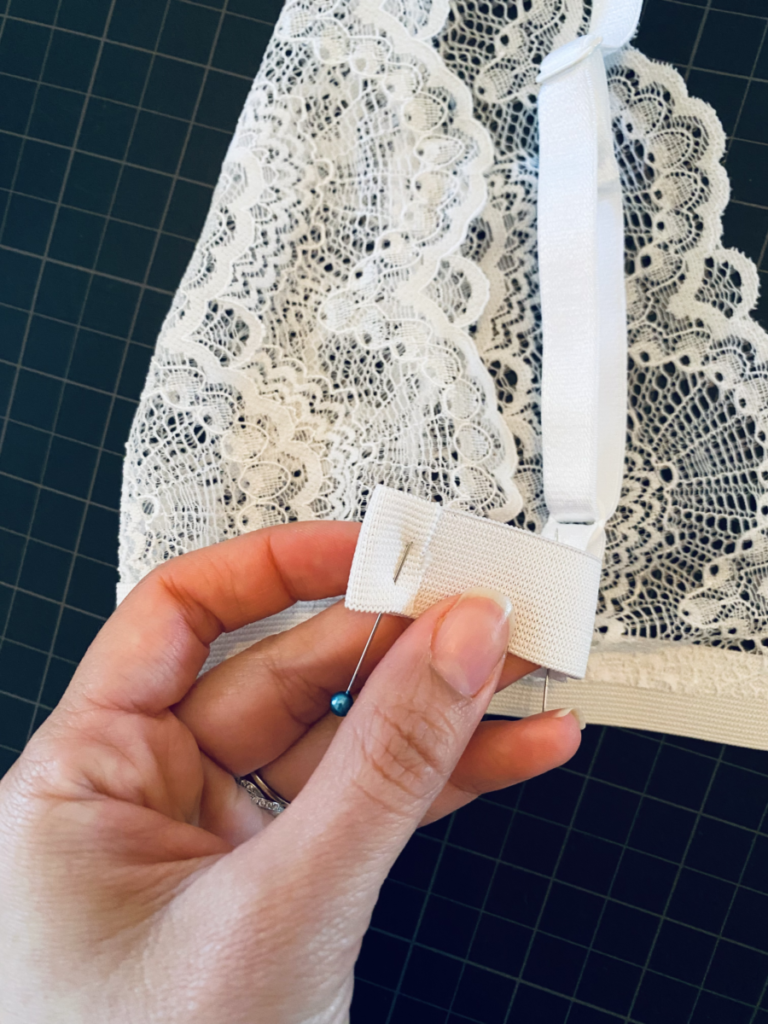
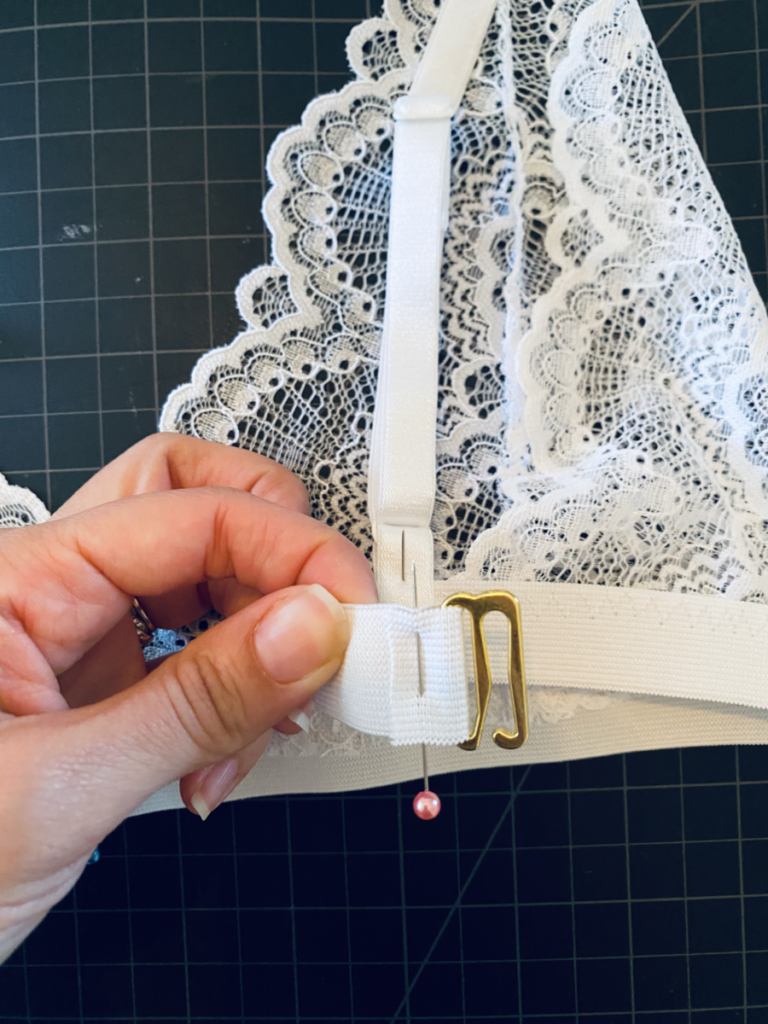
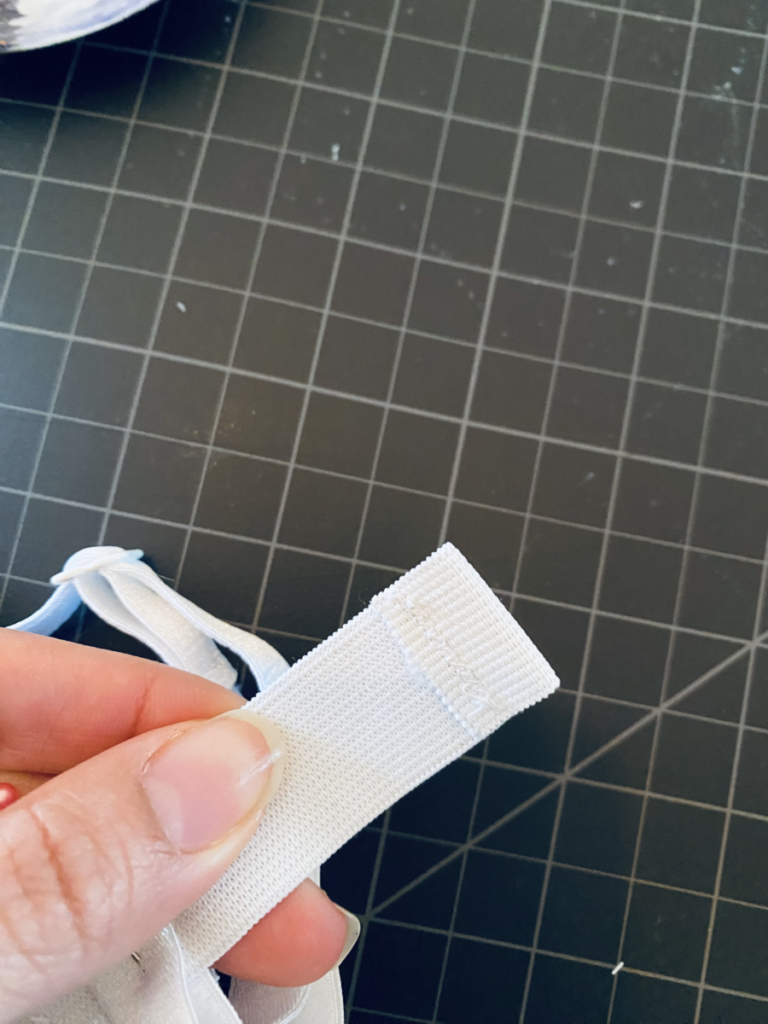
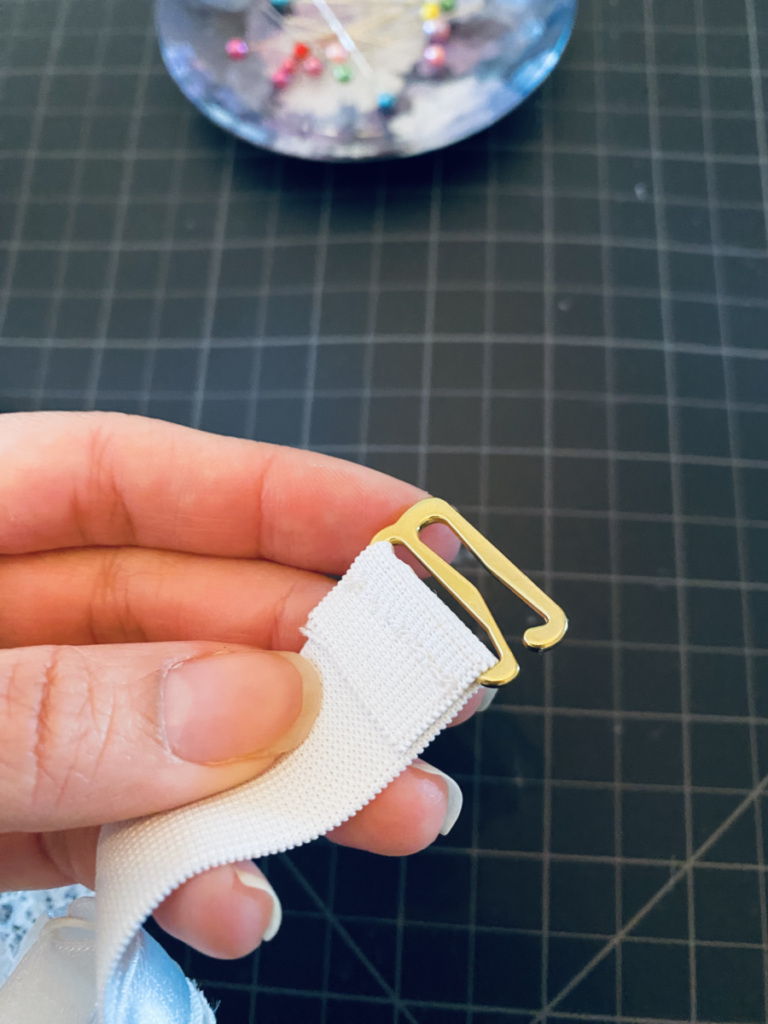
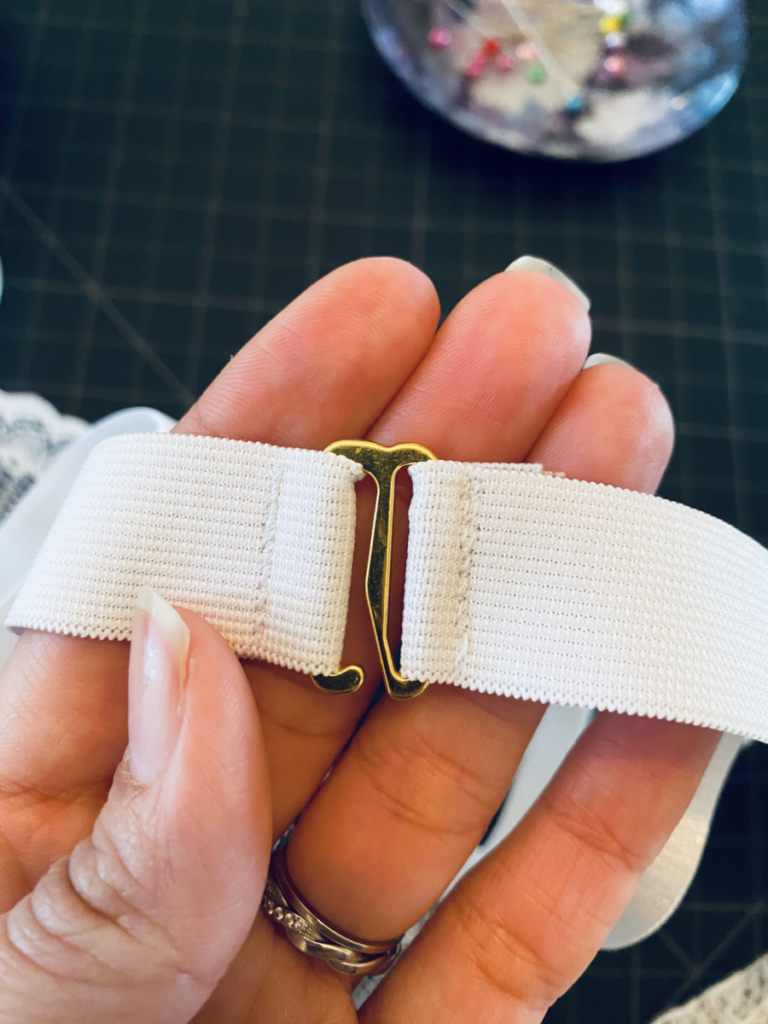
Step 8: Fold one end of your bralette band inside. Make sure the loop is wide enough for your g-hook to be inserted and secure. Pin then sew the fold in place with a narrow zigzag stitch. Do the same with the other side but insert your g-hook first then fold the band inside. Pin then sew the fold in place with a narrow zigzag stitch.
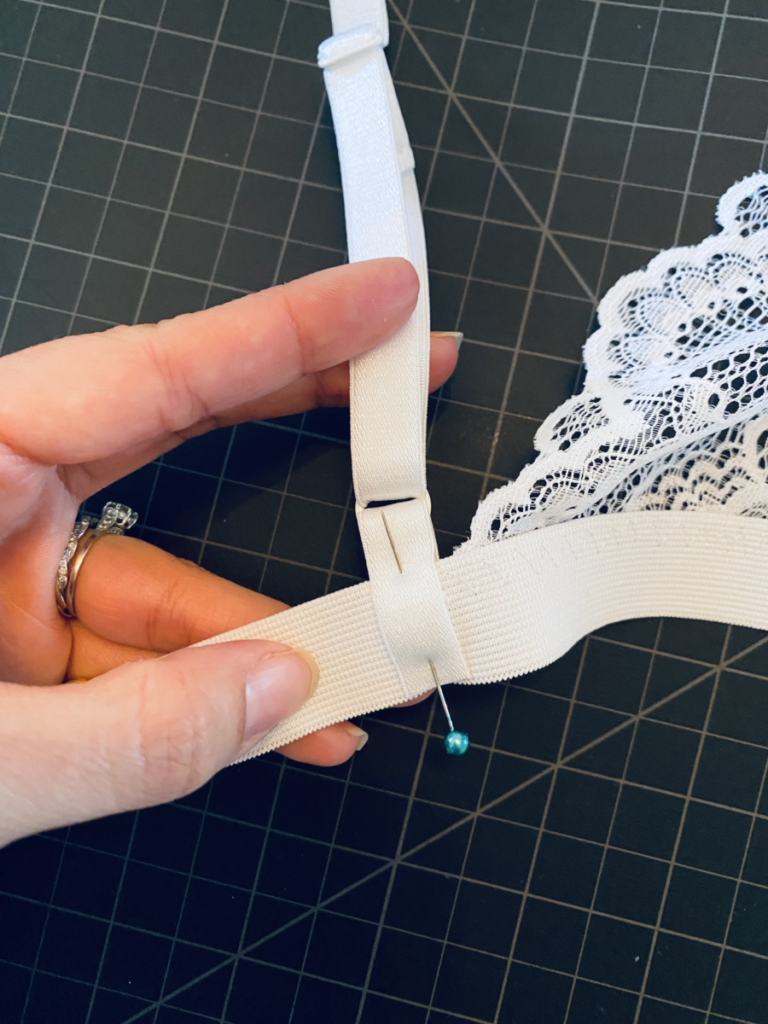
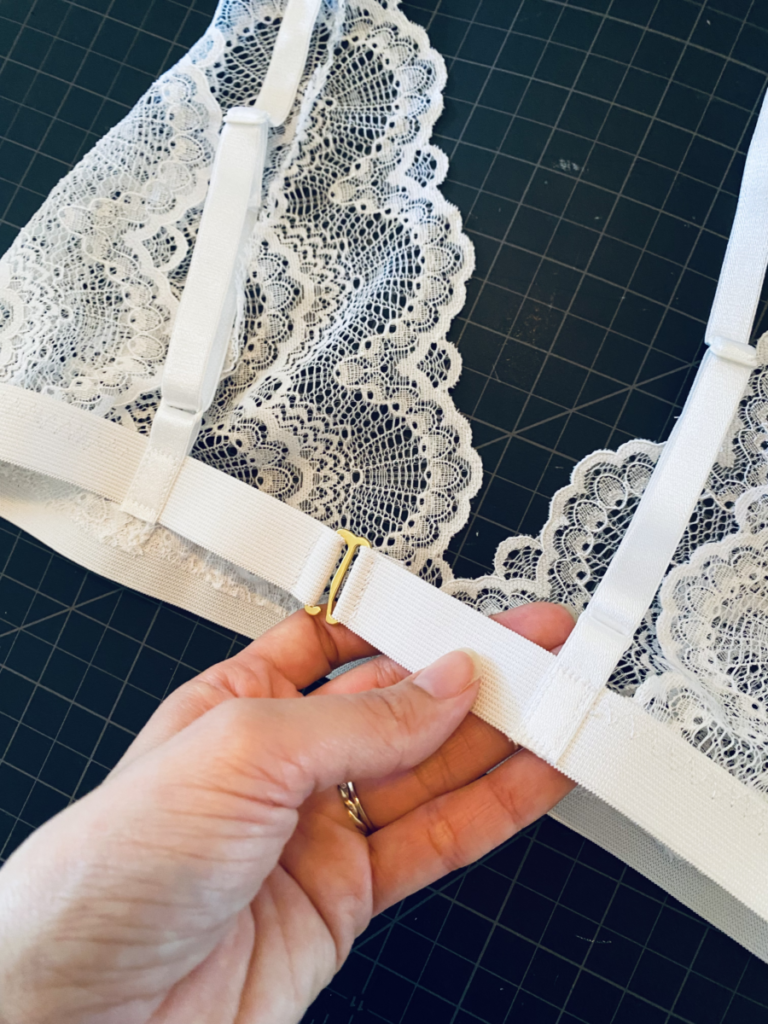
Step 9: Go back to your bra straps and make sure they are correctly aligned in the back. Once you are happy with the position sew the straps in place. Sew around the perimeter of the bra strap that is on the bralette band using a narrow zigzag stitch.
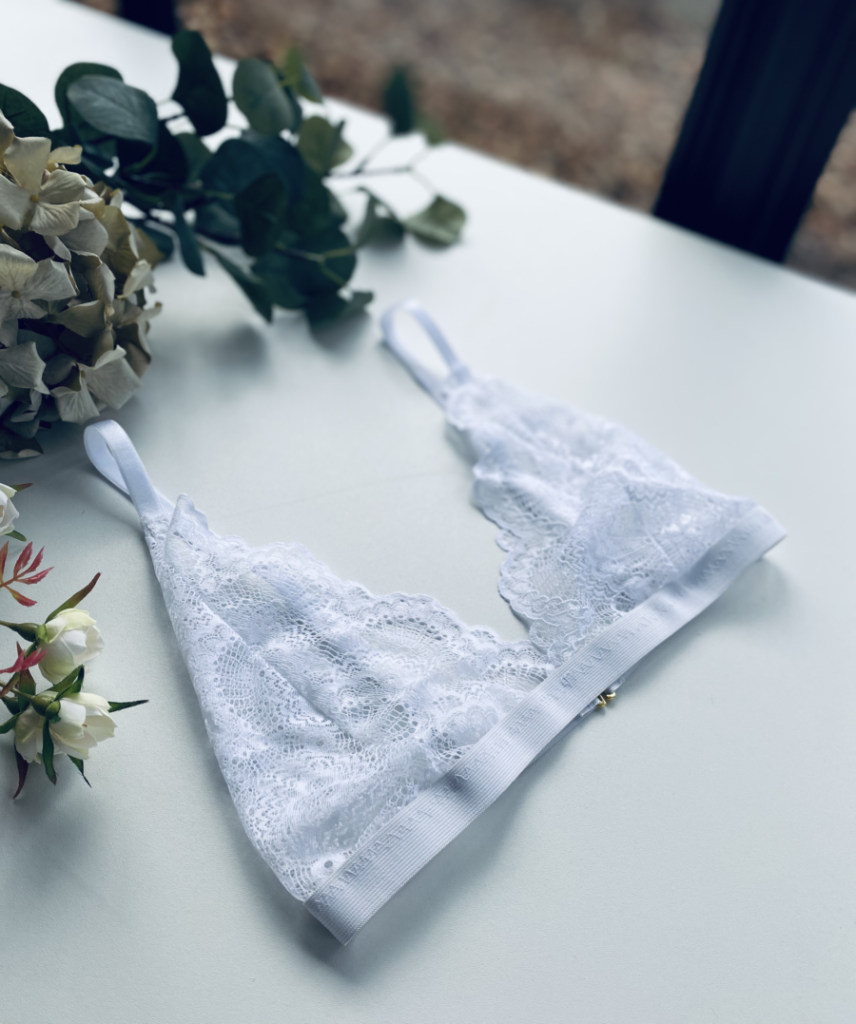
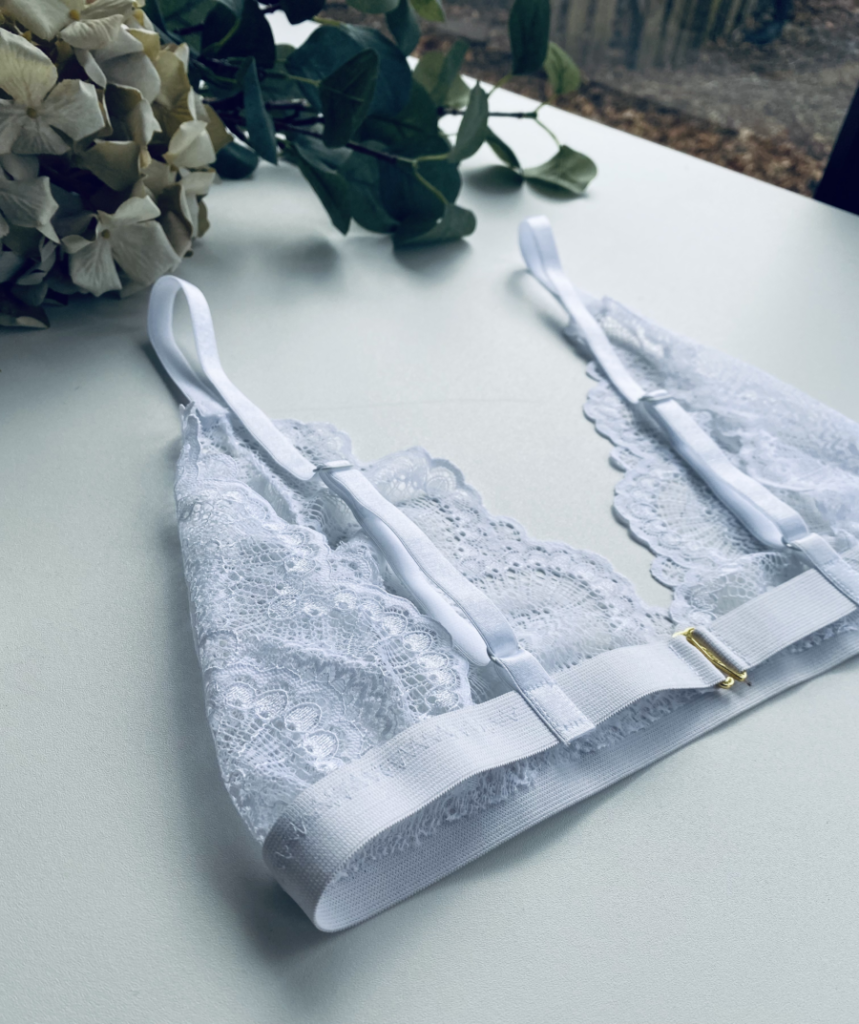
Your DIY Lace Bralette is complete!
Extra Sewing Tips for Stretch Lace:
Remember you are sewing with stretch lace which can be easily warped if the settings of your machine are not correct.
Here are some quick tips for sewing with stretch lace:
When sewing with stretchy fabrics there are a few things to be aware of to sew a stretch lace garment successfully. First, never stretch the lace while sewing or the stitch will hold that stretch in place causing the lace to warp. To avoid this, adjust the pressure on the presser foot to be loose enough to allow the feed dogs to move the lace gently on their own with minimal guidance from you. Another tip is to sew in the direction of least stretch if possible. Also, be sure to adjust your thread tension to a low setting and lower your length and width stitch to achieve a narrow zigzag stitch.
When sewing with stretch lace keep the following in mind:
- Using the correct machine needle – ballpoint needle
- Using the proper thread – polyester thread
- Setting your machine for the proper stitch – zig zag stitch
- Low thread length and width settings
- All-purpose or straight stitch presser foot
- Troubleshooting your machine when problems arise
Happy Sewing!

