Here at At First Blush Patterns we are dedicated to being a resource for lingerie makers. That includes helping you find the perfect fabric and notions needed for your lingerie projects. If you have sewn any sort of lingerie before, you know it is difficult to source lingerie pieces that are an exact color match other than the basic colors like black and white. If you are dreaming of a beautiful blush pink bralette you will likely not find all the pieces needed in that exact color. Well fret no more my lingerie making friend! Now you are in control of your lingerie colors because you can easily dye your fabric to meet your color needs.
How do you dye lingerie fabric and notions?
There are a few key elements to getting your lingerie dye job just right. First you must source all your lingerie pieces in white or another very light shade and prewash them to remove any potential residue or surface treatments. Then you need to find the right dye – there are a few different types that we will address in this post. Based on your specific dye, follow the instructions to dye your pieces. In this post we will be guiding you through dyeing your lingerie pieces with Dharma Acid Dye.
Dyeing Supplies
What supplies do you need to dye your lingerie pieces?
There are a couple methods for dyeing your lingerie pieces depending on what type of dye you choose. Some of the common supplies needed besides a stovetop and stainless steel sink are the following:
- Stainless steel saucepan or enamel pot
- Glass bowl
- Mixing spoon
- Measuring cup
- Sieve
- Washing gloves
- Apron
- Paper towels
- Drying rack
- White Household Vinegar or Citric Acid
Pro tip: Keep in mind that some of the items you use for dyeing you will likely not be able to use again for cooking. Specifically the saucepan, mixing spoon and sieve.
Types of Dyes:
Acid Dye: a concentrated powdered dye. It is used to dye protein fibers and some nylons. This type of dye reacts fast and exhausts well. Acid dye is recommended for silk, wool, fur, feathers and some nylons. For best results, use very hot water and vinegar or citric acid.
All Purpose Dye: also known as a direct dye is a hot water dye that can be placed directly on a cellulose fiber such as cotton. It is a direct dye because no other chemical is needed to bond the molecules of the dye and the fiber. All purpose dyes are typically inexpensive and easy to apply. One of the more popular all purpose/direct dye bands in Rit.
Dharma iDye: This dye was created by Dharma Trading Co. as an alternative to the traditional dye process for those looking for a quick dye. It is a basic dye job that requires a hot wash in the washing machine or a hot pot of water on the stovetop. It is meant for small projects or touch ups to fading garments. This is not an all purpose dye as it does require the use of vinegar to bond the molecules to the fiber molecules.
For this tutorial we will be using Dharma Trading Co. Dharma Acid Dye in Valentine Blush.
Where to buy dye and supplies
- Dharma Trading Company
- Joann Fabrics
- Amazon
- Local grocery store – for all purpose dyes
Lingerie Supplies
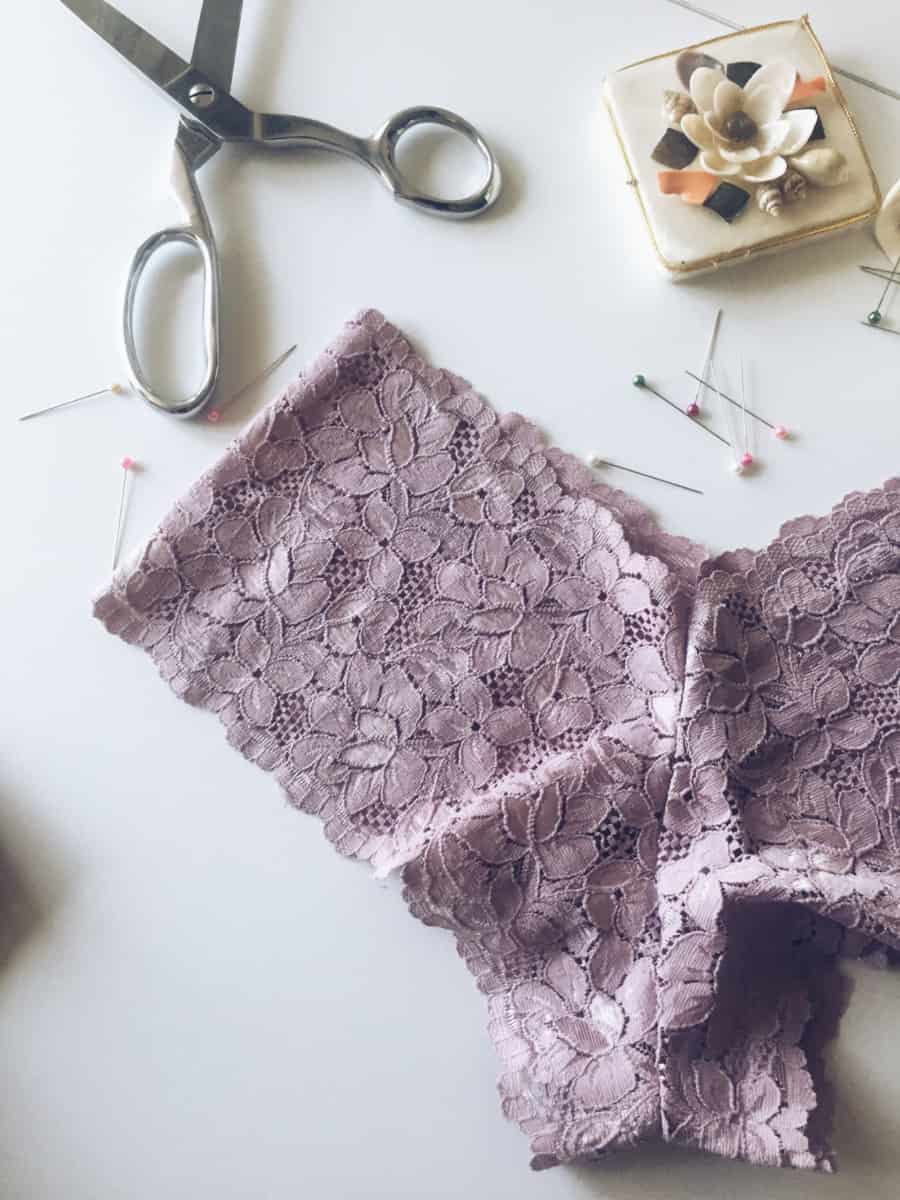
Lingerie supplies are needed depending on the type of lingerie garment you are creating. In this tutorial we will be dyeing pieces that will later create a bralette. What is needed for this garment includes:
- Stretch lace
- Bra straps
- Picot elastic
- Hook and eye clasp
- Rings and Sliders (nylon coated)
Where to Buy Lingerie Supplies
Need some guidance on where to buy lingerie supplies? Check out my comprehensive post on 18 Must Have Bra Making Supplies and Where to Find Them. When purchasing supplies for this dye project be sure to look for white or even off white pieces. Preferably you will get them all in the same color. Luckily, white is a very common color for online lingerie fabrics and notion suppliers to carry.
Dyeing Instructions
In this tutorial, we will be dyeing fabric over the stovetop using Dharma Acid Dye. You may want to test a piece of your fabric first so that you can get the temperature just right and figure out the exact hue you would like to achieve.
Step 1: Pre-wash your fabrics. You can use a mild detergent. Dharma Trading Co. recommends Synthrapol or their Professional Textile Detergent. This is necessary to remove any residue that may interfere with the dyeing process.
Step 2: Whether you are dyeing your fabric directly after the wash or allowing them to dry make sure your fabric is thoroughly wet before you begin the dyeing process.
Step 3: Fill your pot with enough hot or warm water so that the fabric can move around freely.
Step 4: Take out your glass measuring cup and fill with a cup of hot water.
Step 5: Pre-dissolve the proper amount of dye powder compared to the weight of your fabric in the glass measuring cup.
Step 6: Add the pre-dissolved dye powder to your pot of hot water and stir.
Step 7: Add your wet fabric to the pot.
Step 8: Stir frequently to distribute the dye. This may take a few minutes.
Step 9: Add ¼ cup of vinegar per pound of fabric or one tablespoon of citric acid per pound of fabric. Do not pour this directly on the fabric.
Step 10: While maintaining the hot temperature stir for half an hour to an hour depending on how dark or vibrant you want your color. Dharma trading recommends adding a pinch of salt if you notice the dye isn’t binding well to the fabric.
Step 11: Remove your fabrics. Put them in your stainless steel sink or another pot of warm water with Synthrapol or their Professional Textile Detergent to remove excess dye. Once all excess dye is removed, be sure to be careful not to leave them anywhere where they could dye the surface.
Repeat this process for your elastics, hook and eye, and straps. It may take a bit longer to dye these pieces over the lace and other fabrics because the fiber composition is different and the pieces are thicker.
Pro tip: Do not wash your dyed fabrics in hot water because it will break down the bond between the fiber and dye. Depending on the type of fabric you are dyeing you may need to wash in cold water or dry clean.
Now onto dyeing your rings and sliders:
The process is still the same but it will take longer. In order for your small pieces to not get lost and possibly melt to the bottom of your saucepan use a sieve. You will need to immerse your sieve into the pot of hot dye solution or you can possibly use a larger sieve that can lay over the edges of the pot. Keep a close eye on your rings and sliders to ensure they dye to your desired shade by checking them periodically and moving them around for an even dye. Once you achieve the desired color, remove your pieces and wash out any excess dye for the fabric pieces and allow the non-fabric pieces to dry in a color safe place.
Conclusion
When I first began looking for supplies to sew my very first bralette I had this very rich merlot color in mind. Little did I know that there is a limited range of lingerie supplies available to the everyday consumer. I quickly realized I needed to let go of that dream and go for a basic color such as white or black. I could also mix and match but I wasn’t confident in my knowledge of what exactly I was buying so I erred on the side of caution and went all black. I heard about dyeing fabric and notions and thought about it as a future project. Now that I have gone down that avenue I am happy to say that I think it is a great alternative especially if you plan on creating a memade lingerie drawer. I think you will enjoy dyeing your lingerie as well and making those pieces just a bit more special.
I hope you enjoyed this tutorial and I can’t wait to see your makes!
Happy lingerie making!
