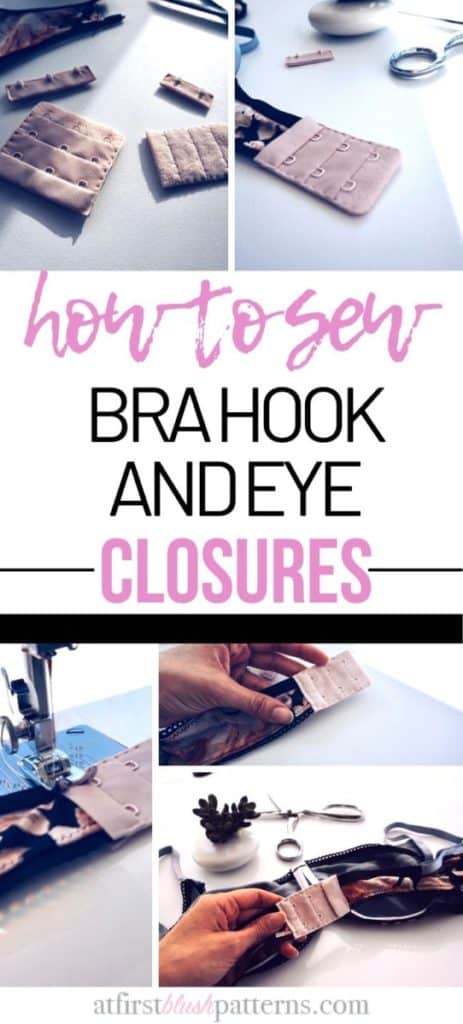
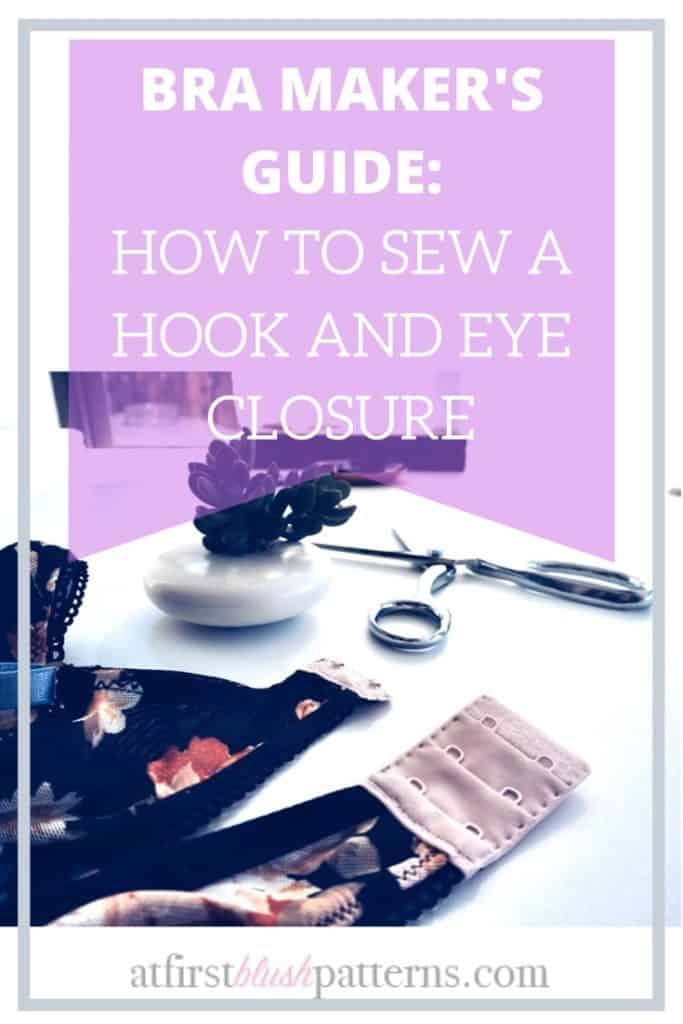
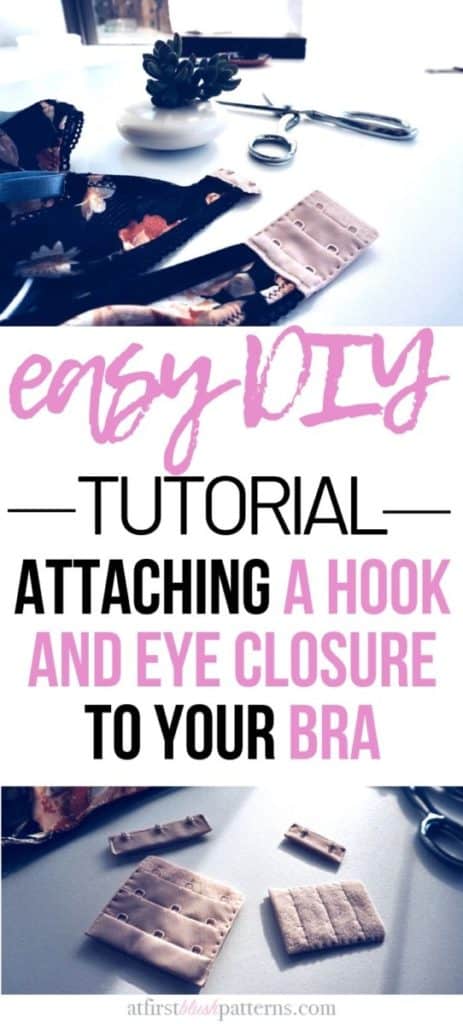
Are you just about finished sewing up your first bra but all that is left is the hook and eye closure? You have the instructions but you just need a few more photos and a little reassurance. Well, you are in the right place! Learning how to sew a hook and eye closure onto a bra takes only a few steps and just a little patience. Here is a quick list of what is needed before we dive in.
This post contains affiliate links. When you click and make a purchase from these links, we might get a commission. It doesn’t cost you anything extra!
How to Sew a Hook and Eye Closure onto a Bra?
- Attach the Eyes to the left side
- Press the Eyes in place
- Sew the Eyes to the band
- Attach the Hook to the right side
- Sew the Hook to the band
Pretty simple right? The hook and eye closure is one of the most important components of a bra therefore you will want to make sure you secure it correctly. Read on to find out more about Hook and Eye Closures including the different types, what they are used for and most importantly a detailed tutorial on How to Sew a Hook and Eye Closure onto a Bra.
What is a Hook and Eye Closure?
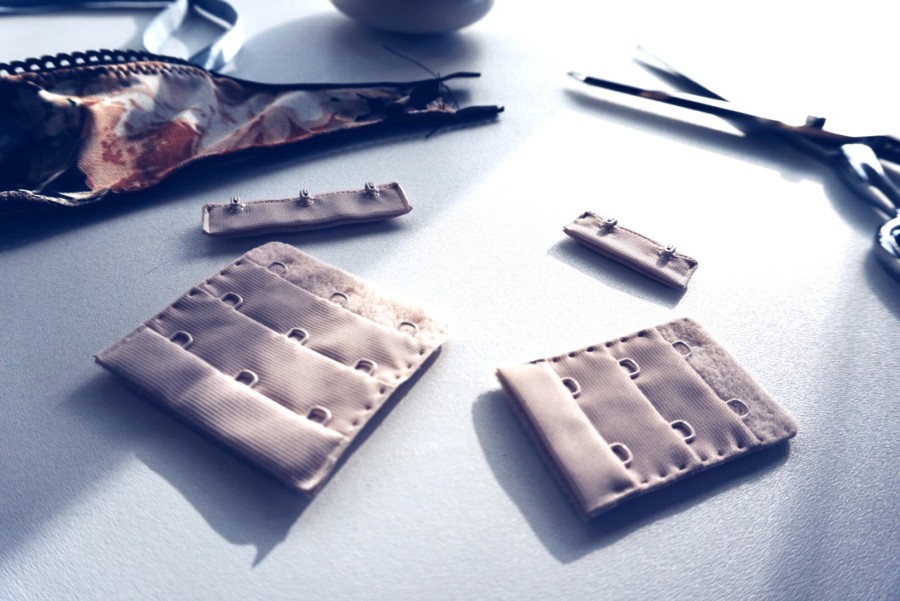
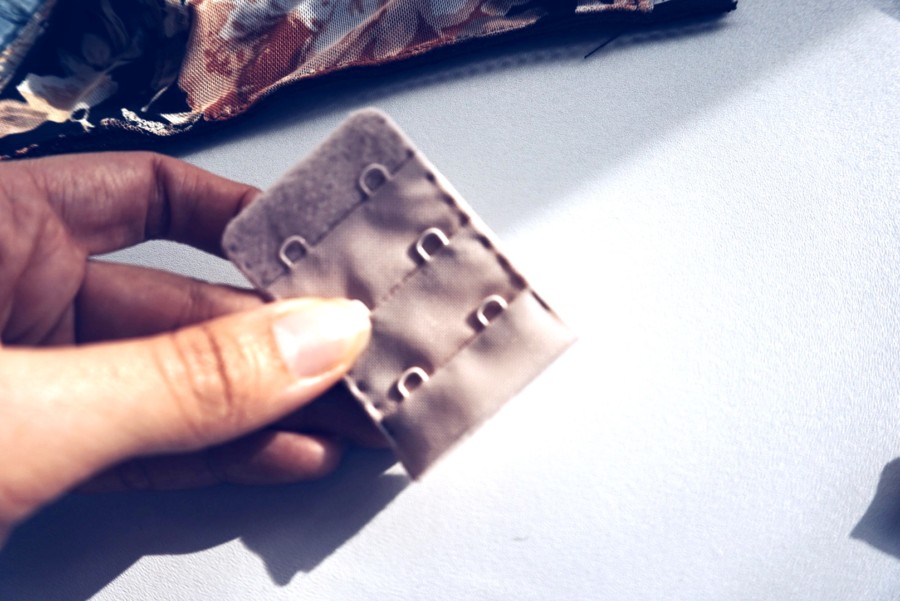
A Hook and Eye Closure is a fastener made of two components. One side has metal hooks and the other side has metal eyes which is where the hook fastens. The back side of the hooks is also soft as it lies against the body. There is an open flap at each end. The bra band is inserted between the flaps then sewn in place. It is secured with a bartack or narrow zigzag stitch.
This is a very common bra making notion as it allows the bra to be securely fastened to the body. Not all bras need a hook and eye. Typically pull on bralettes and sports bras will not have a hook and eye as they rely on elastic and/or spandex to hold the bra in place. Bras with a hook and eye closure are typically more structured than a bralette and will last longer as they do not just rely on elastic or spandex to hold the bra to the body.
What is a Hook and Eye Closure used for?
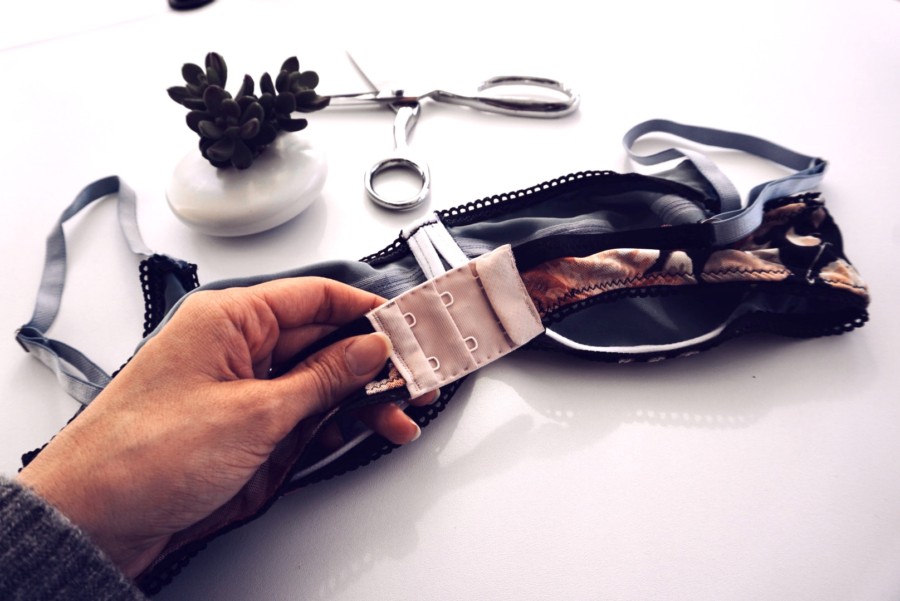
In this article, a hook and eye closure is used as a fastener for a bra. However, it can be used on other garments too such as merrywidows, corsets, and bustiers. Hook and Eye Tape is often used in Victorian Era Style garments for pieces that are held close to the body to contour to the body’s form. Single hook and eyes are used to fasten gaps at the top of a zipper. This is commonly seen on blouses, dresses, skirts and pants that have a zipper closure. Hook and Eye closures are used to close gaps because they are concealed behind the clothing for a clean finish while providing extra durability to the zipper.
Types of Hook and Eye Closures – How to Sew a Hook and Eye Closure:
Single Hook and Eye
These are the metal pieces that are not attached to a band of fabric. They are sewn directly onto a garment typically above a zipper to ensure the fabric stays close enough together so the zipper does not unzip. These are sewn on the wrong side of the garment to conceal the closure and provide a seamless look.
One Hook/Two Hook/Three Hook and More Closures
These are the closures you see on bras. They come in a continuous length that you can cut to your liking or you can purchase them pre-cut. Continuous length hook closures can be purchased by the yard or meter. They can be secured with a narrow zigzag stitch around the perimeter since they have a raw edge from being cut; however, this step is not necessary. Pre-cut hook closures are heat sealed so there is no need to secure the edges. Due to this finishing they are less likely to damage from long term wear.
Your choice of closure will depend on the length of your bra band where the hook and eye closure will attach. One hook for narrower bra bands and up to three hooks or more for wider bra bands. This is determined by the style and function of the bra.
Hook and Eye Tape
Hook and Eye Tape is a single long line of fabric that looks similar to tape with a width of one to three hooks on one side and one set of eyes on the other side. It can be purchased by the yard or the meter and is commonly used on form fitting clothing that has little to no stretch. You will see it on many historical garments such as those from the Victorian era before the invention of spandex and other stretchy fabrics. For example, on a Victorian dress you will see hook and eye tape used as a back closure. This type of closure is long so it will span from just below the neck down to the tailbone. Corsets are another common garment that use single, double or triple hook and eye tape.
Other Types of Bra Closures
Front Bra Closures
A front bra closure is a small clasp that functions as a slide, barrel or breakaway. It is sewn in the front of the bra between the cups where the bridge is located. These clasps are easy to use and are often found on T-back bras. They offer ease to the wearer because they are easier to access.
Elastic No Closure Bras
Bras that come with no closure are typically bralettes or sports bras. Bralettes rely on elastic sewn into the band or the spandex content within the fabric. Stretch lace or other lightweight stretch fabrics are commonly used for bralettes as they can easily be pulled over the head but still form back to the body once in place.
There are also pull over sports bras that are typically made of fabric with high stretch and high recovery. This is usually some sort of polyester and spandex blend. These bras have to stretch enough to pull over the head then recover to hold close to the body. They also have to maintain recovery while the individual is active and possibly perspiring which can change the way the fabric holds to the body.
Zipper closure
Often seen in sports bra, these bras have the zipper located in the front with a small hook in the interior center to make the zipper easier to zip up. Zippers are typically used on more structured sports bras with formed bra cups and T-back straps for added support.
How to Sew a Hook and Eye Closure onto a Bra – A Detailed Step-by-Step Guide
In this tutorial, we will be using a Two Hook and Two Eye Bra Closure.
Supplies
- Fully constructed bra
- Hook and Eye Closure
- Thread to match
- Universal Needle
- Pins or Mini Binder Clips
- Optional: Adhesive Spray
Step 1: Attach the Eyes to the Left Side
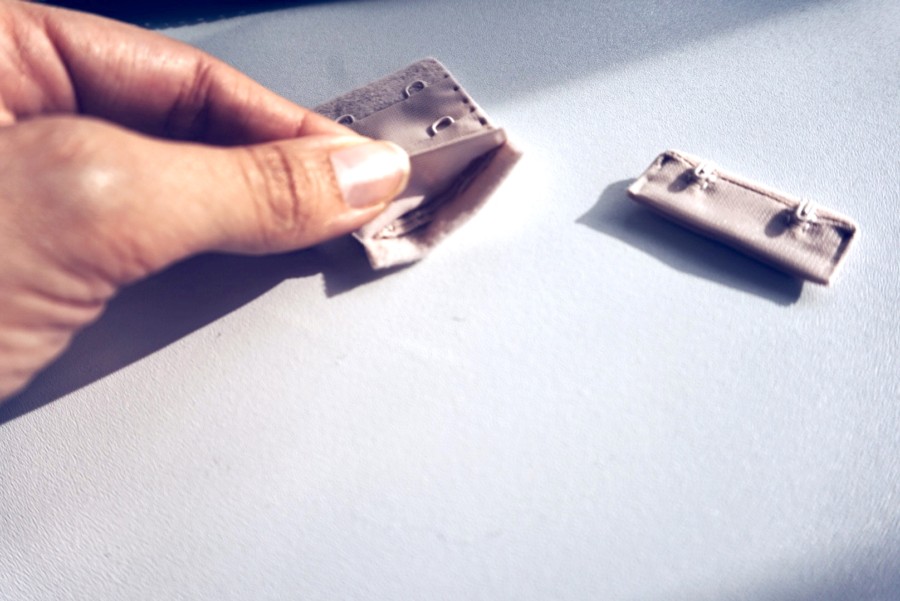
Take your eye closure and open up the tape flaps. These flaps are usually a width of about ⅛” to ¼”. I prefer the ¼” width because it is easier to sew and holds more fabric which makes it more secure.
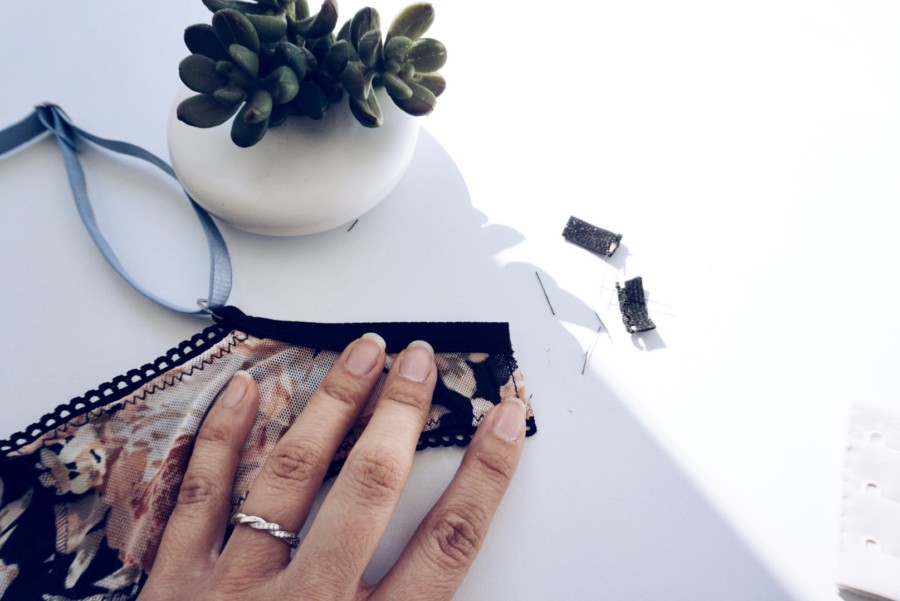
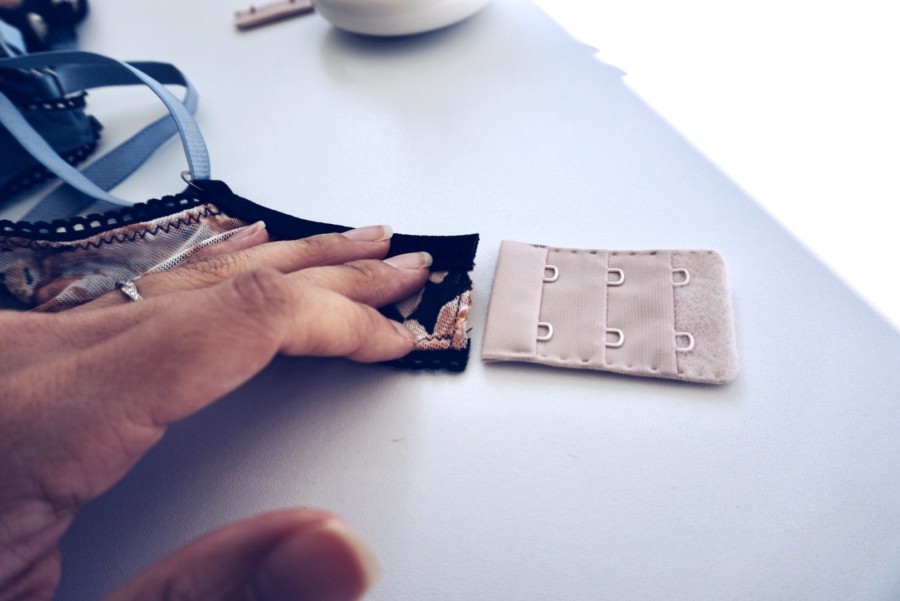
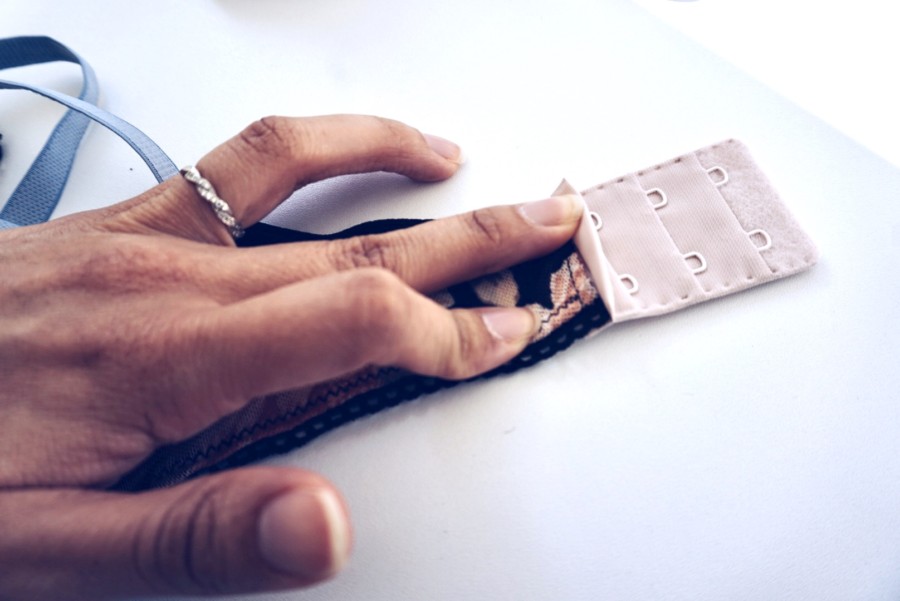
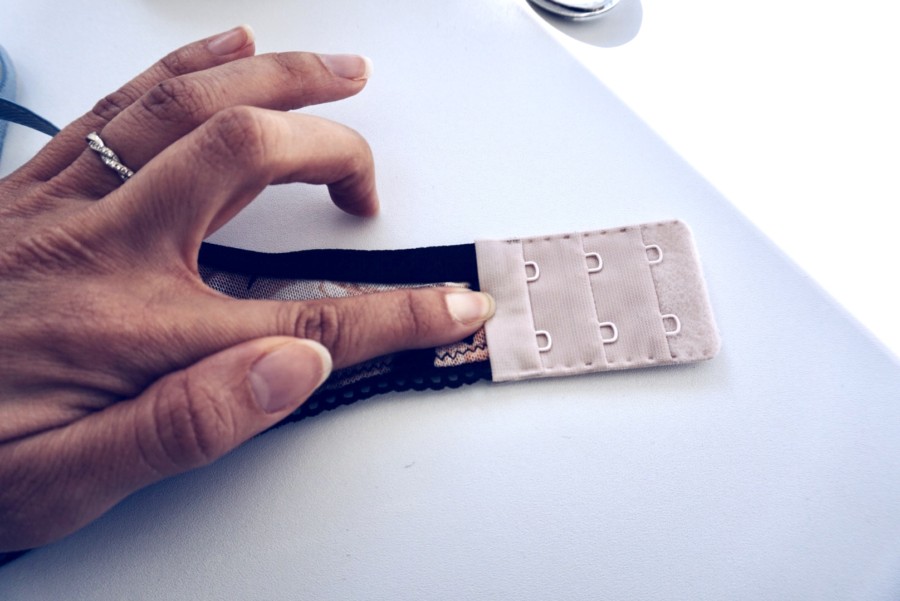
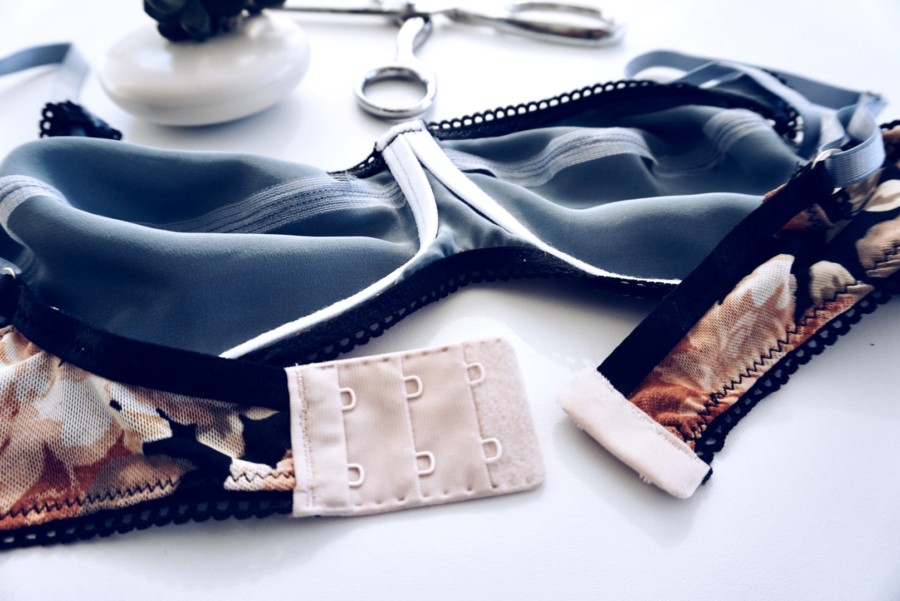
Be sure to trim down any elastic on the band that is longer than the seam allowance first. Take the narrow of the left side band. This is the left side when wearing the bra so make sure you have chosen correctly. With the right side of the band fabric facing you insert the band into the eye closure. The eyes should also be facing you and acting as the “right” side of the closure. You can use adhesive spray to hold the closure in place.
Step 2: Press the Eyes in Place
Press the flap over the band in place to help secure it in place. This step is optional.
Step 3: Sew the Eyes to the Band
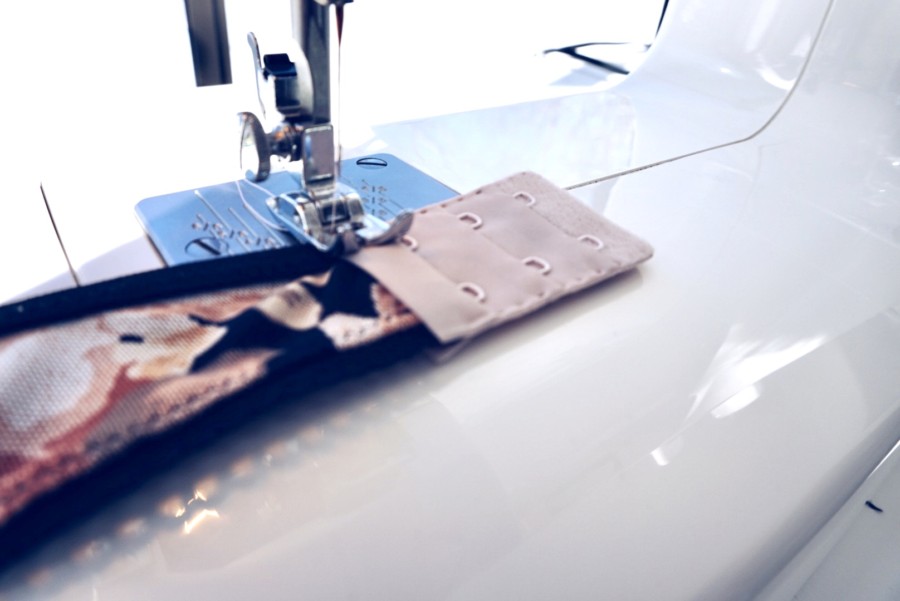
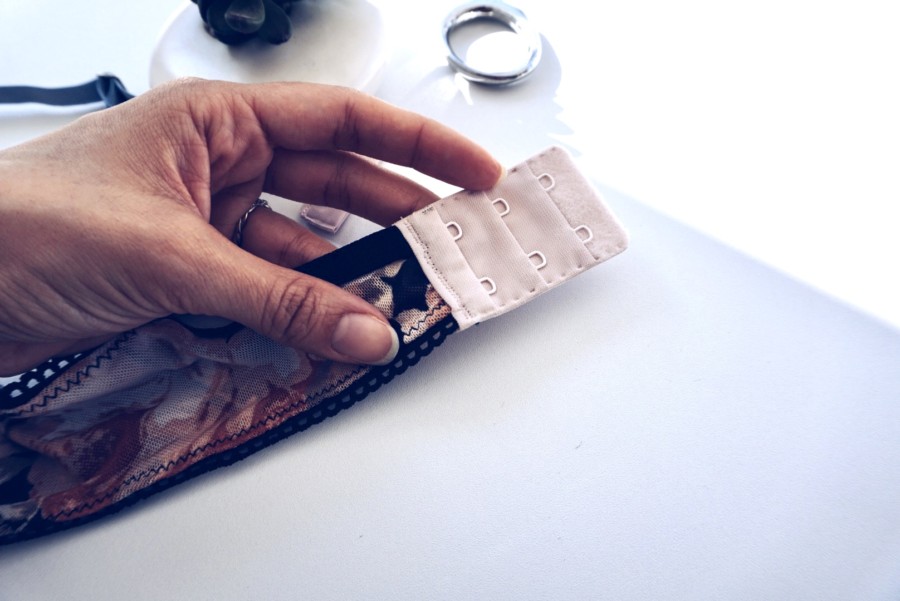
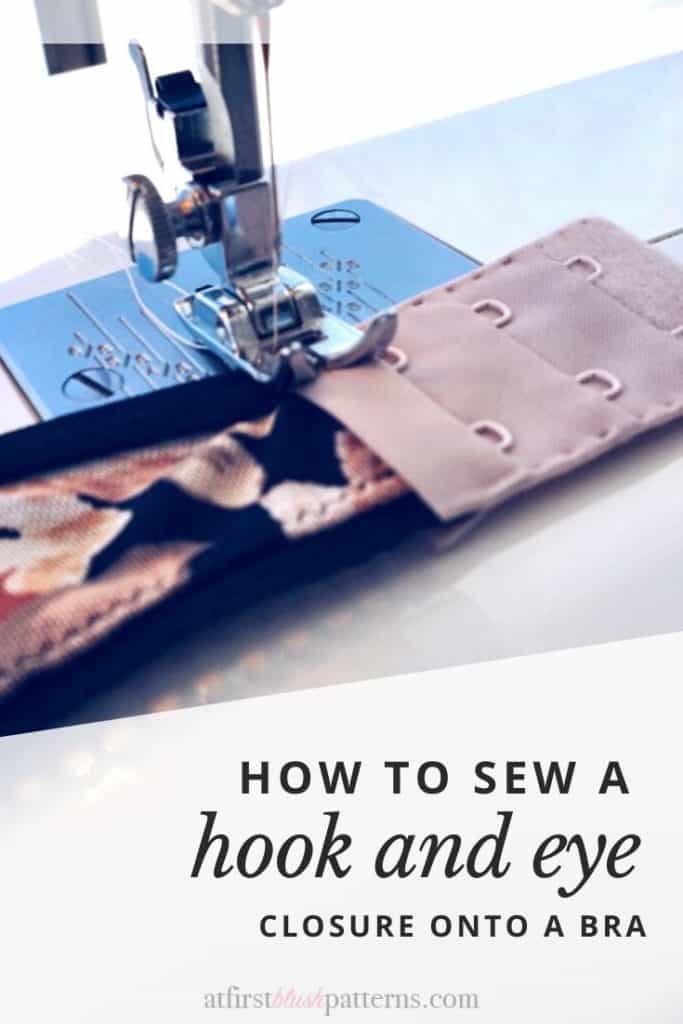
Take your bra over to your sewing machine. Carefully place the band and closure underneath the presser foot. Position your needle over the edge of the closure and sew with a narrow zigzag stitch. Sew slowly and carefully and be sure to visually inspect that the closure is still lined up with the band correctly. Back tack on both the front end and the back end.
Step 4: Attach the Hook to the Right Side
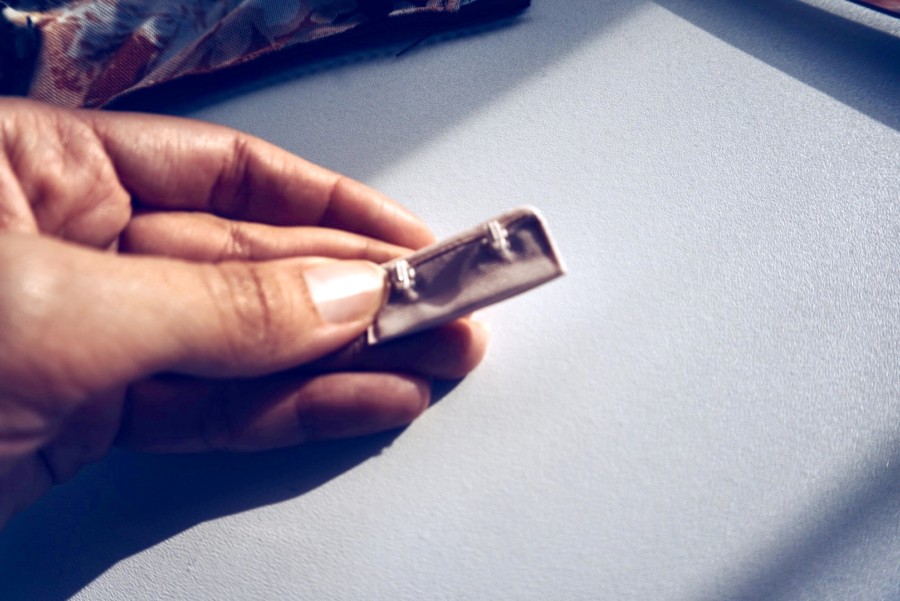
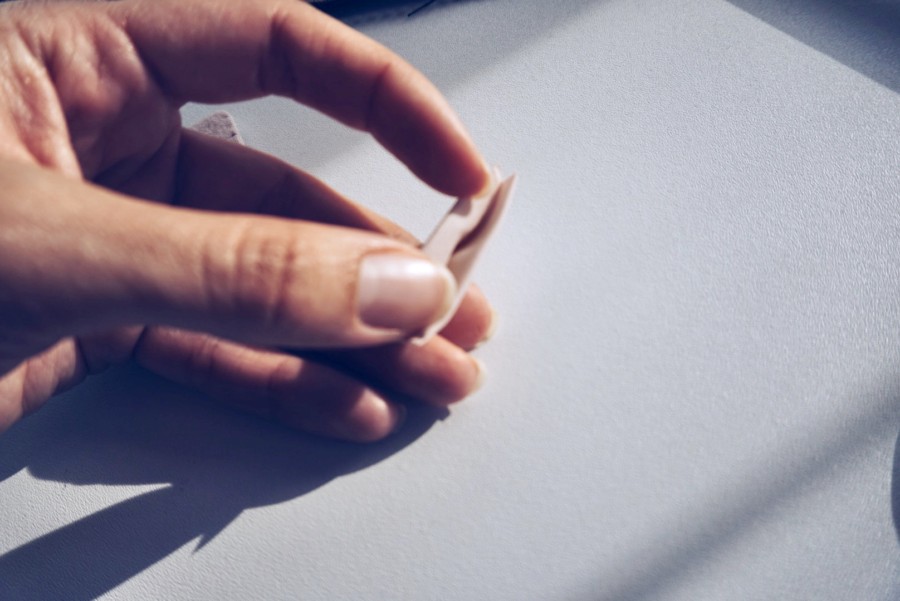
Be sure to trim down any elastic on the band that is longer than the seam allowance first. Take your hook closure and open up the flaps. This piece is narrow so you have less to work with on this side. Take the narrow of the right side band and with the right side of the band fabric facing you insert the band into the hook closure with the hooks facing down.
Step 5: Sew the Hook to the Band
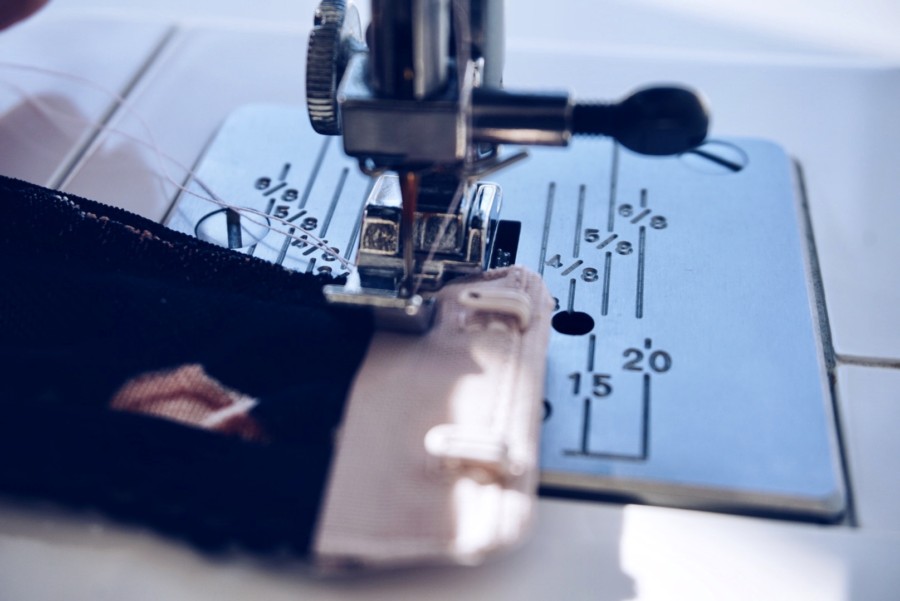
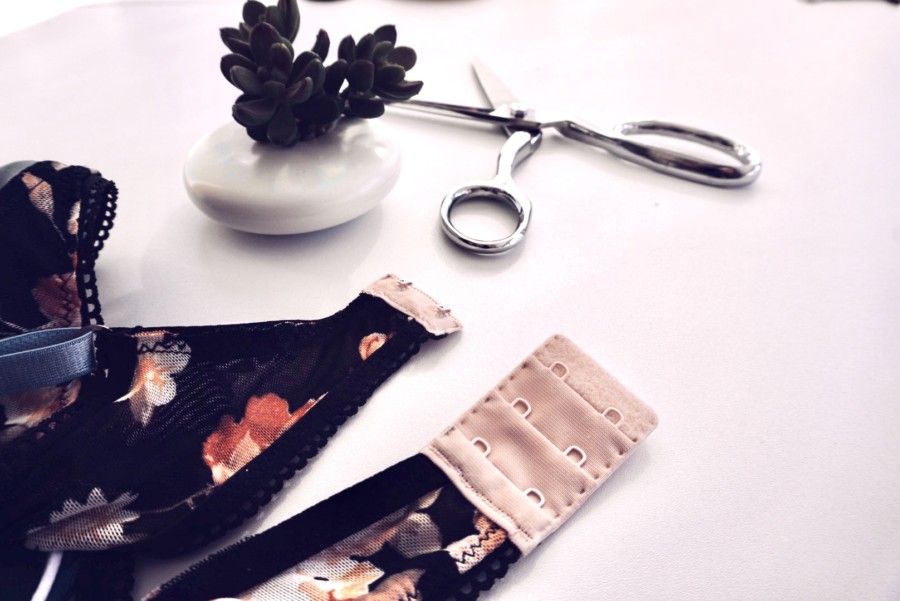
Before you begin sewing switch out your presser foot to a zipper foot if you have one or one that will not get caught on the hooks.
Carefully place the band and closure underneath the presser foot with the hooks facing up. Position your needle over the edge of the closure and sew with a narrow zigzag stitch. Sew slowly and carefully and be sure to visually inspect that the closure is still lined up with the band correctly. Back tack on both the front end and the back end.
Tips, Tricks & Related Questions – How to Sew a Hook and Eye Closure:
You can use spray adhesive on the open flaps of the hook and eye to easily hold the bra band in place while sewing.
Be sure to take into account the width of your bra band where the closure will be inserted when purchasing a hook and eye closure. You want to be able to match the widths for a seamless look.
You can even make your own hook and eye closures! This is helpful when you want an exact fabric match throughout your bra. Tutorial to come soon on this topic!
The hook and eye was invented and patented by E.C. Beecher in 1900 but the type of hook and eye we see today was innovated by M.E. Company in 1902.
Where to Buy Hook and Eye Closures?
Here are a few examples of hook and eye bra closures. Click through these affiliate links to purchase.
One Hook Closure on Amazon.com

Two Hook Closure from one of my favorite lingerie supply shops
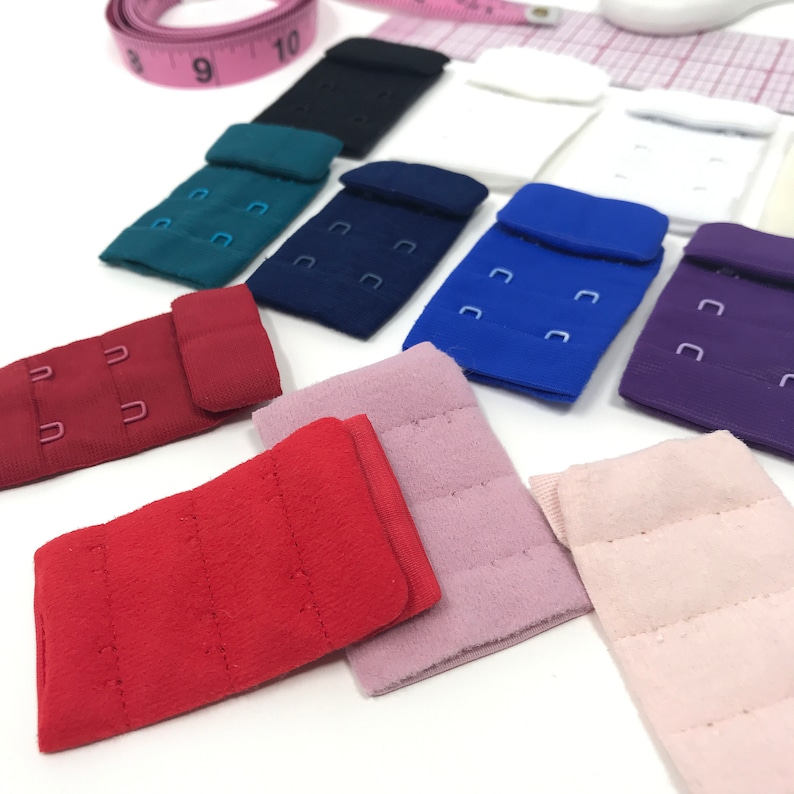
Three Hook Closure from one of my favorite lingerie supply shops
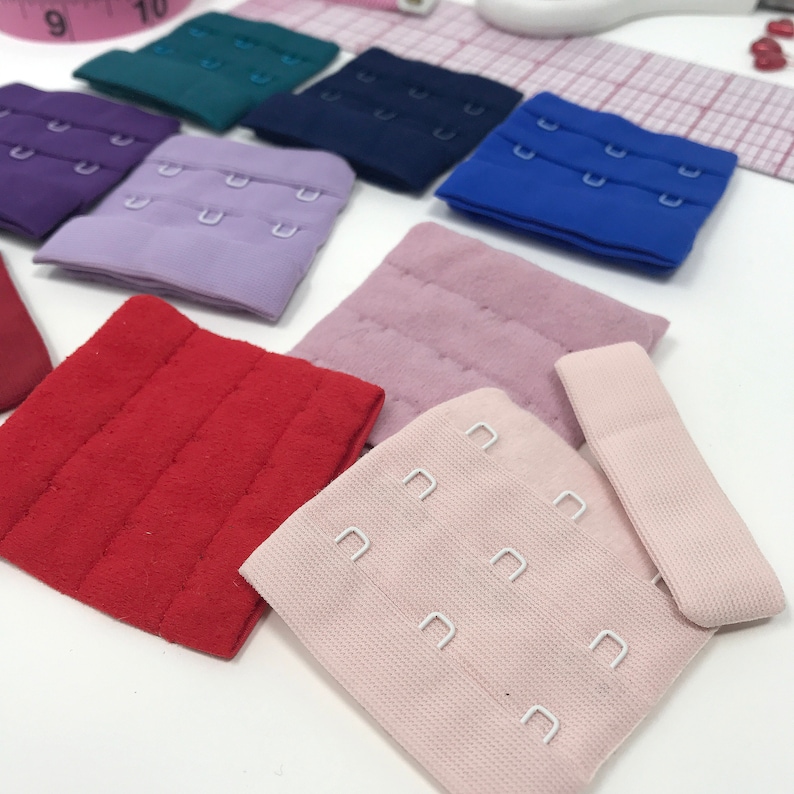
If you want to explore more online retailers that carry hook and eye closures check out my article on the 18 Must Have Bra Making Supplies and scroll through to find these supplies. I have a detailed list of online retailers across the globe that carry hook and eye closures.
Conclusion – How to Sew a Hook and Eye Closure:
Sewing a hook and eye closure to your bra is a daunting task at first. You need to have focus and precision while sewing because this is an important component of your bra. It is a few simple steps that once you get the hang of you will be able to easily complete as you improve your bra making skills.
Happy Bra-Making!
Love this tutorial? Pin it for later!
