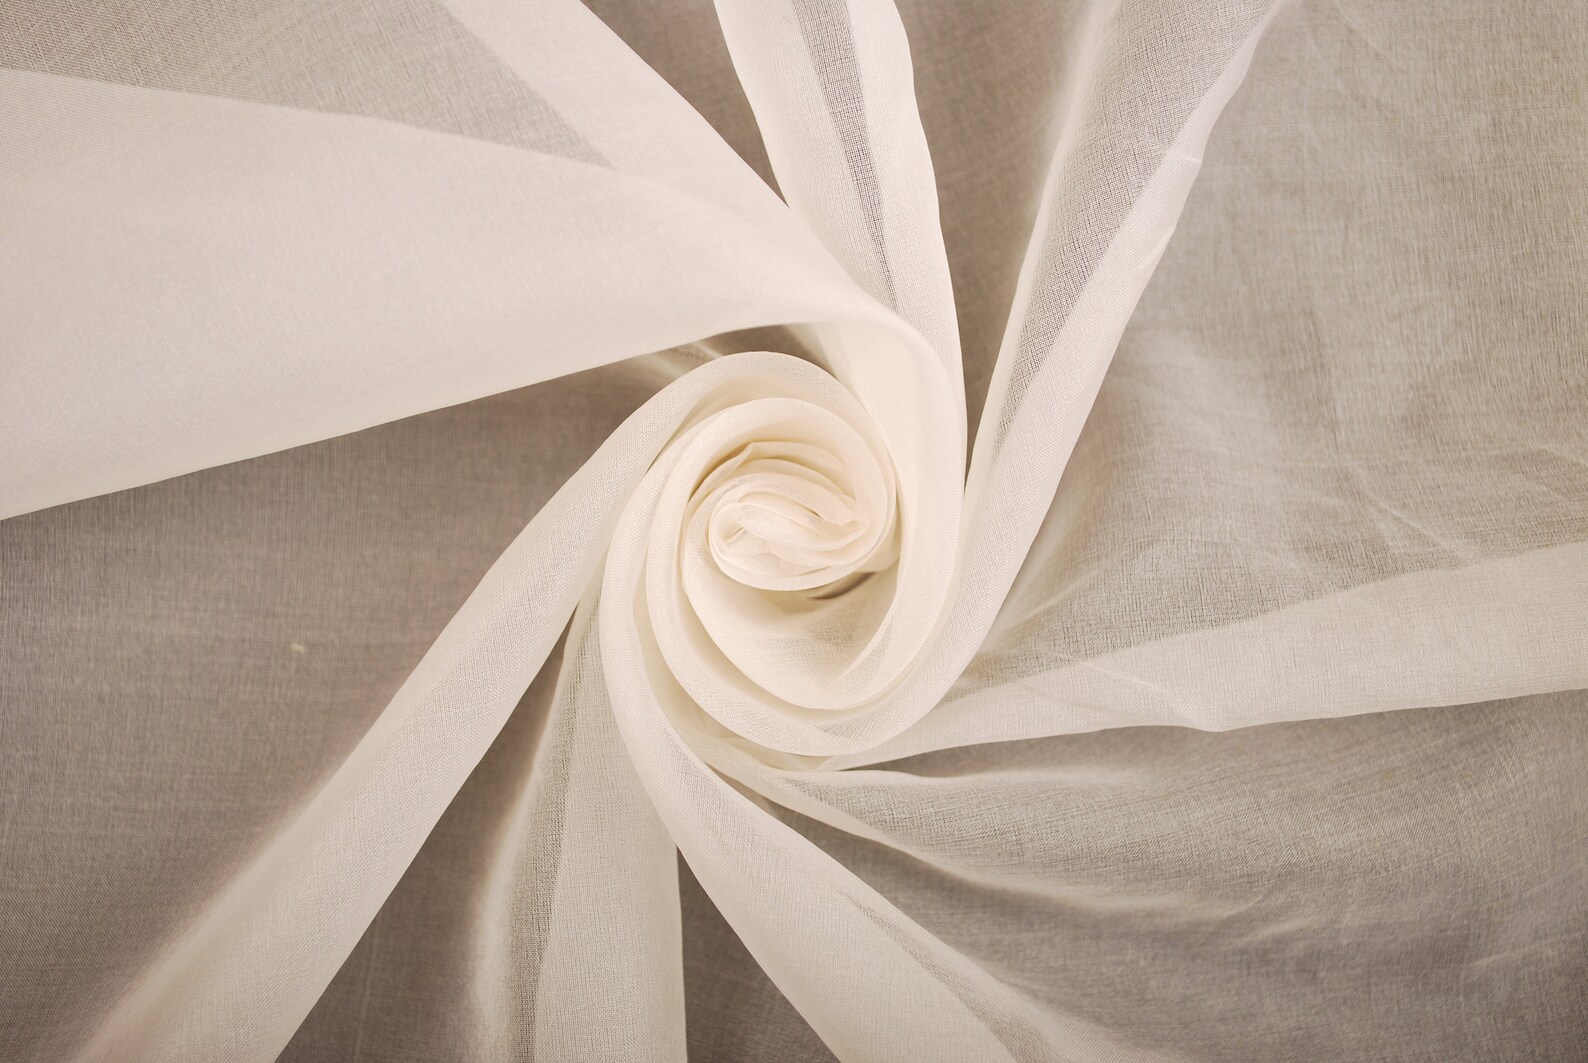
Just hearing the word silk makes one think or beautiful, lustrous fabric that screams luxury and comfort. As a sewist, the idea of sewing silk fabric brings up a different slew of emotions. A little confusion on how to sew a fabric that is so slippery, some trepidation on the fact you could mess it up and it cost you so much money in the first place but it mostly brings up feelings of intrigue for its beauty and all the possibilities of bringing your silk garment to life.
This post contains affiliate links. When you click and make a purchase from these links, we might get a commission. It doesn’t cost you anything extra!
How to Sew Silk Fabric?
- Prewash your silk fabric
- Transfer your pattern markings to your fabric or pin your pattern to your fabric
- Cut your silk in a manner that reduces fabric slippage such as using a rotary cutter and self-healing cutting mat
- Prepare your machine with a fine, sharp needle and cotton or polyester thread. Use a scrap to make sure the tension and thread length and width are the correct setting for your garment.
- Press your silk fabric with a sheer pressing cloth and on the silk setting of your iron
- Match fabric pieces together with silk pins, ultra-fine glass head pins or mini binder clips.
- Trim away any fraying fabric and stabilize the edges
- Begin sewing at a slow and steady pace while pausing often to make sure the fabric is not bunching or getting caught.
- If your project is an unlined garment use a french seam or flat fell seam if you did not overcast the edges previously or you want a more polished look
Wow, just going through that quick list on how to sew silk just tells you how much more care and precision is needed to sew this luxurious fabric. If you think that sewing silk may not be your cup of tea but you are still dreaming of luxurious silk handmade bras or panties then read on as I break down each point into easy to follow steps below. Your first foray with sewing silk may not be your best work but I guarantee your next silk project will be all the better for your patience and practice. But first, let us learn a little more about silk!
What is silk?
Silk is a natural fiber that is derived from the larvae of silk moth cocoons. This process is called sericulture in which the yarns of the silk moths are extracted in captivity for the purpose of textile manufacturing. Several types of insect produce silk typically during metamorphosis but the silk of moth caterpillars is what is often used in textiles. Silk is shiny in appearance when light is reflected on the fiber due to the natural fiber proteins shaped in a triangular prism structure. This structure causes silk to refract light which will give the appearance of different colors.
What are the origins of silk?
Silk originated in Ancient China during the Neolithic period where they discovered that the silk worm/moth or Bombyx mori produced a strong thread-like fiber to form its cocoon. They used this fiber to weave into fabric that could be dyed or painted. Silk production was exclusive to China until around 550 AD when other empires became aware of silk fabric and thus the Silk Road trading network opened and connected East Asia, Europe, India and Africa.
What is considered silk fabric?
Silk fabric is a thin yet durable fabric woven from the natural protein fibers of the cocoons of silk worms while undergoing metamorphosis. Several types of silk have been manufactured throughout time. Let’s take a look at some of the most popular types of silk fabric:
Dupioni
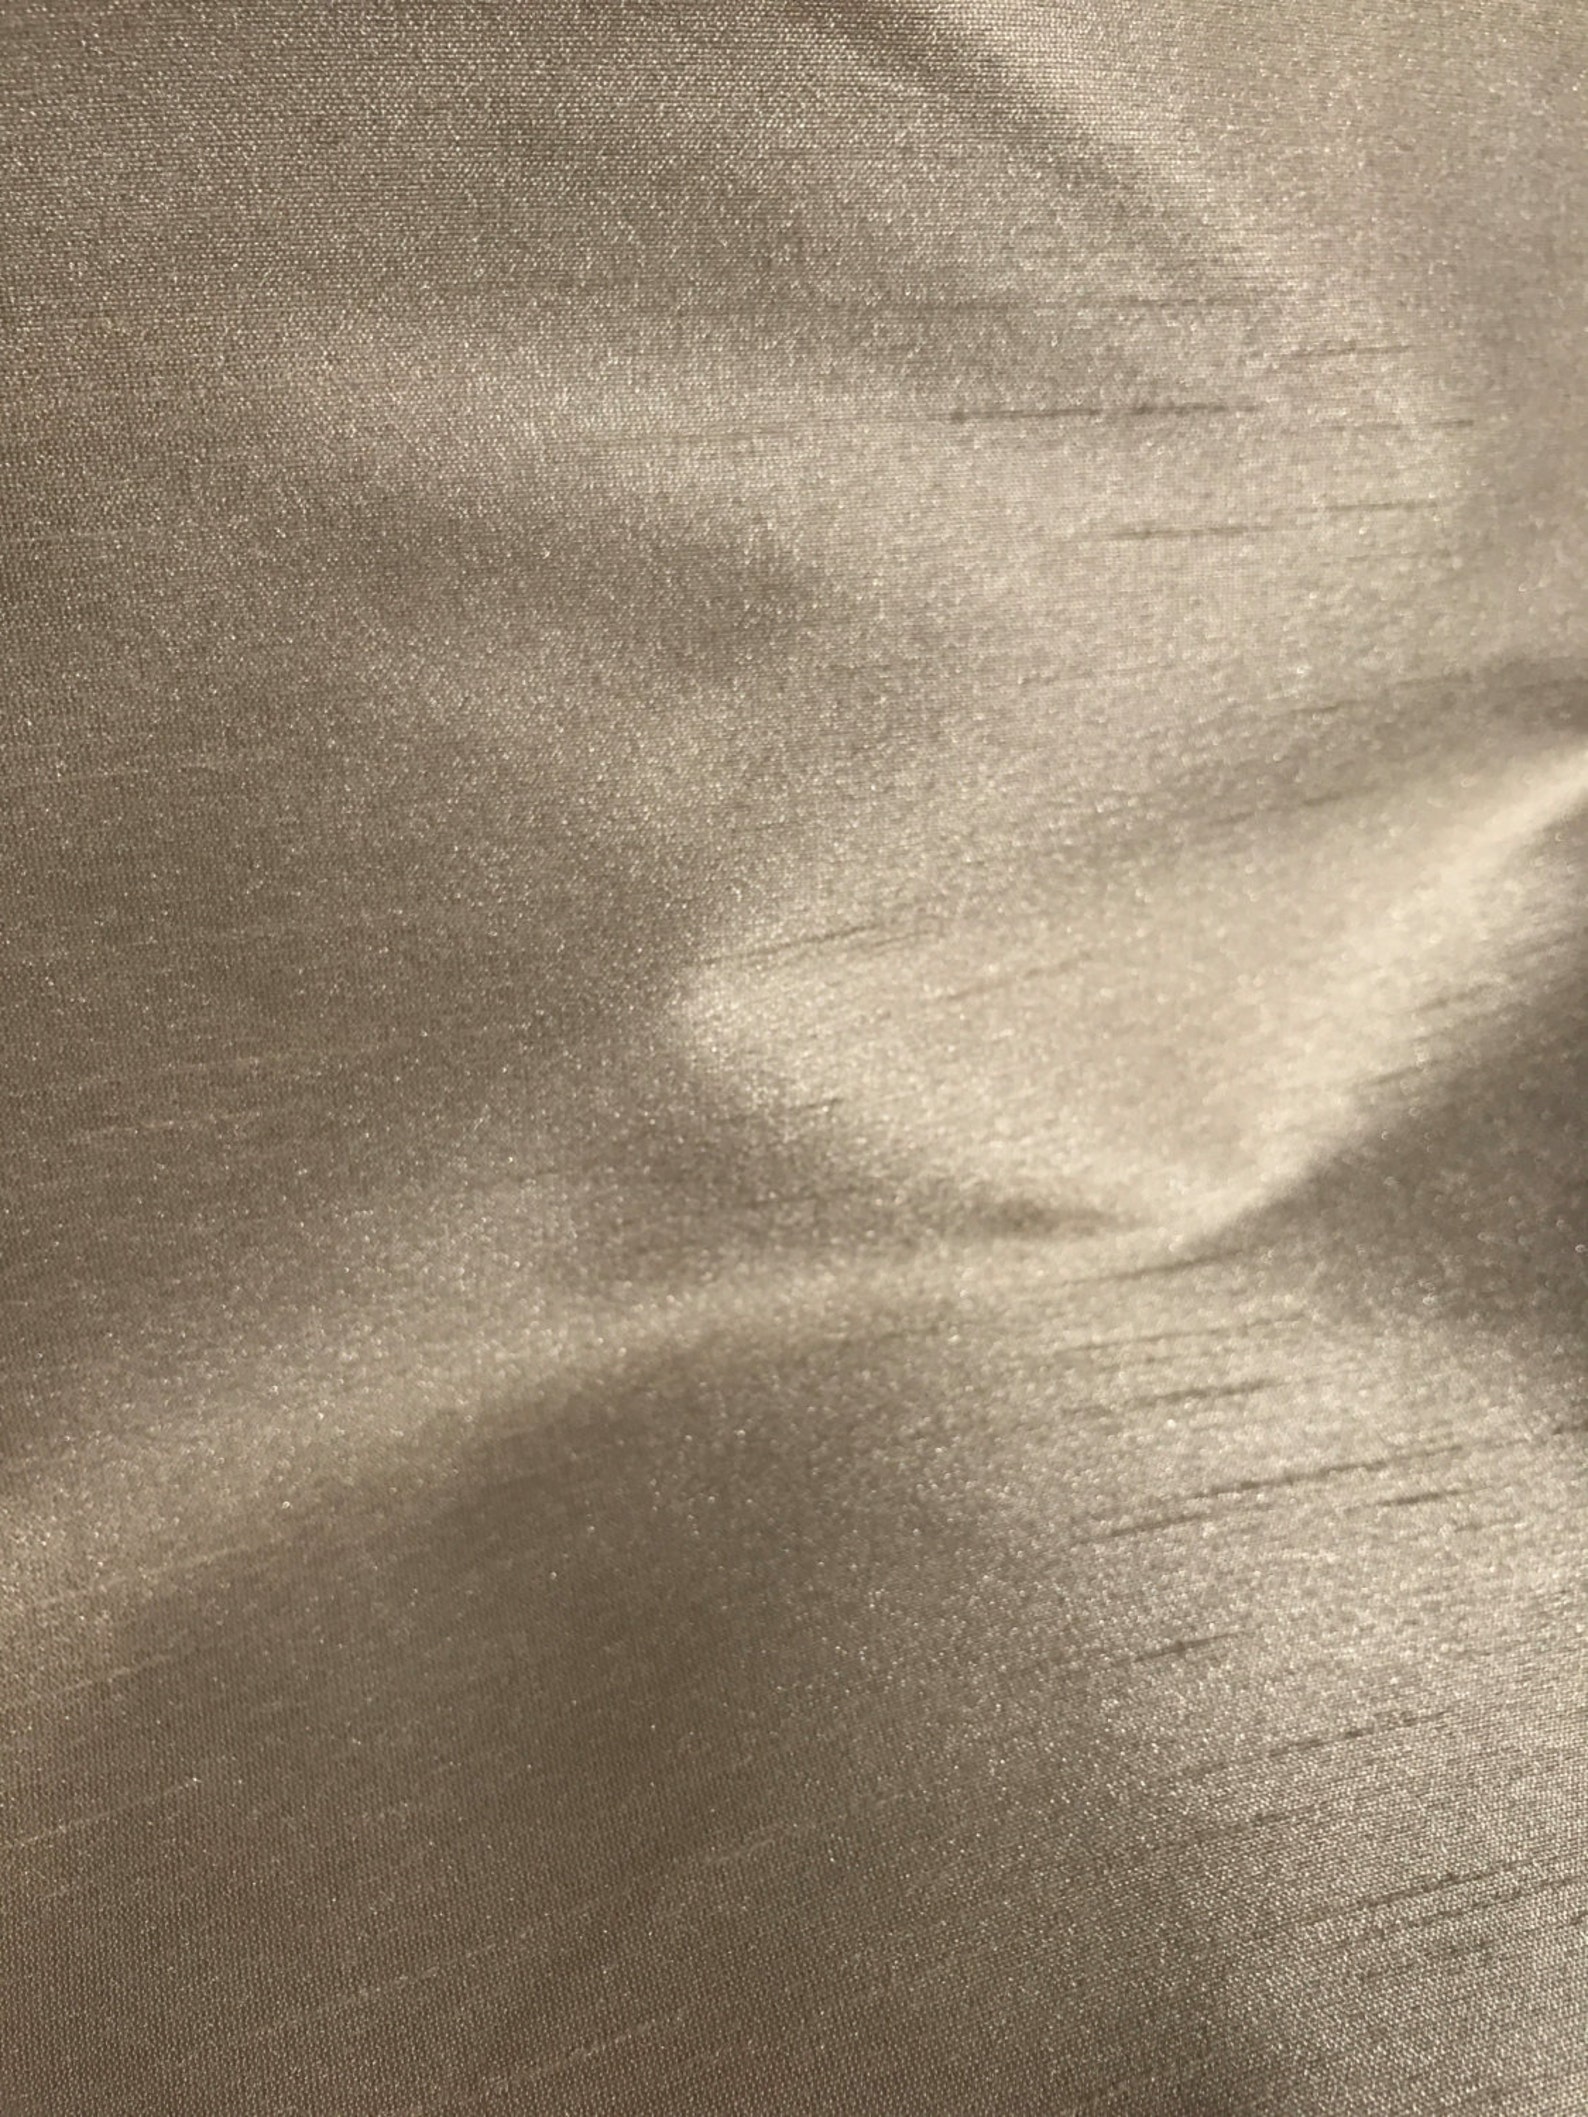
Dupioni which means double is a type of silk fabric created in a plain weave pattern using fine thread on the warp and an uneven double strand thread on the weft. It has a very shiny surface with irregular slubs that create texture and should not be mistaken as damage. Purchase Dupioni from this Etsy Shop affiliate link.
Shantung
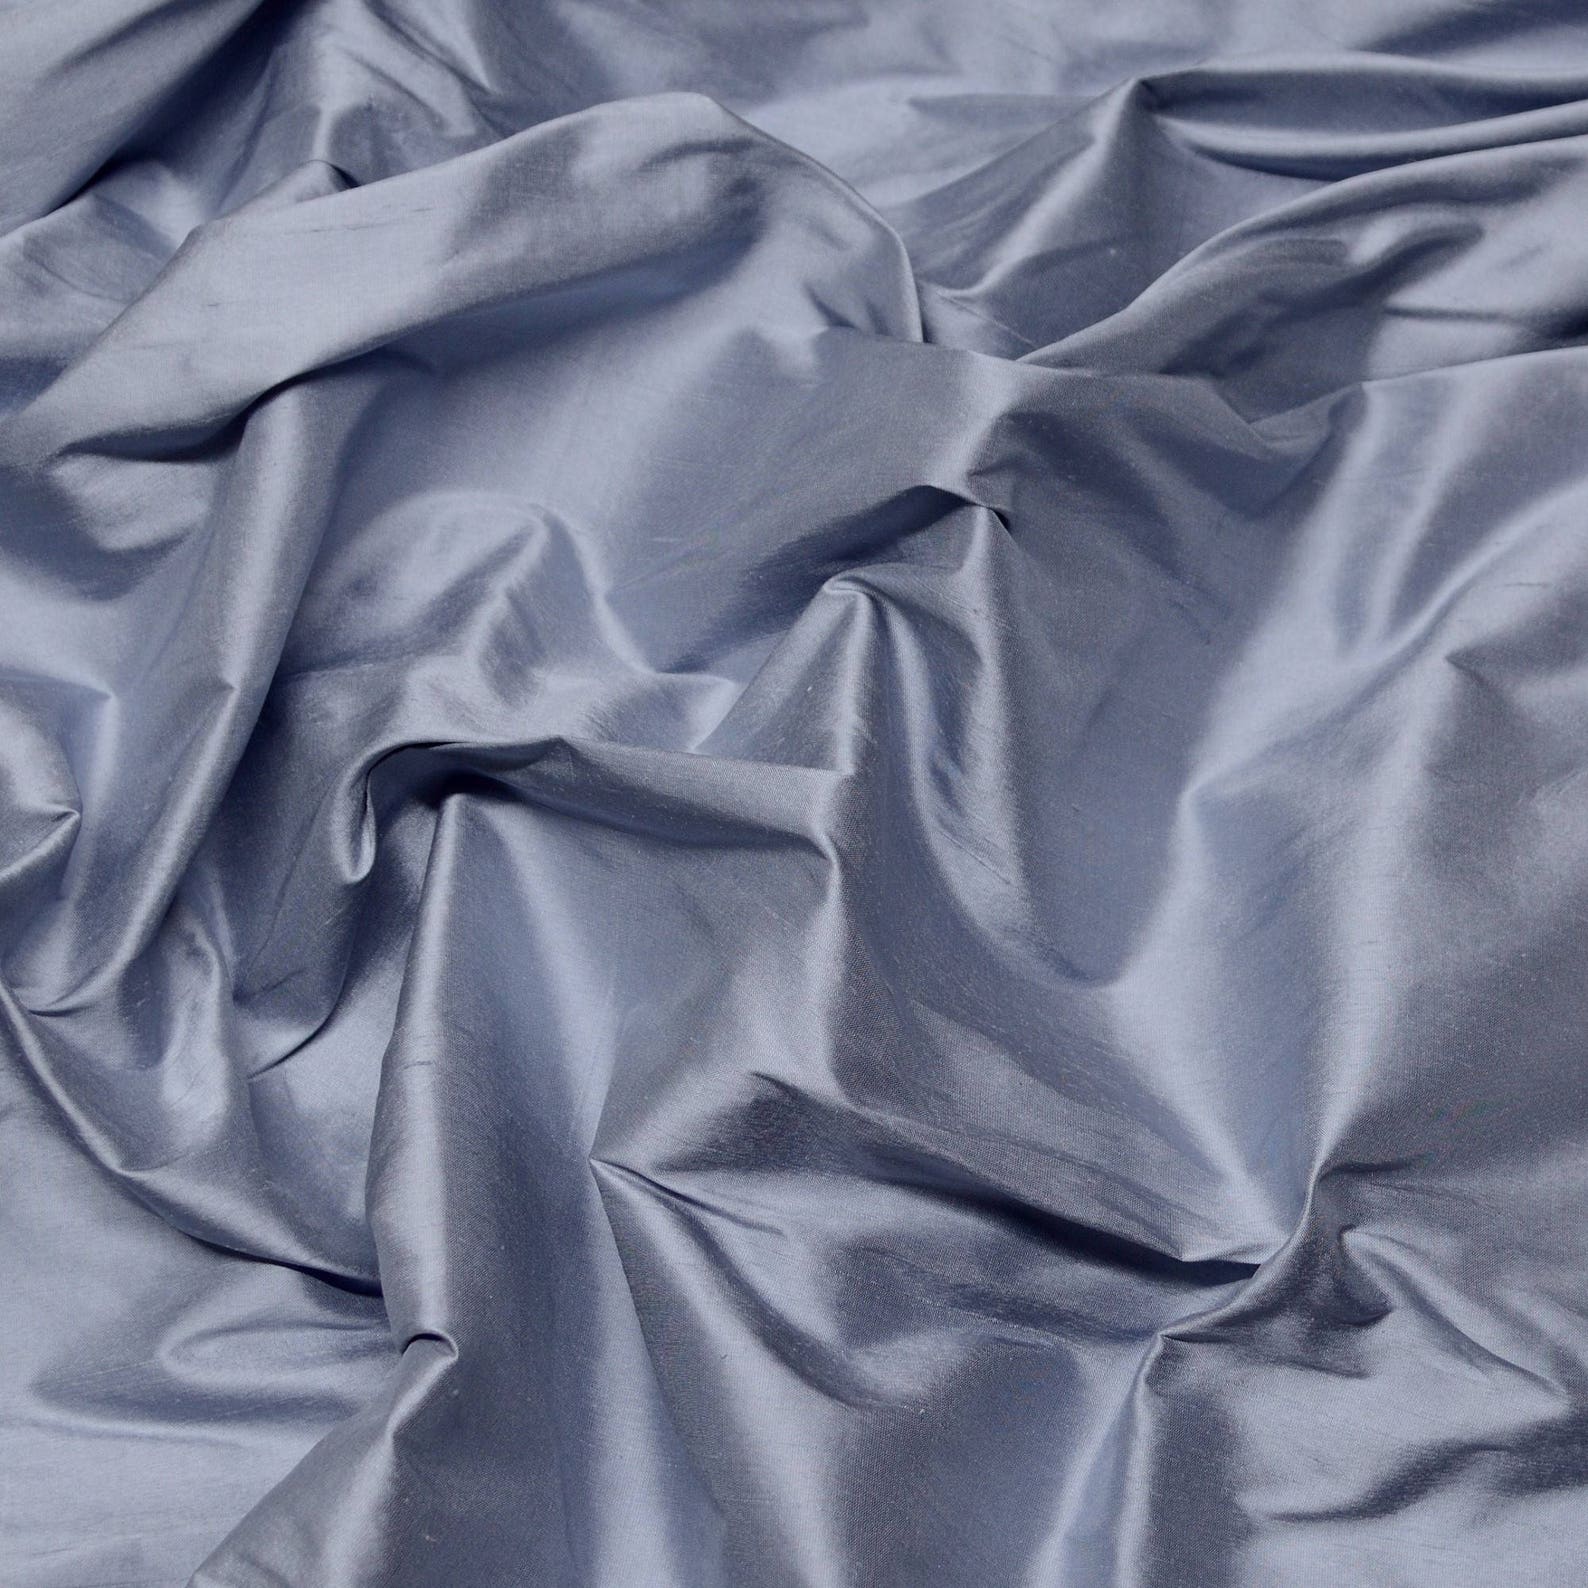
Shantung silk often mistaken for Dupioni is similar in texture but is actually more lightweight with less slub irregularity. Shantung has less sheen than Dupioni because it follows a single thread color woven pattern that is machine-made. This is a luxurious fabric often used for special occasion garments. Purchase Shantung from this Etsy Shop affiliate link.
Habotai/Habutai
Habotai silk is a lightweight plain weave fabric that is soft to the touch and shimmery. This is a basic silk that is relatively inexpensive. It can be woven to different weights that can be used for a variety of projects including blouses, lingerie, scarves and linings. Purchase Habotai silk from this Etsy Shop affiliate link.
Georgette
Silk Georgette is a lightweight, sheer fabric with a matte texture. It has a grainy hand due to twisting of both the threads in the warp and weft. This fabric has very nice drape that lends itself well to flowing garments such as dresses and scarves especially high-end garments such as bridal wear and even gowns. Purchase Silk Georgette from this Etsy Shop affiliate link.
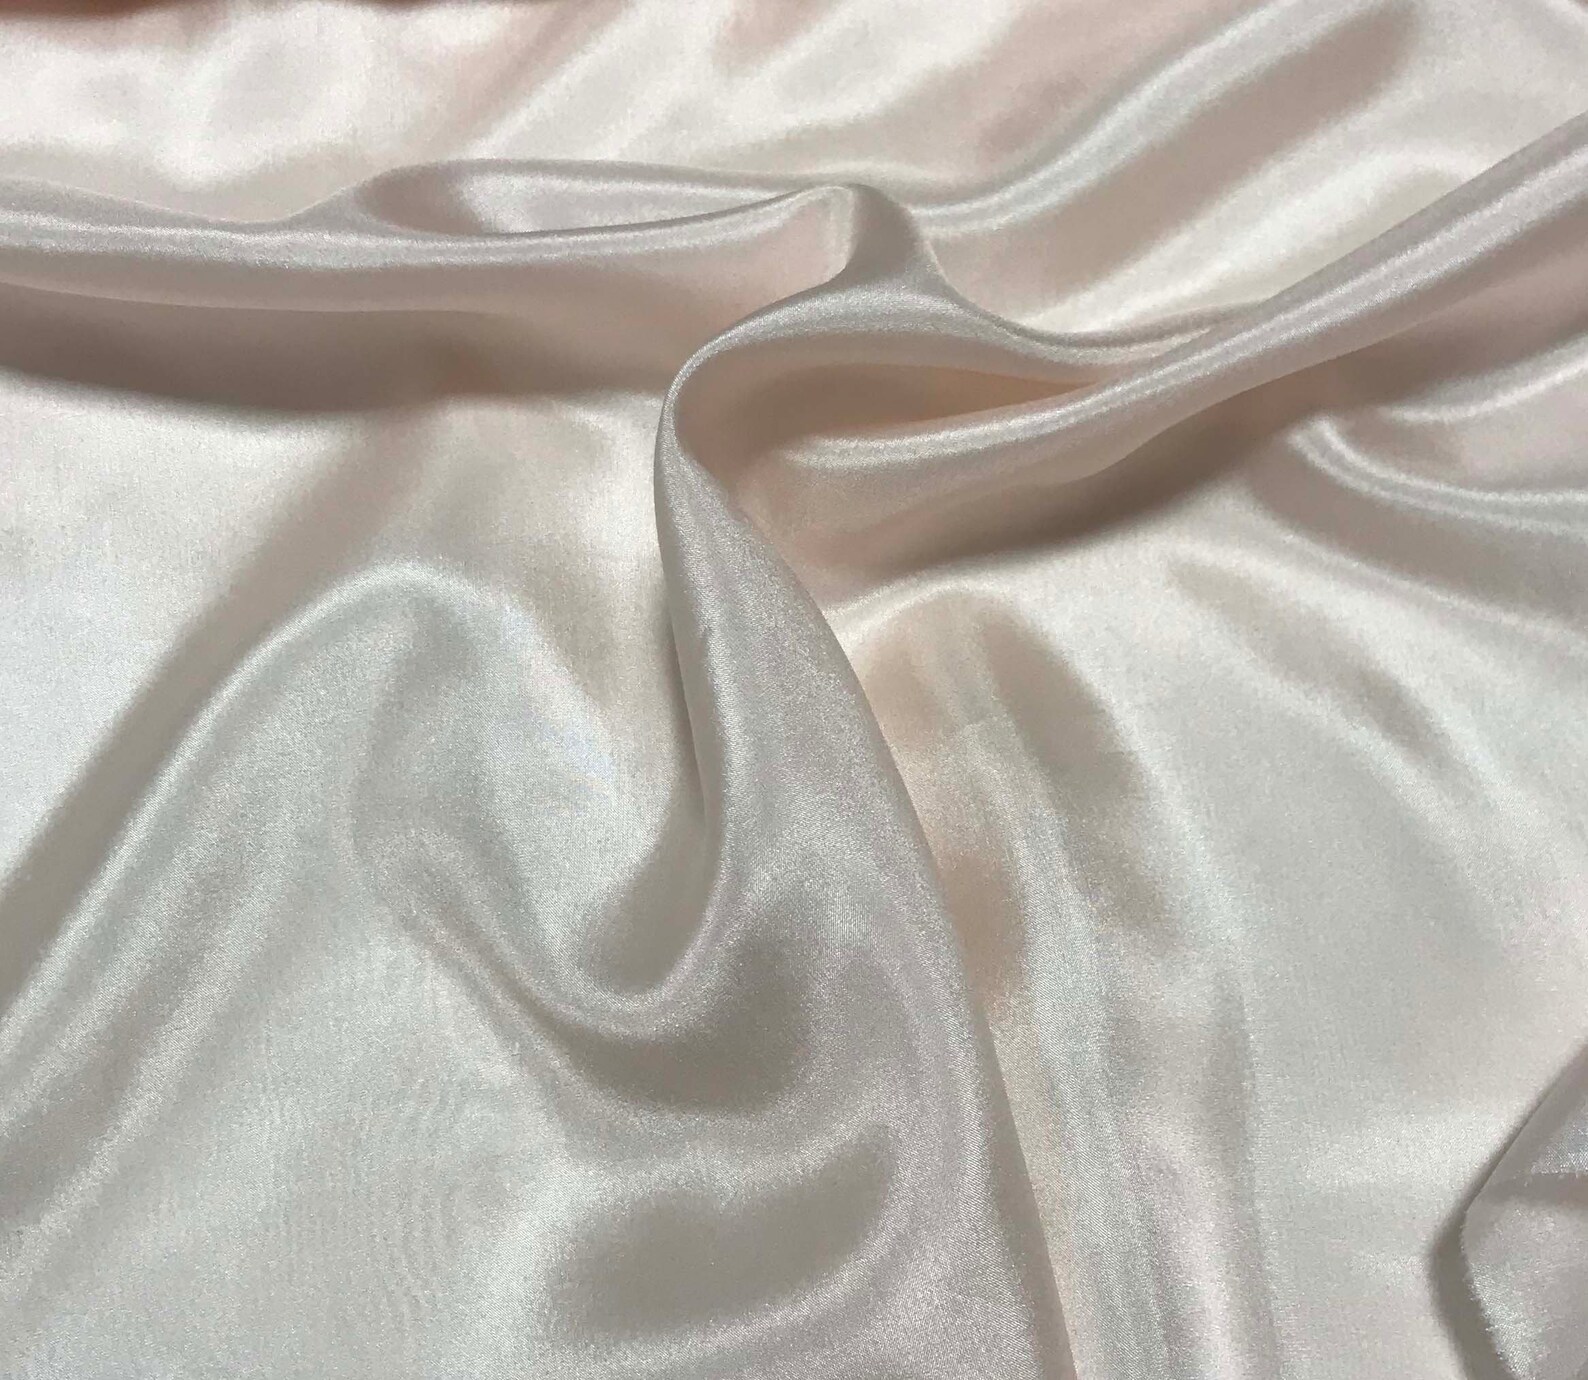
Charmeuse
Silk Charmeuse is a shiny soft fabric made using the satin weave in which four or more warp threads are woven across the weft threads to ensure one shiny side and one dull side. This is a lightweight fabric that is breathable yet insulates well. It is known for its fluid drape making it great for lingerie. Purchase Silk Charmeuse from this Etsy Shop affiliate link.
Chiffon

Silk Chiffon is a lightweight, sheer plain woven fabric. It has a crepe-like texture due to high twisting of the threads in the warp and weft when woven. It has some stretch and fluid drape making it perfect for evening wear. Purchase Silk Chiffon from this Etsy Shop affiliate link.
Extra Note on Fabrics!
Don’t confuse silk with slippery polyester fabrics that have the same name. If you want silk be sure to double check the content of the fabric you are purchasing as there are synthetic fabrics that use the same names as above. However, if you want to purchase a similar polyester fabric you can use the same sewing techniques found in this post.
How to Sew Silk? Detailed Step-by-Step Tutorial
Step 1: Prewash your silk fabric
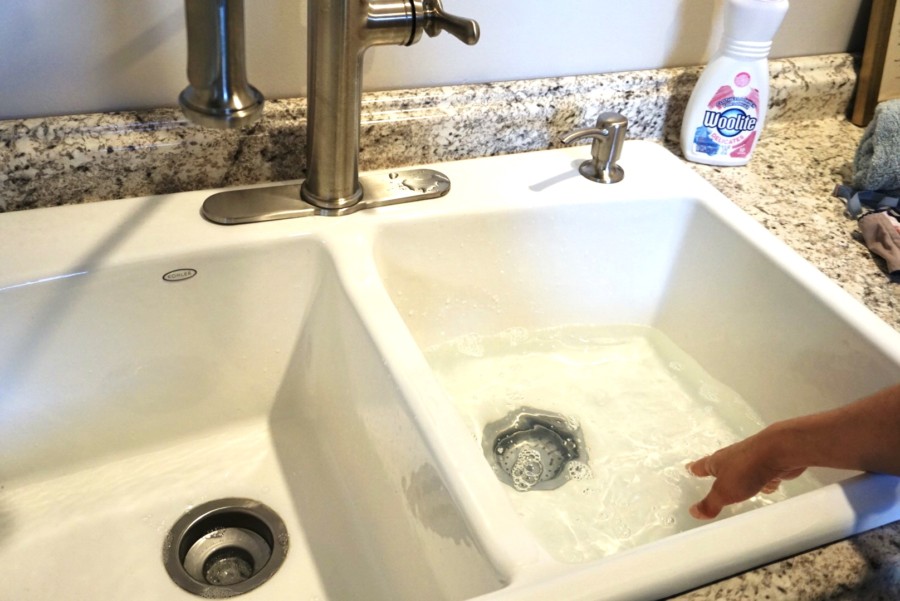
It is important to prewash your silk fabric because it is susceptible to shrinking and it can prevent future water mark stains. Silk will typically shrink roughly 5% to 15% depending on the weave of your silk fabric. Always err on the side of caution that it will shrink at the maximum level. You do not want to sew your silk garment then wash it only to find that your garment is now distorted. Do not skip this step- silk is a very delicate and expensive fabric that needs to be treated as such.
When hand washing any garment use a gentle detergent such as Woolite. You can use this affiliate link for my recommendation. I also have a tutorial on how to hand wash lingerie here.

Wash you silk in a sink or washing bin. For most silks, you can also use the gentle or delicate cycle on your washing machine. I have a regular load washer and a small load washer that has a delicates option. If you have one of these washing machines you can wash your silk on the delicates cycle with mild detergent.
Some silks do need to be dry cleaned so be cognizant of your specific silk. One that comes to mind is dupioni.
Just like any fabric, wash like colors with like as to not allow the dye to bleed onto your other fabrics but also to let the dye run out of your current silk fabric. This is also important so you safeguard other garments that you may wash with your new silk garment in the future.
Once you have hand washed or machine washed your silk fabric then it is important to soak your fabric in a mixture of water and white vinegar to remove any soap residue. Mix a ¼ cup of white vinegar per gallon of water in your sink or washing bin. Move your silk fabric around until it is completely submerged then mix it around. Drain the mixture then rinse your silk fabric under cool water to remove any lingering vinegar and/or odors from the fabric.
Now that your fabric has been pre-washed it is time to dry it. Do not wring out your fabric rather lie it on a dry towel then cover it with another dry towel and gently massage the water out. After the excess water has been removed then hang your fabric to dry or partially dry it in the dryer on a low setting.
Step 2: How to Transfer Your Pattern Onto Silk Fabric
Transferring your paper pattern onto silk fabric can be tricky. There are a few techniques that are useful. Use the one that works best for you.
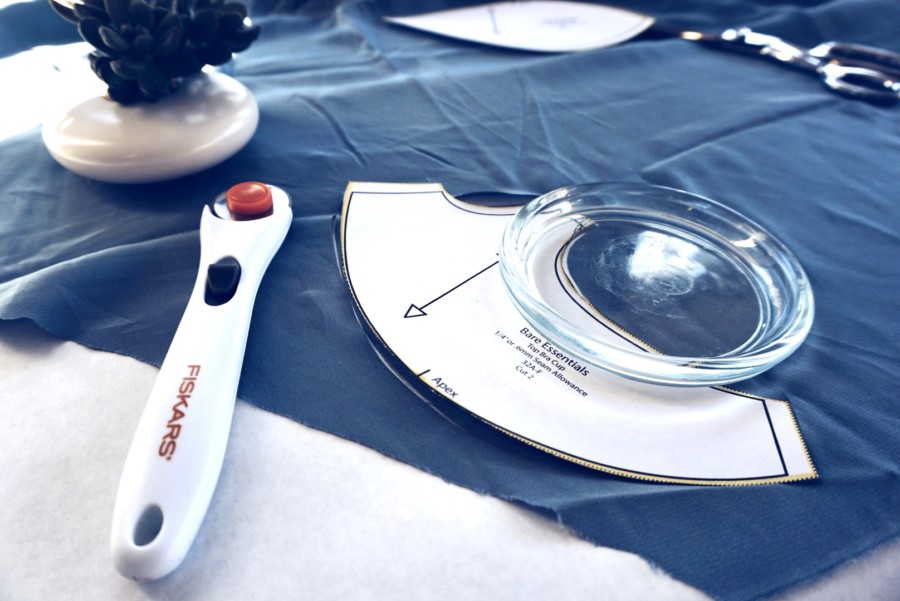
Technique 1: Lay your fabric on a self-healing cutting mat. Use silks pins or ultra-fine glass head pins to pin your paper pattern to your silk fabric.
Technique 2: Lay your silk fabric on your cutting table. Use a fabric pen that is safe for silk fabric and trace the pattern. Be sure to test the fabric pen on a scrap of fabric first to make sure the ink will come out.
Technique 3: Lay your fabric on your cutting table. Use tailor’s chalk to trace your pattern. Be sure to test your chalk on a scrap of fabric first. Tailor’s chalk usually melts away once you press the fabric but silk may react differently. You may find the the chalk melts away but leaves a stain instead. Tread lightly with this technique.
Technique 4: A tried and true technique is a tailor’s tack. With this method you will need a needle and thread in a contrasting color from your fabric. The “tack” is a hand sewn stitch that looks like a loose loop that is sewn through the paper pattern and fabric. It is sewn into the fabric to designate placement of important pattern markings. For silk, it is used to hold the fabric down in order to transfer a pattern as well as any pattern placements of darts, pleats, or buttonholes, etc. This is probably the most accurate method but also the most tedious.
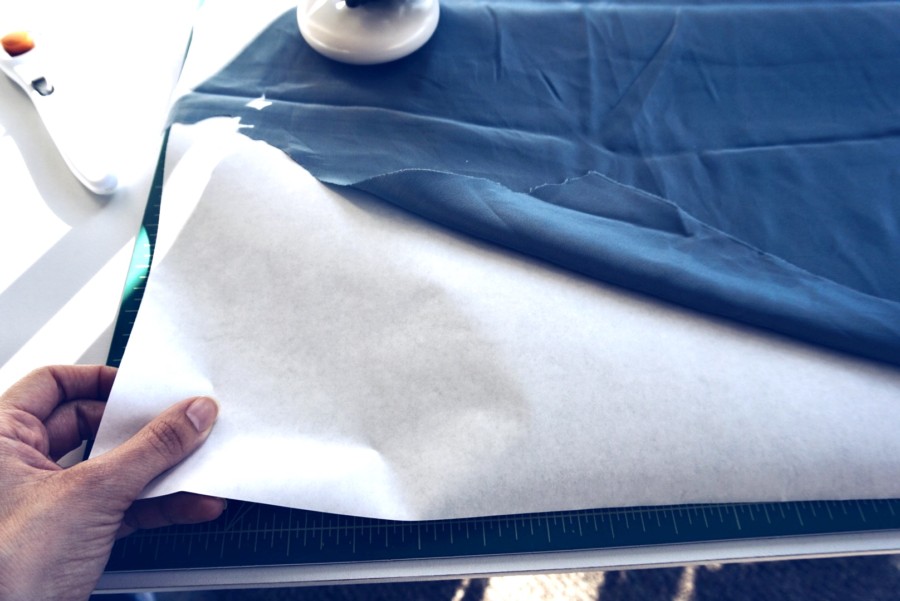
Technique 5: Lay out a piece of white tissue paper on a self-healing cutting mat then lay your fabric out on top. Be sure to use white tissue paper to avoid transferring dye from colored tissue paper. Lay your pattern out and use pattern weights to support your pattern. Hold the pattern down with weights and your fingers when cutting.
Need a rotary cutter and self-healing mat recommendation? Try these using these affiliate links: Rotary Cutter and Self-Healing Cutting Mat.
Step 3: How to Cut Your Silk Fabric
3 Ways to Prepare Your Silk Fabric for Cutting:
- Use a piece of white tissue paper on the bottom and the top of the fabric so that the silk fabric is sandwiched in between.
- You can also use a spray-on fabric stabilizer
- Use pattern weights to reduce slipping instead.
Cutting Your Silk Fabric:
Cut through your silk fabric and tissue paper with a sharp rotary cutter and self-healing cutting mat or scissor that can control the slipperiness of the fabric. Never cut two layers of silk at once as the fabric will slip and distort your pattern. If your pattern instructs you to cut on the fold be sure to trace out the full pattern so that you do not have to cut on the fold. You want to avoid the fabric slipping which can easily happen if you are cutting on the fold.
Step 4: How to Press Silk Fabric
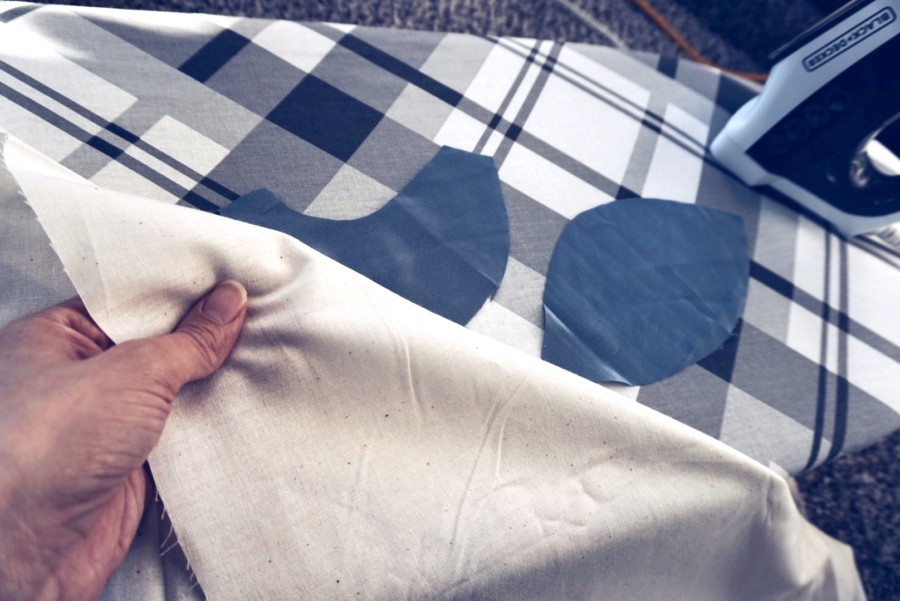
Press your silk fabric with a sheer pressing cloth (such as silk organza) or muslin fabric then use the silk setting of your iron. This way you can see through to the garment. Also, press on the wrong side of the fabric . Do not steam the garment – be sure to remove all water from your iron first to avoid water stains. Also test a piece or scrap to make sure it responds well to the heat setting. Follow this affiliate link if you need silk organza or muslin fabric.
Step 5: How to Prepare Your Sewing Machine to Sew Silk Fabric
Prepare your machine with a fine, sharp needle and cotton or polyester thread. Use a scrap to make sure the tension and thread length (smaller stitch length recommended) and width are at the correct setting for your garment. Be sure not to back stitch as the fabric is too delicate. Tie off the ends instead.
Recommended needles include: #60, #70, #80.
Recommended thread includes: Polyester thread or Cotton thread.
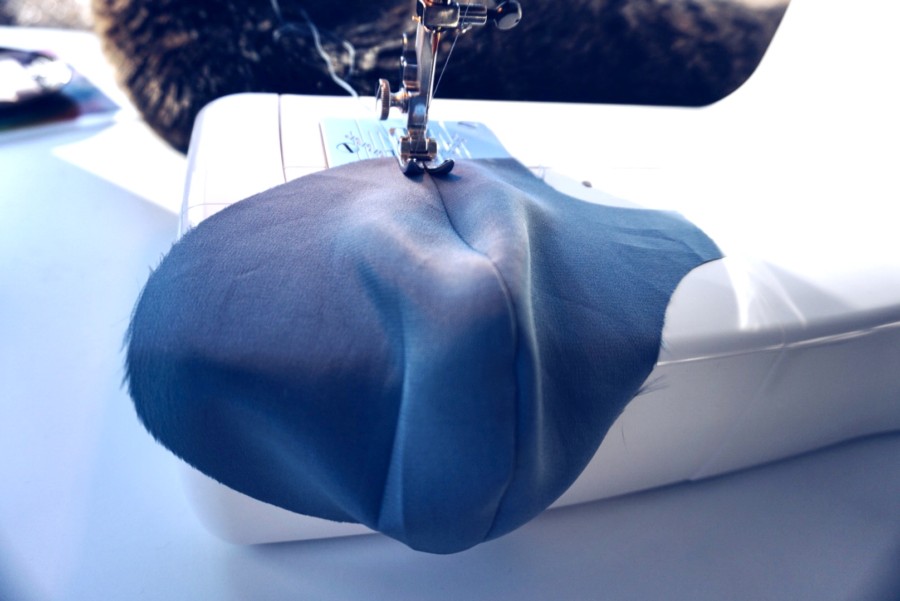
Step 6: How to Sew Silk Fabric on a Sewing Machine
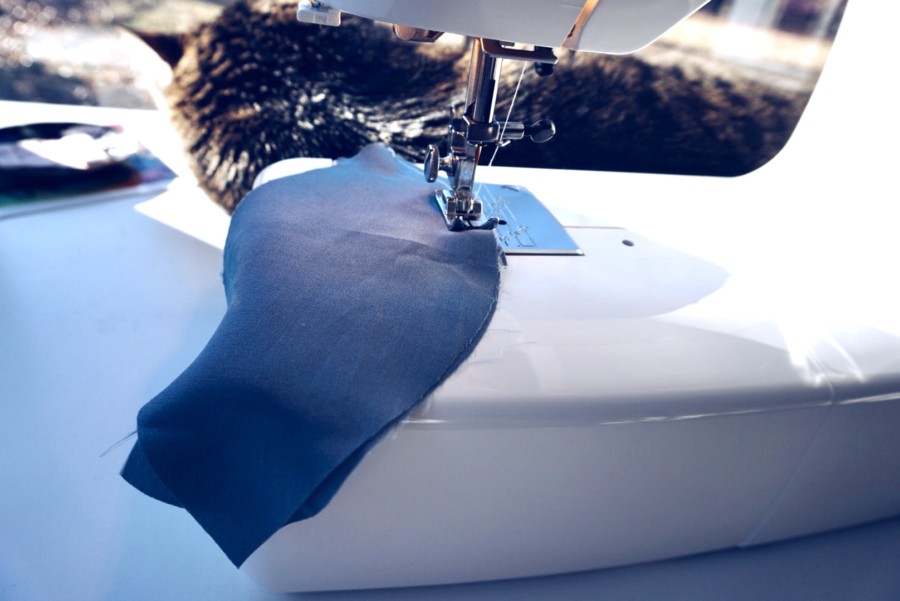
Match your silk fabric pieces together with silk pins, ultra-fine glass head pins or mini binder clips. Be sure to only pin or clip in the seam allowance to avoid damaging the main body of the fabric. If the seam allowance is damaged it will be covered up anyway. You can also hand baste your seams together with silk thread as this is weaker thread and can easily be removed with no damage to the fabric.
Begin sewing at a slow and steady pace while pausing often to make sure the fabric is not bunching or getting caught. You want to be very careful to avoid snags and puckering.
Step 7: How to Stabilize Frayed Edges on Your Silk Fabric
Trim away any fraying fabric and stabilize the edges with a narrow serger stitch, overcast stitch on your regular sewing machine, zigzag stitch or hand overcast stitch or attaching fusible interfacing.
Step 8: How to Finish Your Seams
If your project is an unlined garment use a french seam or flat fell seam if you did not overcast the edges previously or you want a more polished look. You can also use a Hong Kong Finish where the seam edges are bound with bias tape
Tips & Tricks for Sewing with Silk Fabric
- Silk thread is not very strong and can fray easily.
- If you are experiencing a skipped stitch or snag while sewing silk on your machine then you probably need to replace the needle.
- Use a walking foot or flat-bottomed foot when sewing silk as these will not pull on the fabric.
- Make sure to work on a clean machine but wiping the machine down, making sure there is no oily residue from oiling the mechanism. Also use a pressurized air canister used for computer keyboards to remove any dust that has accumulated from the fibers of previous fabric.
- If you are hand sewing your silk fabric be sure to wash your hands so that any oils from your skin do not absorb into the fabric and ultimately stain it. It is good practice to wash your hands at any point you are handling silk including when you are cutting the fabric, pressing it or sewing it.
- Use a piece of tissue paper (white tissue paper) underneath your silk fabric while sewing if it is slipping too much. You can easily remove once the seam has been sewn.
- Push the needle down into the fabric manually to ensure it begins in the right spot and doesn’t slip just before you begin sewing. Pull on the top and bottom needle thread to gently move the fabric through the machine.
- Do not stretch your silk while sewing. Move it gently through your machine and allow the feed dogs to do most of the work.
- If any holes appear in your fabric from pins spray the area very lightly with water and iron with a pressing cloth on the silk setting or a comparable low heat setting.
- Triple check that the fit for your chosen pattern is correct because ripping out seams will leave marks and ruin your fabric.
- Always use a pressing cloth such as sheer organza/silk organza, muslin fabric or a general pressing cloth to avoid direct heat to your delicate silk fabric. Be sure to use a light color or sheer fabric so it is easier to see your fabric beneath the pressing cloth.
Related Questions & Answers
What is the best machine needle for silk or other slippery fabrics?
It is best to use a fine, sharp needle for sewing silk fabric. Some options include a #60, #70 or #80 universal needle. A #60 or #70 universal needle are better suited for fine silk such as chiffon and a #80 universal needle in well suited for medium weight silk.
What is the best type of pin?
The best way to hold two pieces of silk fabric together is to use silk pins, ultra-fine glass head pins or mini binder clips.
Conclusion
Hope this guide to sewing silk fabric has given you the know how and confidence to sew this tricky fabric! Once you master this skill the sky’s the limit!
For more product recommendations please visit my Recommend Products Page.
Happy bra making!
