Fashion Sewing | Tracy Bee Top Sewing Pattern
I had the chance to connect with Areille of Seen and Sewn Patterns over Instagram and was able to see her efforts into creating and launching her first pattern – Tracy Bee! That is quite a feat so I was definitely impressed. We got to talking and Areille so kindly gifted me her pattern that I will be reviewing here and hopefully inspiring some of you to try out for yourself!
Fashion Sewing | Top Pattern Review
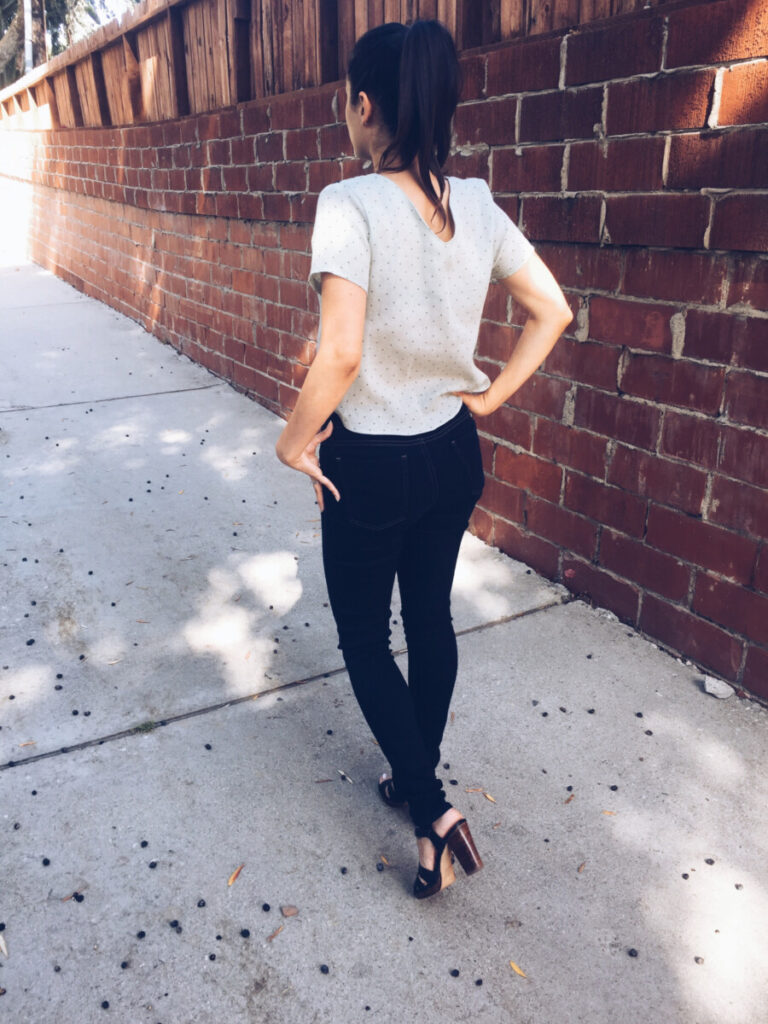
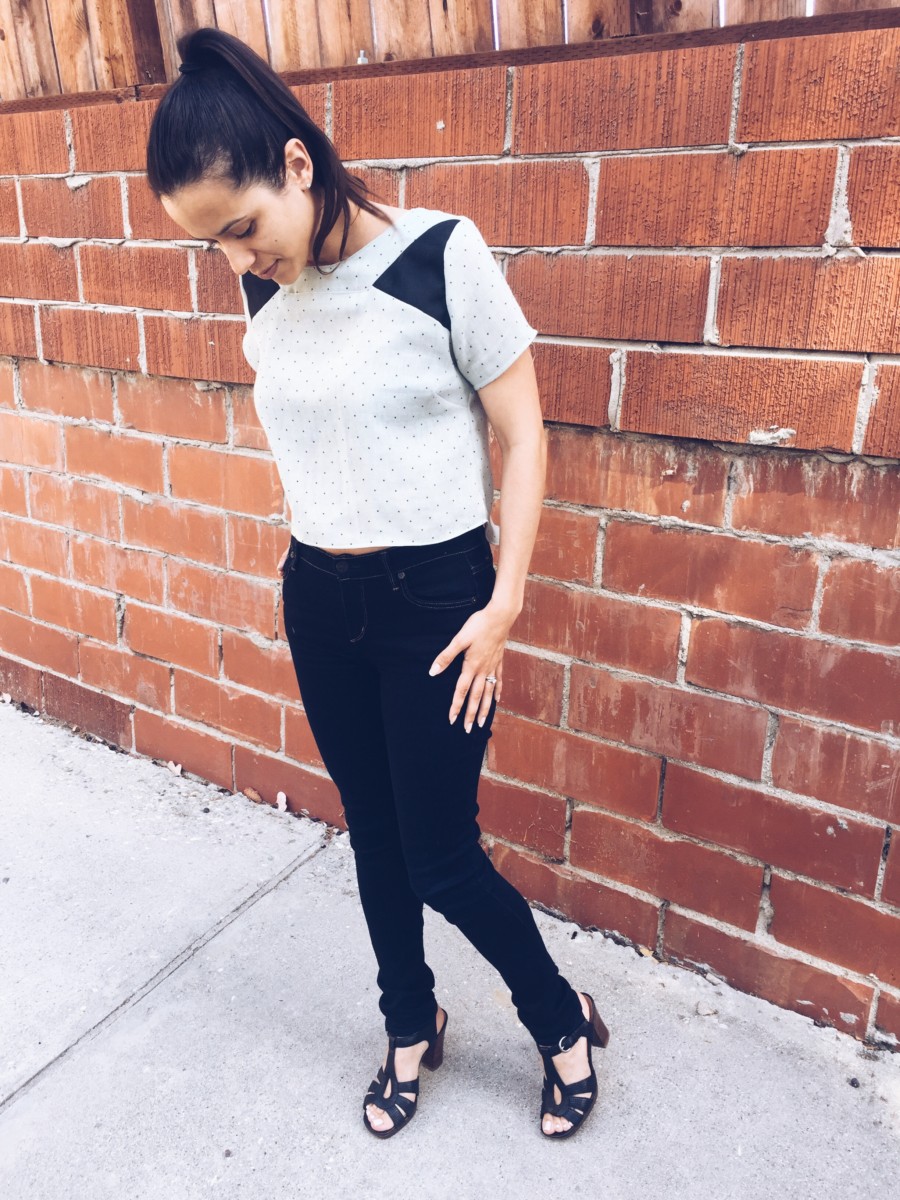
Tracy Bee is a fun swing top pattern that lets you explore your creativity from the handmade revolutionist Areille of Seen and Sewn Patterns! Tracy Bee is a printable PDF pattern that comes in two versions – an A-line shaped top and crop top length with three sleeve options including long, short and sleeveless. This top is visually striking with two triangle inserts near the shoulder and v-shaped back neckline. This pattern would be great to dress up for the office whether you go for the A-line or wear the crop with a layering tank underneath. You can easily dress this up for a night on the town or feel spunky while casually strolling around town. The design opportunities are endless with the two triangle inserts!
Click here to order your Tracy Bee pattern from Seen and Sewn Patterns.

Materials:
The pattern booklet recommends lightweight woven fabrics, quilting cotton, voile and rayon
- Matching all-purpose polyester sewing thread
- Universal needle
- Marking pencil
- Single-fold bias tape for the sleeveless option
Purchased from:
I purchased my fabric from Downtown LA of course… 😉
The Process:
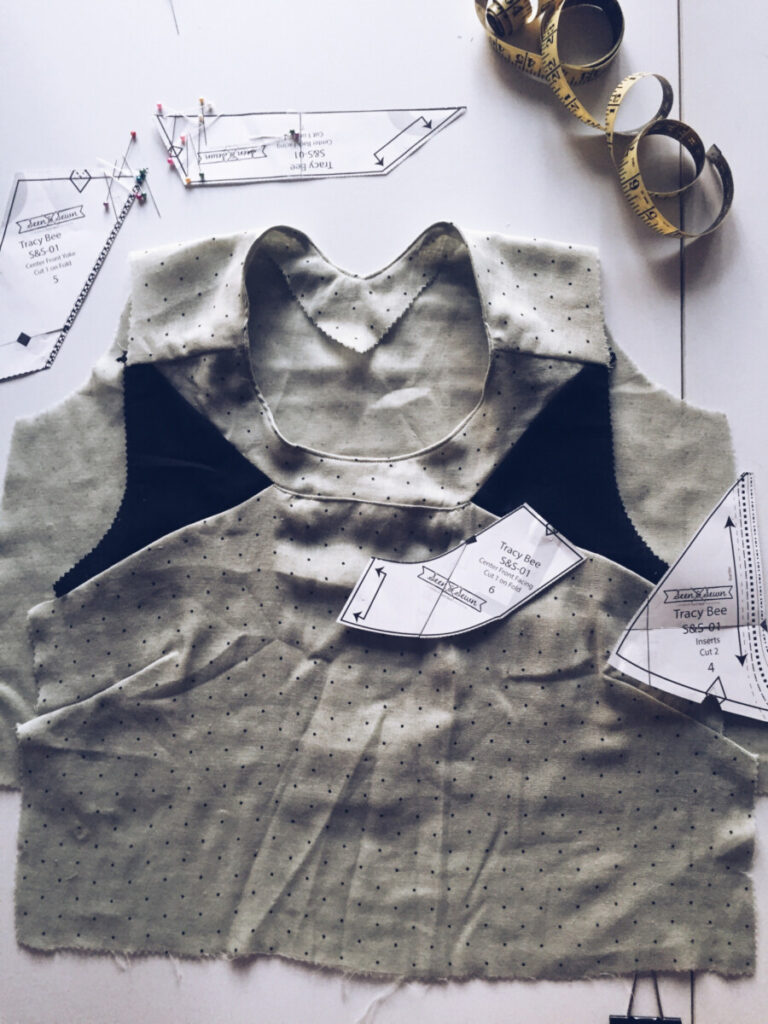
The fabric hunt took me a bit as I wasn’t finding the inspiration I needed until I came across this sage green polka dot gauzy goodness just flowing in the breeze outside of one the fabric shops downtown. It was hard to resist and after a bit of bargaining I got it at a great price! I decided to go for black for the triangle inserts because they would match the polka dots and I want this top to be versatile. These colors lend itself to that so it’s a winner for me!
Tracy Bee is a beginner’s pattern so if you have experience with woven fabrics it is an uncomplicated sew. What you really need to pay attention to is making sure you cut out all the pieces correctly as there are several small pieces – including the inserts and the facings.
Tracy Bee has 11 steps. I was able to complete this over a course of 5 days doing one step at a time. It probably took me about 3 hours in total to complete from cutting out the PDF pattern to hemming the top. It would probably take less time if you worked straight through and didn’t have a kitty trying to eat your thread and pins. Haha
First you sew up the darts. I used to love sewing up darts in college! It was something about getting the right mark every time. I haven’t sewn a dart in a while so this was a nice treat. I clipped all the notches as instructed but just to be sure I used my tailors chalk to outline where exactly the dart should lie so I could hit it as precisely as possibly. I wasn’t as successful as I had hoped but let’s just blame that on the gauzy fabric shall we?
Next up- you attach your triangle inserts to the front main fabric which is less complicated then it seems. Then you attach your center front yoke to the inserts and the front main fabric which can be a little tricky to keep everything lined up so go slow. I feel like I overestimated the seam allowance on the center front portion of the yoke and main fabric so it ended up popping out a bit instead of lying flat against my clavicle. To fix my mistake I pressed it down and sewed on an edgestitch so it wouldn’t pop out. That seemed to work out just fine.
Your next few steps are to attach the back main fabric then sew on the facing and complete the facing with an edgestitch so it lies flat. Then you’re in the home stretch! From here all you need to do is attach your sleeves, sew up the side seams and hem your new top! But take note that Tracy Bee has an asymmetrical hem and therefore you will need to pay special attention along your side seams to make sure you sew a clean rounded edge.
Now Tracy Bee is ready for action! 🙂

Hiccups:
I mentioned a few in “the process”
- The gauziness of my choice of fabric made my darts not as stiff and precise as I would have liked 😉
- I overestimated the seam allowance while attaching the yoke to the main fabric – a simple edgestitch was the solution
- To make up for my darts I had to use a little more seam allowance on the sides for the top to match up correctly
Overall, it didn’t take away from the integrity of the pattern as it turned out true to form!
Recommendations:
Please use a stiffer cotton than I did! 🙂
Also, be sure to trace out your darts (especially the center line) on the wrong side of the fabric – this will help you immensely especially if you are new to darts.
Happy Sewing!

