If you have sewn a garment that has a curved edge or angled edge like a neckline or armhole then you have probably been instructed to sew a stay stitch. It is pretty common for sewists to skip this step because they don’t quite understand why they need it or they are a bit rushed and do not feel like it will make a difference in the outcome of their garment. If that sounds like you and now you are faced with a garment that has a distorted neckline or armhole and want to learn more about this pesky stay stitch so you will never repeat your mistake again then you are in the right place!
What is a Stay Stitch?
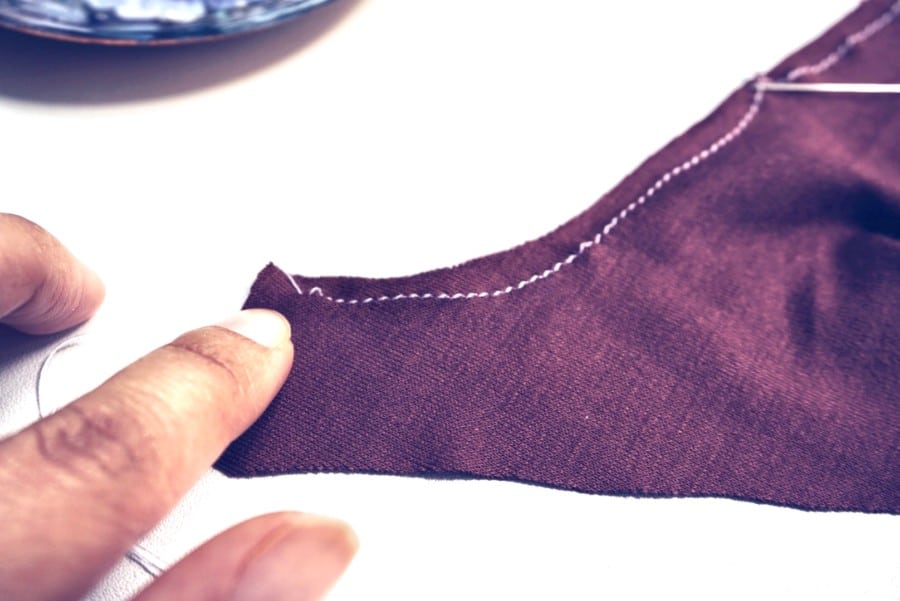
A stay stitch is a row of stitching in a particular direction just within the seam line on a single layer of fabric. It is sewn on curves or angled edges such as a neckline, armhole, or other curved edge. It is also used for garments that are using fabrics with a loose weave or have some instability.
Ok, so now we know what a stay stitch is but why do we need it? It still seems pretty useless at this point but there must be a good reason for it and it must be the solution to your distorted neckline or armhole right? Read on to find out!
What is the Purpose of the Stay Stitch?
The purpose of a stay stitch is to prevent the fabric from distorting along the seam when it is cut on a curved or angled edge. The stay stitch does this by supporting the grain of the fabric.
You may have experienced this more commonly with a woven fabric neckline. When this area is sewn without a stay stitch it is susceptible to change its shape or dimension. It may not happen right away but eventually that curved or angled edge will distort or easily fray. It results in a low quality handmade garment.
It is important to stay stitch knit fabrics as well despite there being no grain direction. The purpose of stay stitching a knit garment is to prevent stretching. Stay stitching a knit neckline or armhole is done in the same direction as a woven fabric. You will find this technique invaluable when sewing knit fabrics for lingerie such as loungewear, nightwear, camisoles, nighties and even bralettes.
How do you Stay Stitch?
First, look for the correct stitch direction. The stitch direction should follow the grain. The grain of the fabric is found where the lengthwise and crosswise yarns/fibers meet.
Second, look for the pattern pieces that require a stay stitch. You can follow your pattern instructions for guidance. However, if you are not using a pattern the pieces that will need a stay stitch are the curved and angled pieces. These are typically necklines or armholes.
Next, ask yourself the following questions as you go through your fabric pieces:
What direction should I stitch?
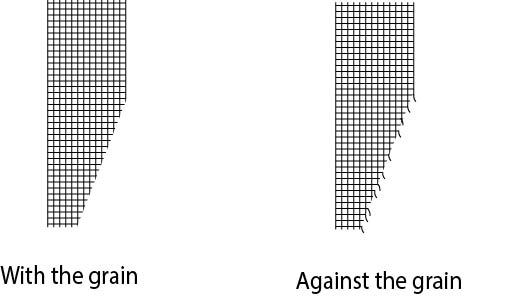
You should always stay stitch following the grain of the fabric. The way to determine the direction of the grain is to look at the raw edge of your fabric and feel where the lengthwise and crosswise fibers are meeting. If the fibers are pulling away from each other than that is against the grain which is the wrong direction for sewing a stay stitch.
Example 1: Round Neckline
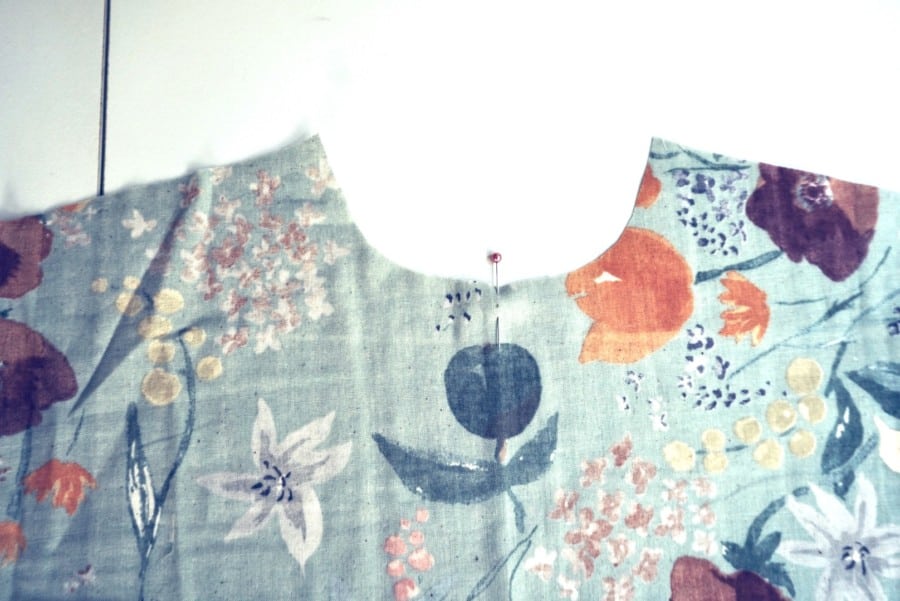
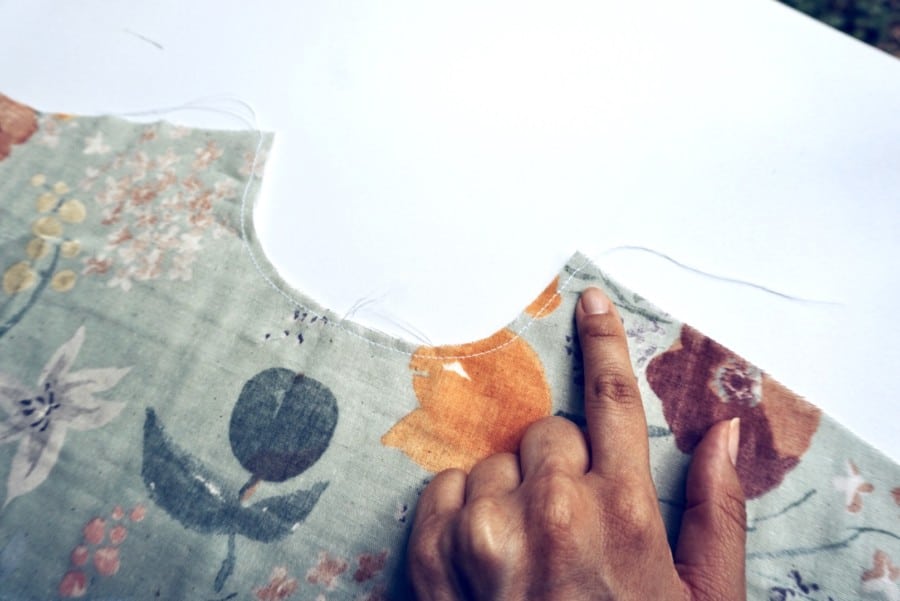
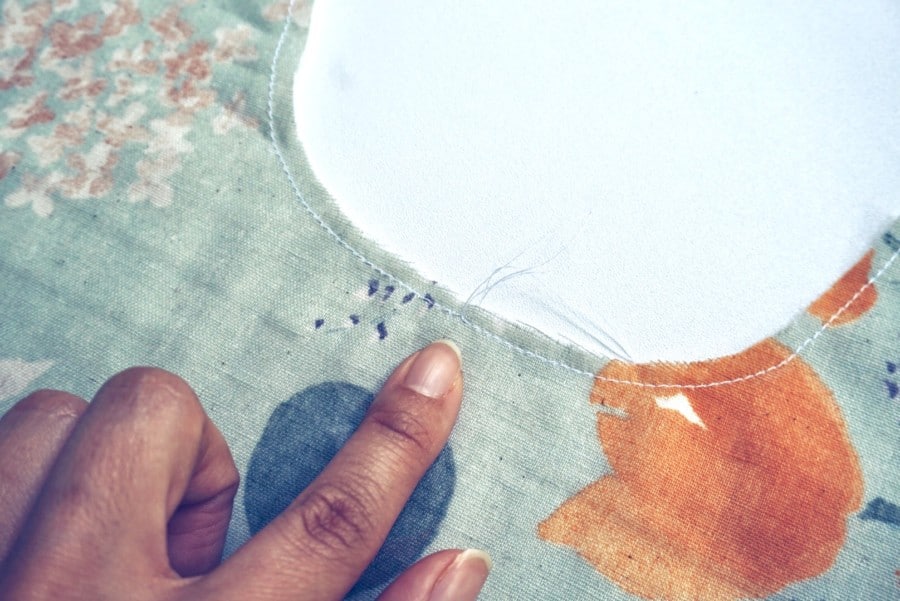
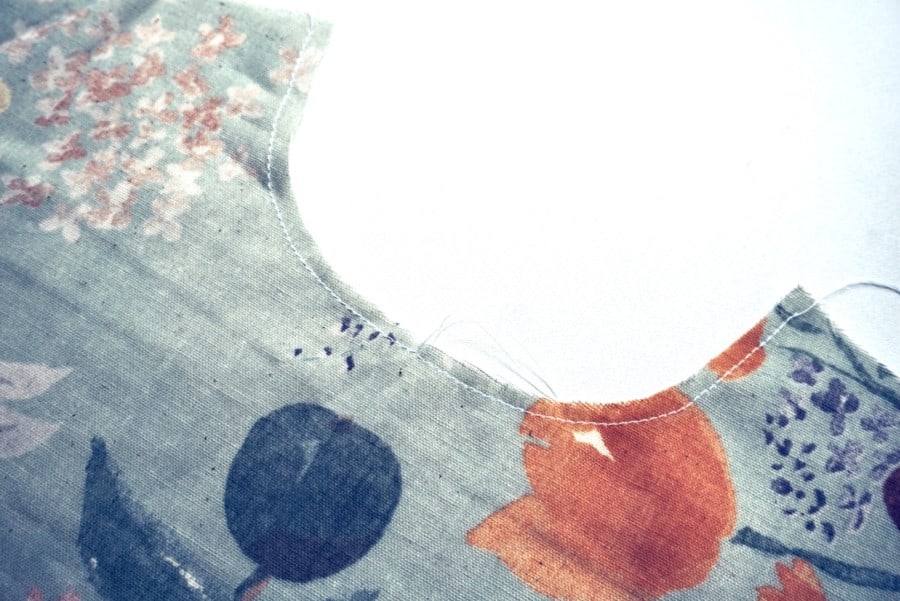
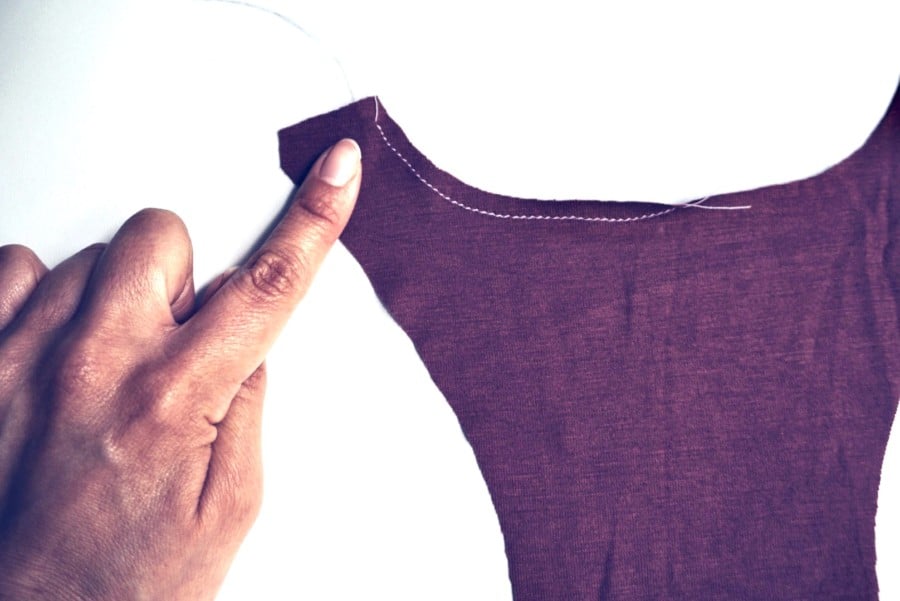
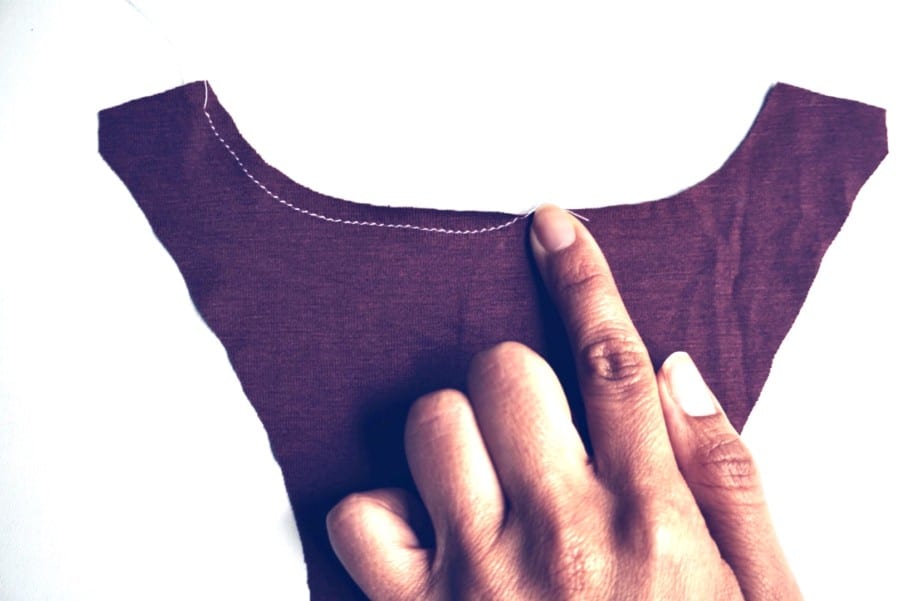
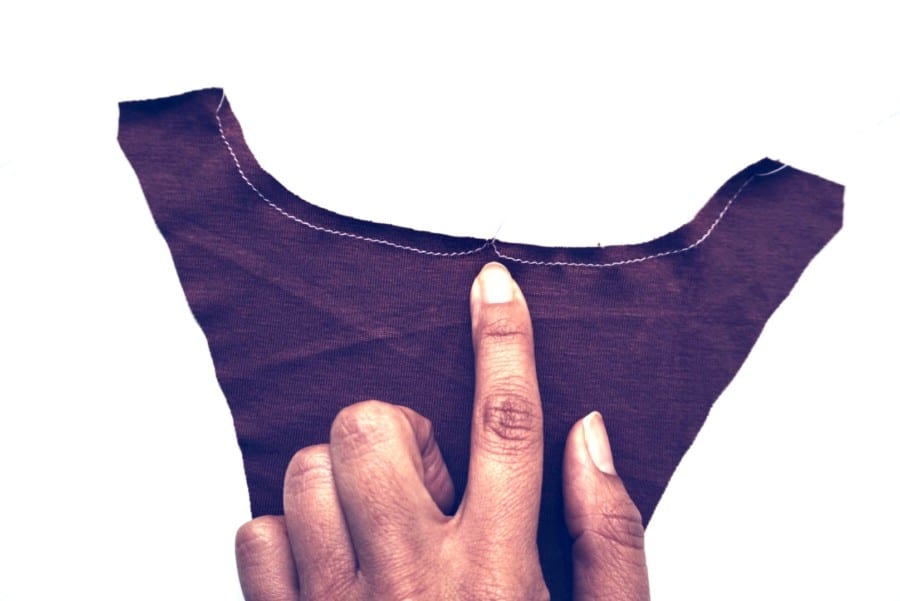
When you are sewing a round neckline, you will want to sew from one shoulder edge to the center front of the pattern piece. Next, you will move onto the other shoulder edge and sew to the center front where you will meet the end of the previous stitch.
Example 2: Knit Round Neckline
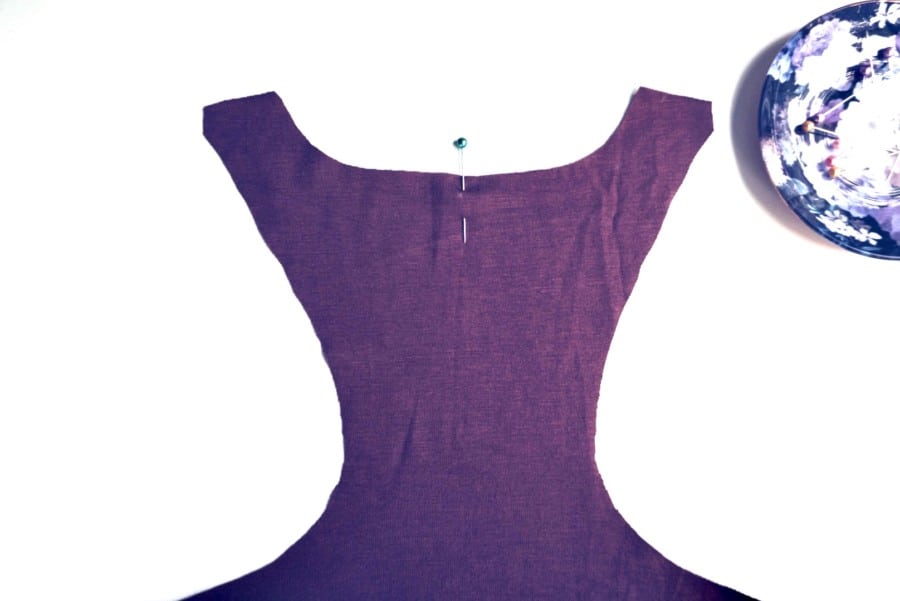
When sewing a Stay Stitch on a Knit neckline you will follow the same steps as above but when you get to the center front you will curve off the edge of the fabric.
Example 3: V-Neckline
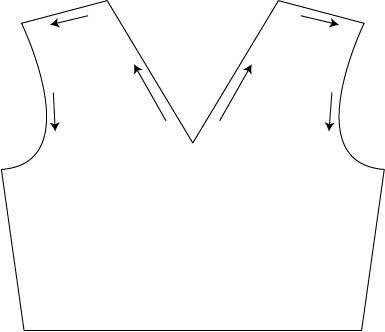
Example 3: If you are sewing a V-neck line then you will begin your stitch at the bottom of the V which is the opposite from above. The reason for this is that you always want to begin sewing at the widest part of the garment to the narrowest part in order to follow the grain.
How far from the edge should I stay stitch?
You should stay stitch within your seam allowance. This could be anywhere from 1/16”, ¼” or ½” away from the edge depending on the width of your seam allowance.
When should I stay stitch?
You should stay stitch your garment right after all the fabric pieces have been cut out to avoid any accidental fraying or stretching. Make sure to press your fabric pieces first so you don’t sew any wrinkles into your stitching.
What types of fabrics need to be Stay Stitched?
Fabrics that need stay stitching including woven fabric, loosely woven fabric, unstable fabrics and knits.
What does a Stay Stitch look like?
A stay stitch looks like a single standard straight stitch along the edge of a curved or angled edge on a single layer fabric pattern piece.
What Length is a Stay Stitch?
The length of a stay stitch is a standard sewing length.
Do You Remove a Stay Stitch?
You do not need to remove a stay stitch. It is sewn on the seam allowance which will be concealed within the seam. It is advised that you not remove the stay stitch regardless because it adds extra strength to the grain which will help the garment keep its shape.
Do You Backstitch a Stay Stitch?
You do not need to back stitch a stay stitch because it is not a seam that needs to be secured. It is a stitch on a single layer of fabric used to secure the fabric’s grain instead.
Is Stay Stitching the same as basting?
Stay stitching is not the same as basting. Basting is a loose stitch used to hold together two or more pieces of fabric during fitting and construction.
Recommended Lingerie Pattern to Practice this Technique
Conclusion
As you can see, Stay Stitching is actually pretty useful and it does not take a lot of effort. If your pattern instructs you to stay stitch be sure to follow it. Use the same color thread you are using for the rest of your garment and a standard stitch length. Be careful not to sew outside of the seam allowance and before you know it you’ll have a high quality handmade garment with no neckline or armhole distortion.
Happy Sewing!

