Whether you are sewing bras, underwear, tank tops or diaper covers fold over elastic is a great option for a clean durable finish that comes in a variety of colors and patterns to meet your tastes and functionality needs. Below you will find all the answers to your fold over elastic questions including how to sew fold over elastic, what size to get, where to get it and tips and tricks to make your sewing life just a bit easier.
This post contains affiliate links. When you click and make a purchase from these links, we might get a commission. It doesn’t cost you anything extra!
How to Sew Fold Over Elastic?
- Set your machine to a zigzag stitch
- Measure the portion of your garment that will need fold over elastic then subtract two inches.
- Cut out your fold over elastic based on the measurement from Step 2.
- Sew the edges of your fold over elastic together to create a full band.
- Divide your elastic band into 4 equal parts using pins as markers and do the same for the garment opening.
- Match the pins on your fold over elastic to the garment opening pins.
- Use a zigzag stitch while making sure to stretch the elastic to match the length of the fabric as you sew.
- Fold the elastic over to bind the raw edge of the fabric and sew a zigzag stitch to secure the garment.
- Cut off any excess threads.
Now let’s get a better understanding of fold over elastic and explore how to sew it on different garment components such as the waistband or neckline.
What is Fold Over Elastic?
Fold Over Elastic is a strong elastic that has a ridge in the center where it is meant to be folded in half. This type of elastic has one soft plush side which is often matte or suede-like in appearance. This side lays on the skin or is folded over and is considered the “wrong side”. The other side, which is considered the “right” side is typically shiny or decorative as this is the side that is typically exposed. You can use either the matte side or shiny side as the “right” side depending on what look you are going for.
What is Fold Over Elastic Used For?
Fold Over Elastic is often used to bind the neckline of a bra, the underarm edges or the bottom of the bra band. It is also used to bind the waistband and leg openings of underwear. You will also see it used on other lingerie apparel such as camisoles or nighties typically for the straps. Fold Over Elastic is also used to bind edges on other apparel such as straps for a tank top, baby clothes, swimwear, activewear, and lounge wear or pajamas.
What Size Fold Over Elastic Do I Need?
Fold Over Elastic comes in a variety of widths. The most common fold over elastic widths include ½”, ⅝”, 3/4″, 1”, 1 ½”. It even comes in sizes as small as ¼”, 3/16”, and ⅜”. The size you choose depends on the garment you are sewing. Remember that your fold over elastic will be folded in half so keep in mind how narrow you would like the width. For lingerie, it is recommended that you use a narrower width fold over elastic when using a lightweight fabric. You can use a wider fold over elastic for heavier fabrics.
How to Sew Fold Over Elastic?
Fold over elastic is usually sewn to a garment in two passes. Like any elastic you will want to measure the perimeter of the opening (i.e. waistband, neckline, or leg opening) of the garment where you are sewing the fold over elastic. Once you have the measurement then subtract two inches and that should give you your fold over elastic measurement. Two inches is what I recommend but be sure to double check what your pattern requires and use that recommendation instead.
Now, let’s get more detailed on the instructions. Keep in mind these instructions work for any garment that uses fold over elastic such as underwear, pajamas, swimwear, activewear, baby clothes and so on to bind raw edges. Some exceptions would be tank top straps which would not need to be bound since the fold over elastic is the strap or a bra neckline that doesn’t need to be sewn on the round. In regards to tank top straps, it’s important to mention that you will need to adjust the length based on the stretch you desire as well as where you would like the tank top to fall on the body.
How to Sew Fold Over Elastic To Any Garment Opening
In this example we are using a waistband and leg opening of underwear. We are using a standard home sewing machine with a zigzag stitch option (you can also use a 3-step zigzag stitch for similar results). The sewing machine is set at a width of 2.5 and a length of 2. We are using a 3/4″ size fold over elastic.
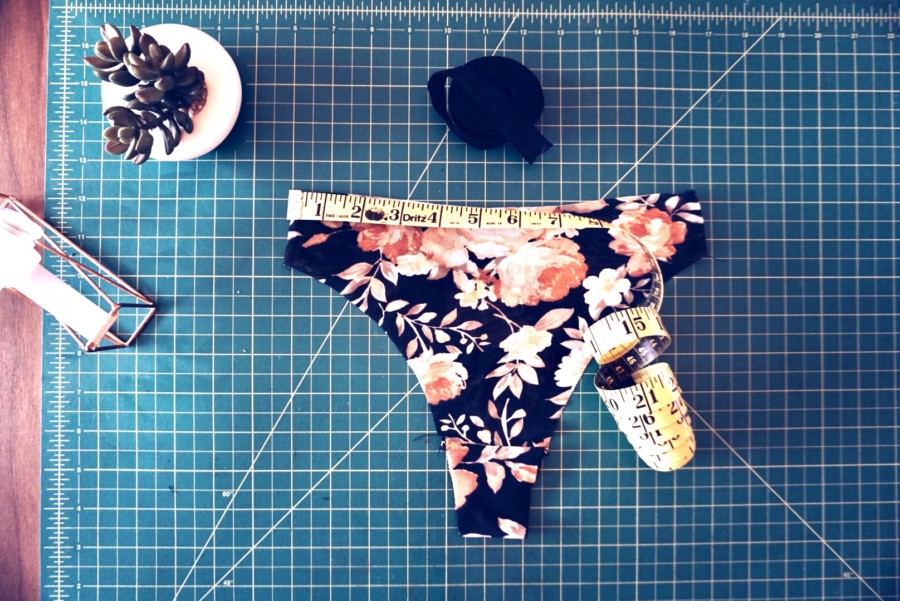
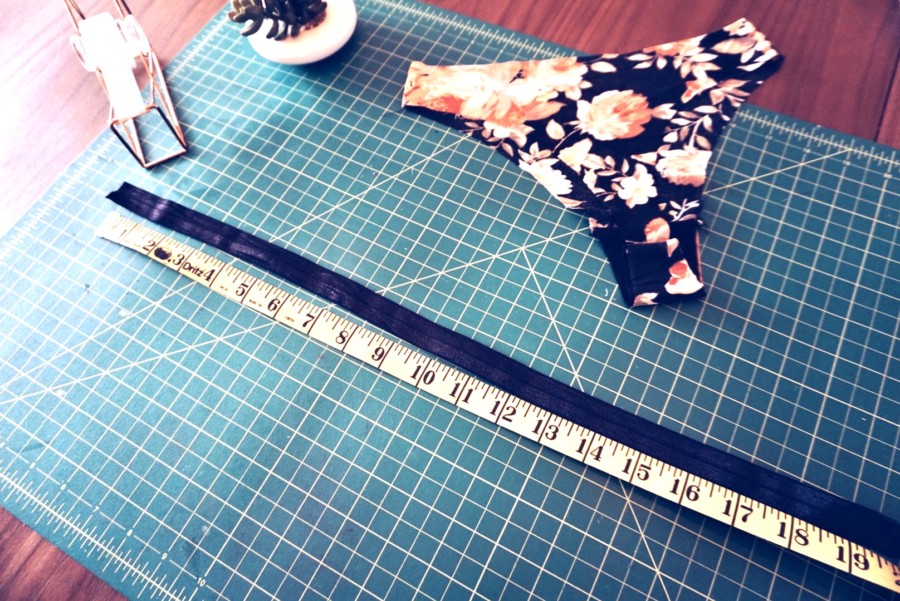
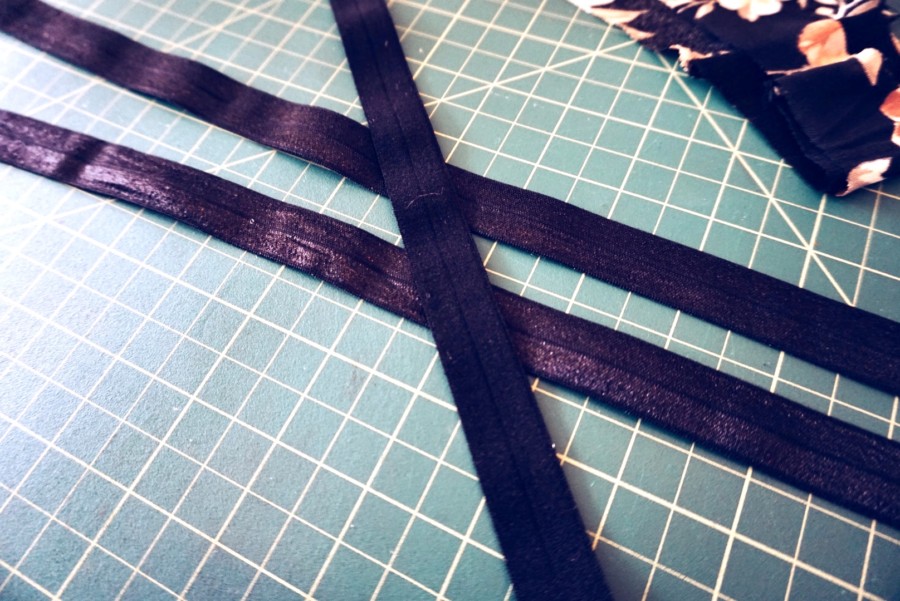
Step 1: Measure the waistband opening and leg openings then subtract 2” from each. Cut your fold over elastic based on these measurements. You will have three pieces of fold over elastic.
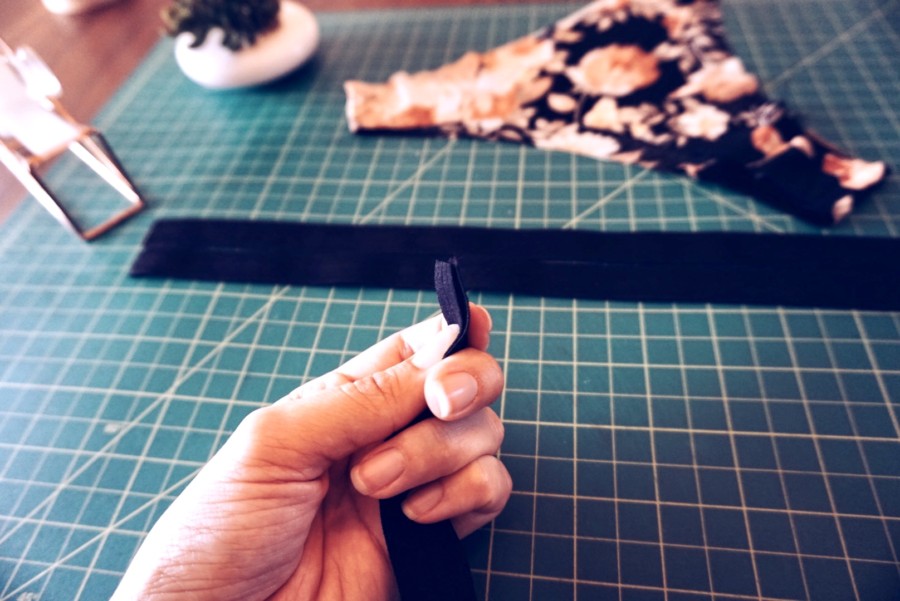
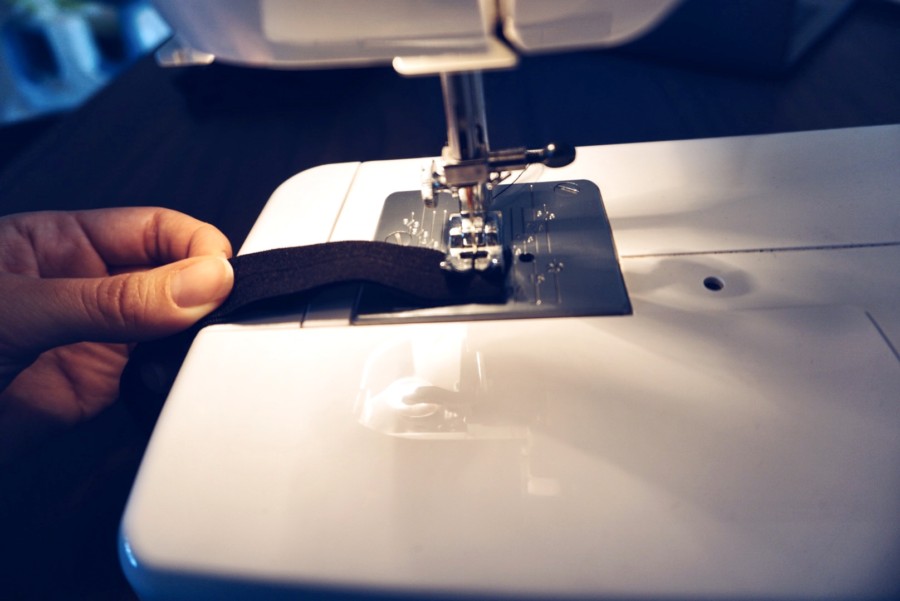
Step 2: Join the raw edges of the waistband fold over elastic together at the edge then stitch with about ¼” to ½” seam allowance. Repeat this on the fold over elastic for each leg opening. Scroll down for more detail on how to join the raw edges including a couple techniques to try.
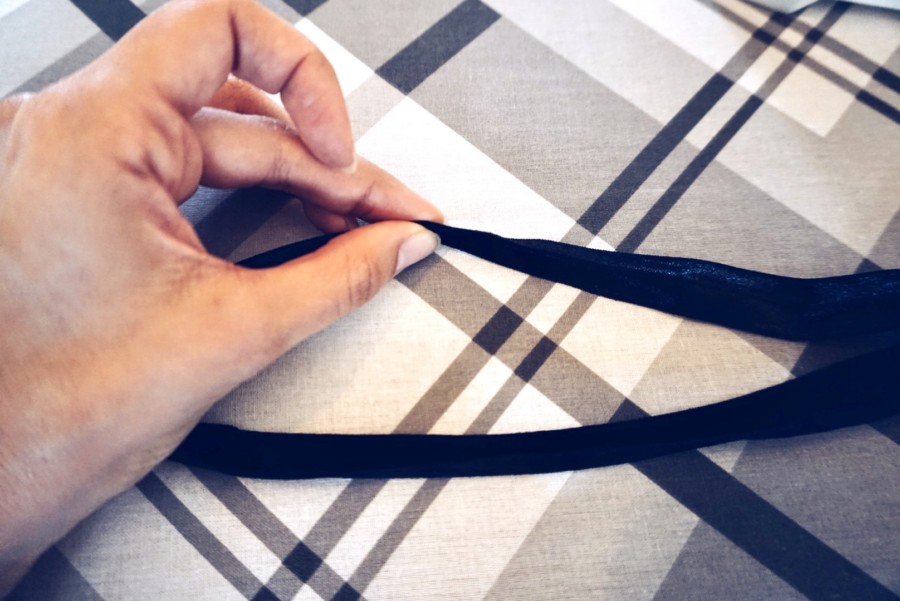
Step 3: Now is a good time to press your fold over elastic on the fold so it is easier to bind your fabric when sewing.
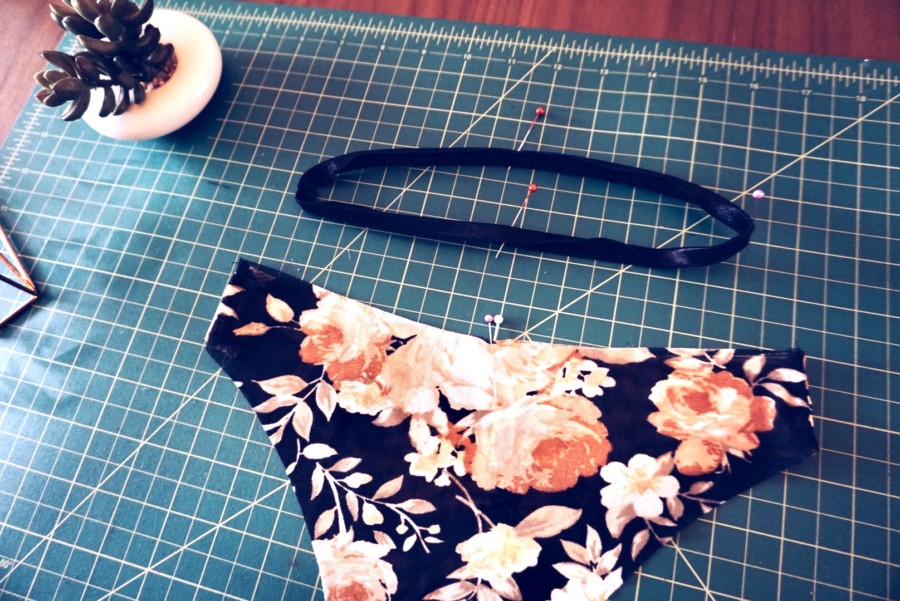
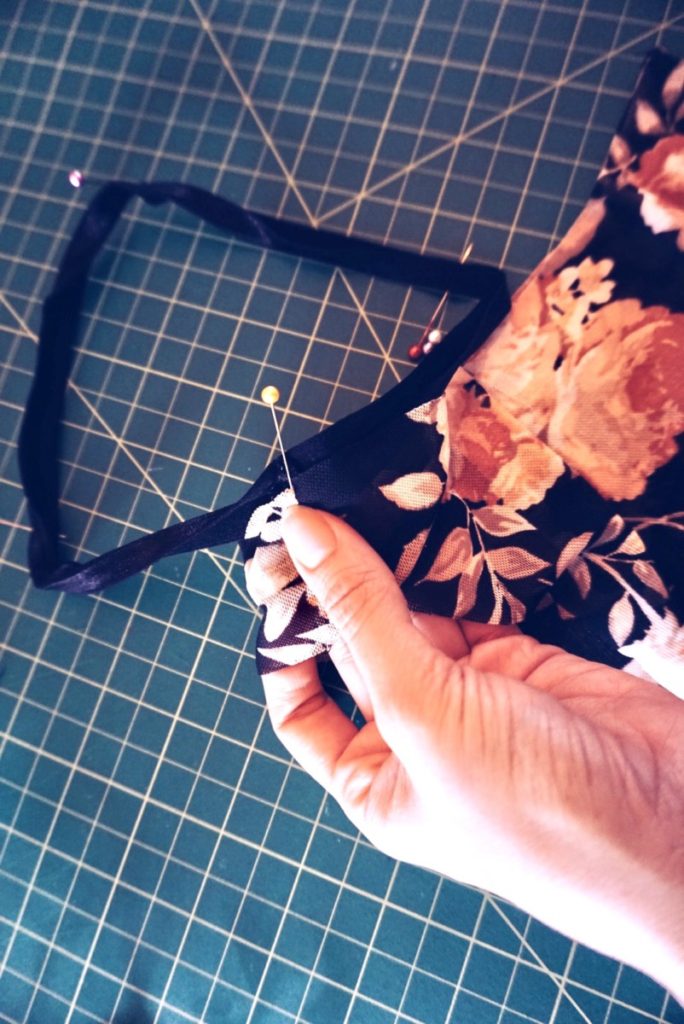
Step 4: Divide the fold over elastic waistband four ways and mark each with a pin. Line up the seam of the waistband fold over elastic with either side seam of the underwear; match the wrong side of the fold over elastic with the wrong side of the waistband.
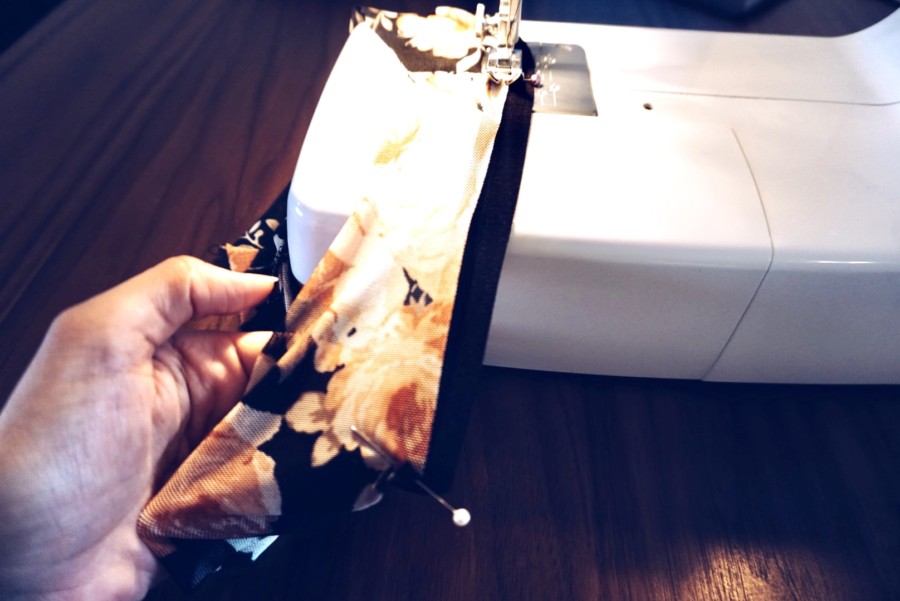

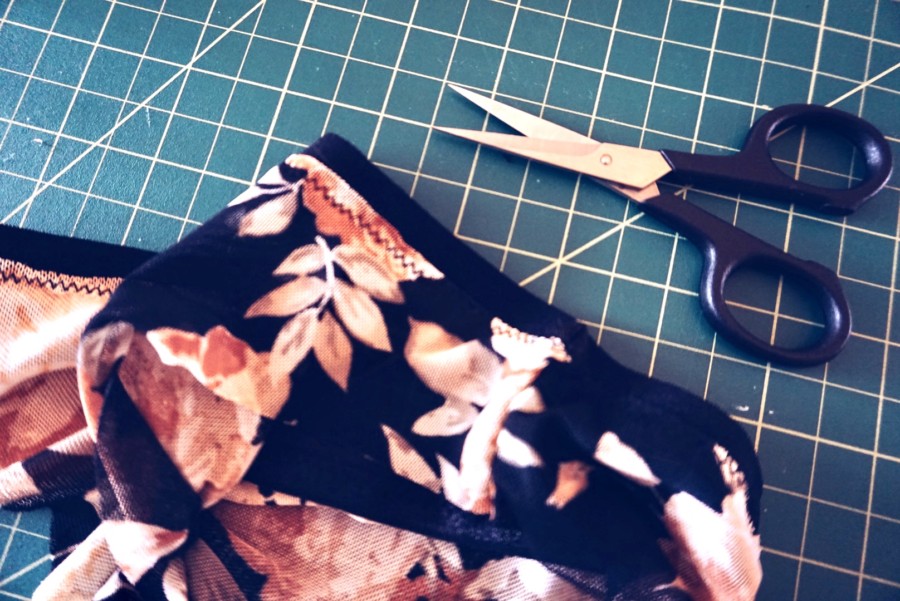
Step 5: Stretch the fold over elastic so that the pins match at both side seams and center front and center back. Pin the fold over elastic to the garment then use a zigzag stitch while making sure to stretch the elastic to match the length of the fabric as you sew. Repeat for both leg openings. Trim any fabric that hangs over the stitch with an applique or embroidery scissor.
Note: The width and length of your zigzag stitch will depend on how wide or narrow your fold over elastic is. The wider the fold over elastic the wider you may want your zigzag depending on the look you are going for. If you stay with a narrower zigzag sew closer to the edge of the fold over elastic to ensure the garment will be properly bound to the elastic.
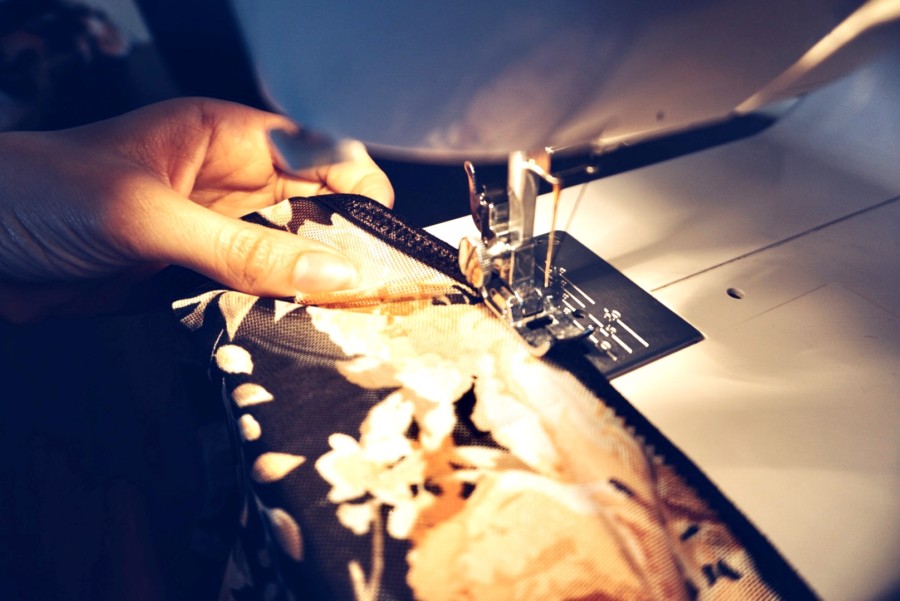
Step 6: Fold the elastic over the raw edge of the waistband opening and sew around the perimeter with a zigzag stitch. Keep an eye on how much stretch is needed to keep the opening smooth. Repeat this with both leg openings.
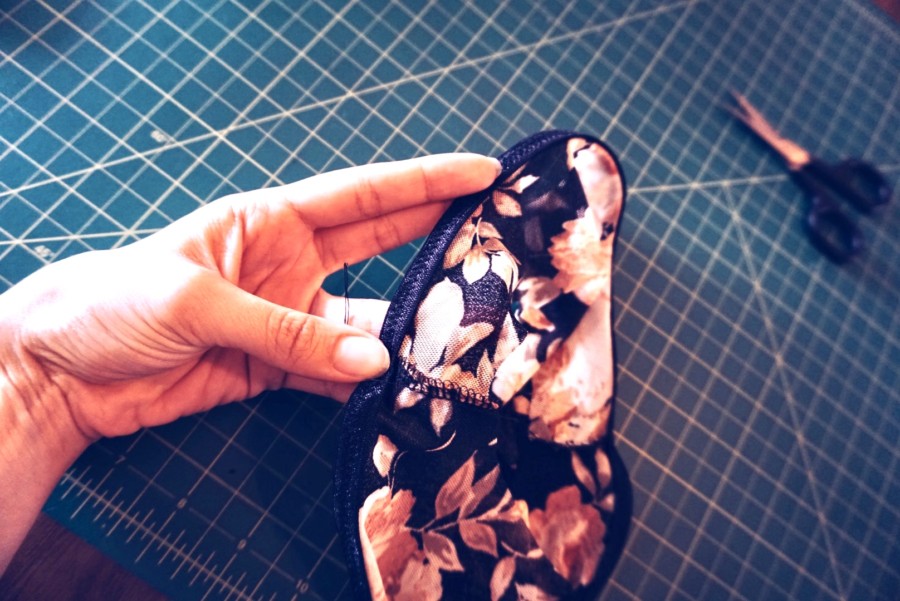
Step 7: Finish and trim off any excess threads.
Tips and Tricks for Sewing with Fold Over Elastic
- Consider pressing your fold over elastic in half on a low setting before you begin sewing to make it easier to stay in line with the fabric.
- Whenever sewing with any type of elastic including fold over elastic make sure to stop the machine with the needle down as to not distort the stretch. It also allows for easier adjusts to your elastic.
- Fold over elastic is an easy DIY headband or hair tie project for kids. You just need to measure how much you need, cut it out then tie the ends making sure its tight enough to stay on the head or wrap around hair.
- It is a great alternative to straps for those with latex sensitivities that can sometimes be found in other elastics.
- You can also sew fold over elastic “in the flat” before you sew side seams for projects such as underwear. This way you have more control of lining up the side seams.
- If your pattern does not call for fold over elastic but you would like to use it instead be sure to add the seam allowance back to the pattern. Fold over elastic is sewn directly on the finished edge so no turning of the fabric is involved.
- If you want to sew your fold over elastic in one pass you can do so by carefully inserting the raw edge into the fold as you sew or you can use wonder tape on one side to ensure that it stays in place.
How to Join Fold Over Elastic
If you are sewing fold over elastic in the round like we are in this tutorial then you will need to sew the raw edges together to finish the end. You can use either a straight join or a bias join.
Straight Join


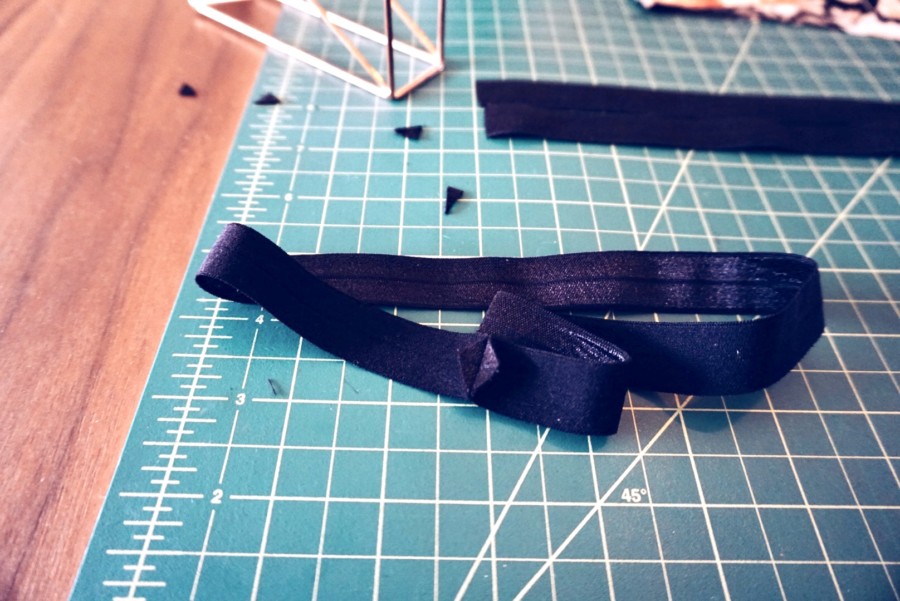
- Cut the elastic as instructed above.
- Place the raw edges together then sew across from edge to edge. Back stitch for extra strength. You can leave the excess or you can trim it down to look like a diamond shape.
Bias Join
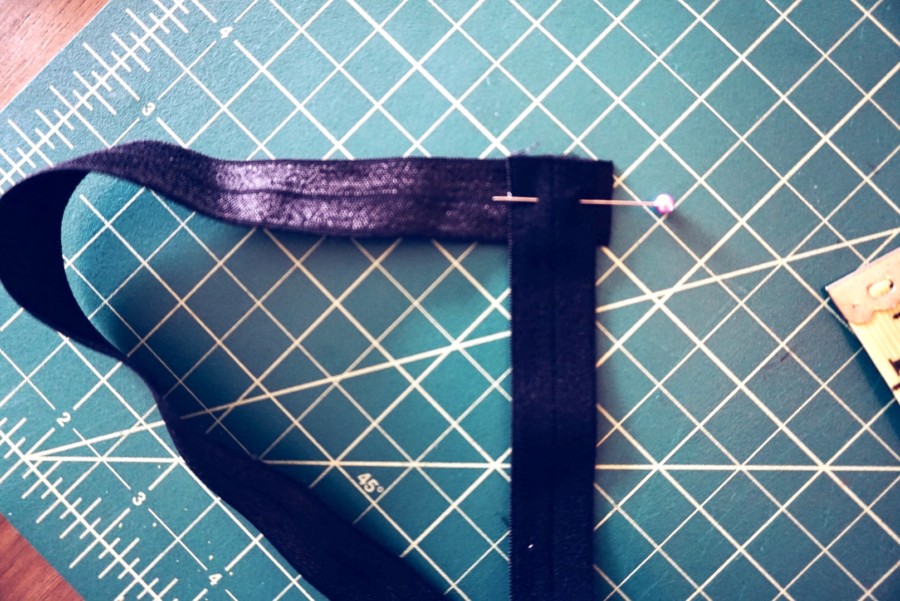
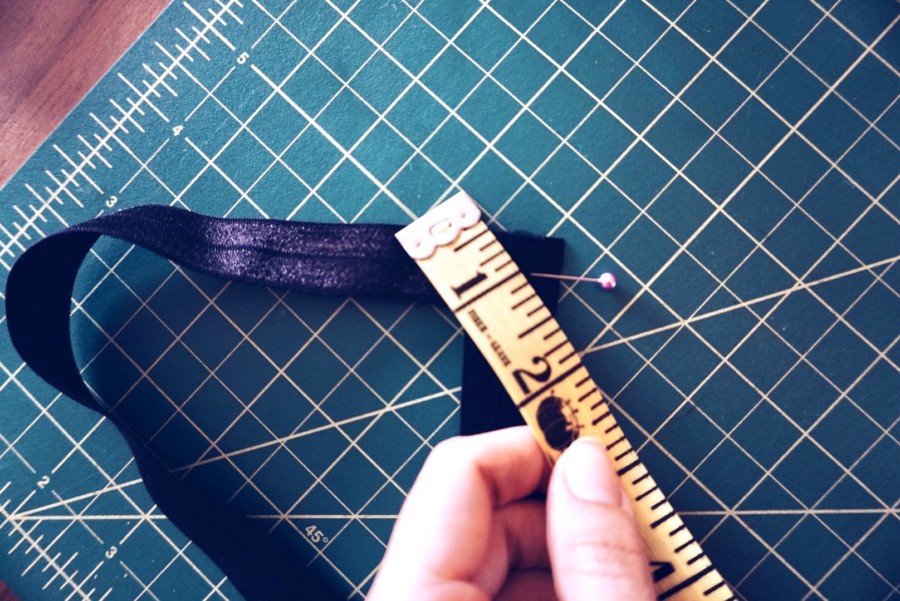
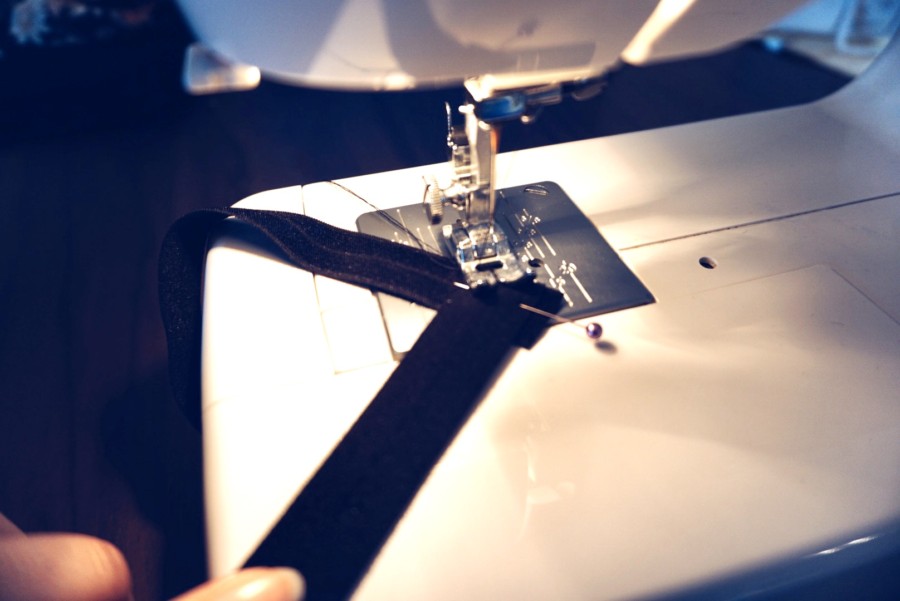
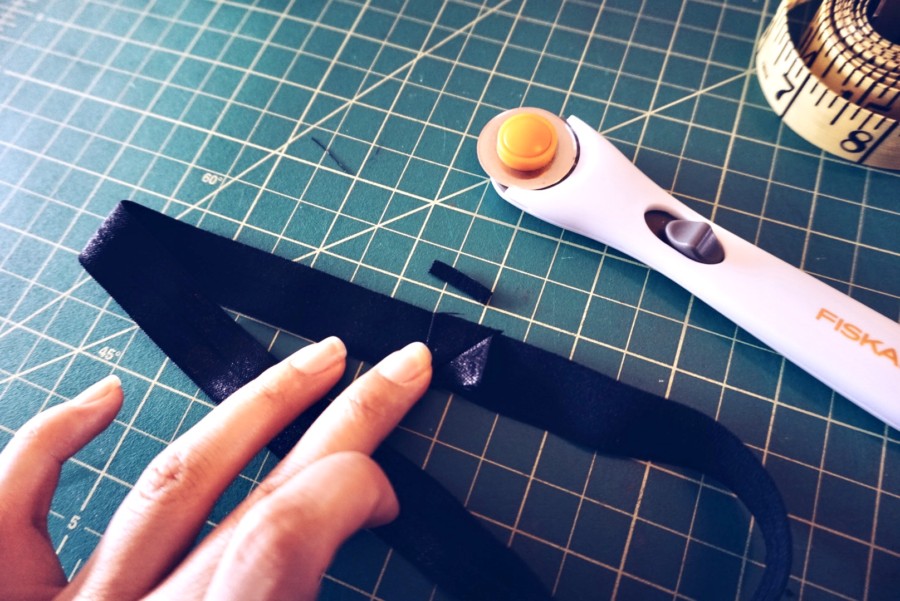
- Cut the elastic as instructed above.
- Join the two ends so they are crossed at a ninety degree angle. Then sew a diagonal line starting from the inside corner where the top edge of the top elastic hits the edge of the elastic underneath all the way to the other side (Sew in the direction of the yellow measuring tape in the photo above). Trim down the excess.
Where Can I Buy Fold Over Elastic?
You can buy Fold Over Elastic at a variety of online retailers. Here is an affiliate link to Drtiz Fold Over Elastic sold on Amazon.com in a variety of colors. If you prefer Etsy, check out my recommended notions page for fold over elastic and other elastics.
Happy Sewing!
