One of the reasons bra making sounds so daunting is the inherent structure of the piece. Underwire is probably the most defining structural element yet the everyday individual really doesn’t know too much about it. We will break down a bit of that mystery with this article today. In this tutorial, we will be discussing how to sew underwire channeling to your bra which is where your underwire is tucked away providing comfort to the wearer.
This post contains affiliate links. When you click and make a purchase from these links, we might get a commission. It doesn’t cost you anything extra!
How to Sew Underwire Channeling?
- Cut Your Underwire Channeling
- Pre-press your Channeling
- Attach the Underwire Channeling to the Cup Seam
- Sew your Underwire Channeling to your Cup Seam
- Topstitch your Channeling to the Cup and Band
- Secure the Front Underwire Channeling
- Sew the Underarm Elastic
- Insert the Underwire
- Secure the Underwire and Close the Channeling
- Finish the Underarm Elastic
Did you know what underwire channeling is also known as underwire casing? The above was just a quick run through of the steps needed to properly attach underwire channeling. If you want a more detailed approach with little room for ambiguity read on to learn more about underwire channeling then to get into the nitty gritty of How to Sew Underwire Channeling.
What is Underwire Channeling?
Underwire Channeling is the casing that encloses an underwire. The underwire channeling is sewn along the interior cup seam where it holds the wire against the body and provides structure and support to the bra cups. You can buy underwire channeling pre-made or you can make your own. Regardless of whether or not your bra requires underwire, it is always a best practice to use underwire channeling because the support it offers will increase the number of wears of your bra.
What is Underwire Channeling Made of?
Underwire channeling is typically made of Nylon and does not stretch but will easily conform to a bra cup curve. It is possible to make your own underwire channeling by cutting a sturdy fabric on the bias. Plush underwire channeling is highly recommended as it feels soft and comfortable against the skin.
Why Use Underwire Channeling?
Bra-making can be tedious and time-consuming, therefore you want to make a quality garment that will last and look beautiful. The use of underwire channeling is important for wired and non-wired bras because it adds structure and support to your bra. It is required for wired bras to enclose the underwire in place and to prevent discomfort or injury from the underwire. Underwire channeling can be made of different materials but it is best practice to use a sturdier underwire channeling to provide structure and to contain the underwire. A sturdier underwire channeling combined with a well constructed bra will prevent the underwire from ripping through the channeling and poking the wearer.
Types of Underwire Channeling
The main type of underwire channeling is Plush Underwire Channeling. You can find it at many shops online in a variety of colors. Most shops will carry it in white, black or tan which should work well for any bra pattern since the channeling is in the interior. If you want a specific color some online retailers carry a larger variety or you can always dye white underwire channeling using acid dye. The standard underwire channeling width is ⅜”. You can find some that are approximately this size but ⅜” should suffice as it will fit any standard underwire.
If you want to know how to dye your bra fabric and notions check out my How to Dye Lingerie Fabrics and Notions article.
How to Sew Underwire Channeling: A Detailed Step-by-Step Tutorial
Step 1: Cut Your Underwire Channeling
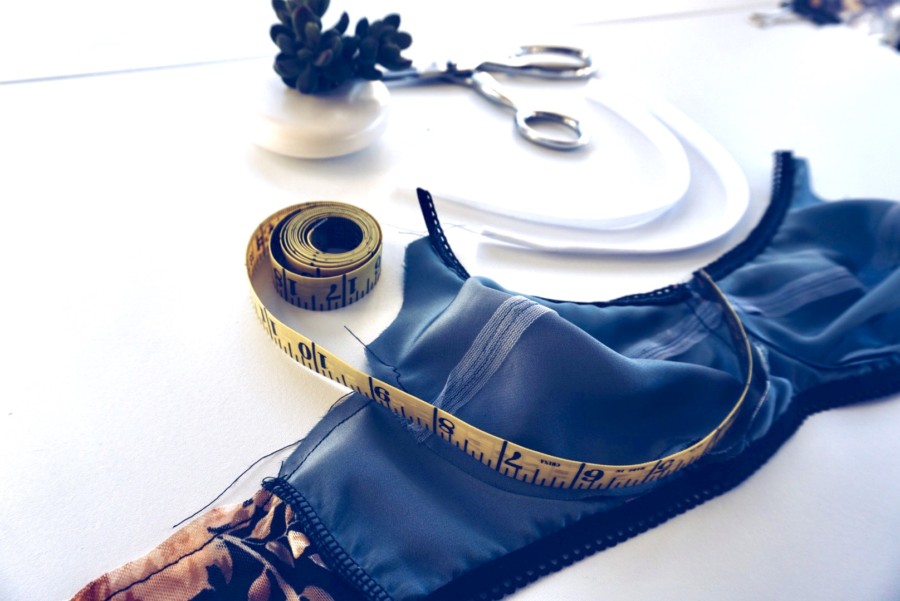
Technique 1: Cut your underwire channeling to the measurement suggested by your pattern.
Technique 2: Measure the interior cup seam. Add about 1” in excess. Use this measurement and cut out two pieces of channeling.
Step 2: Pre-press your Channeling

Pre-press your underwire channeling on a curve. This will make it easier to follow the curve of the bra cup and therefore easier to sew.
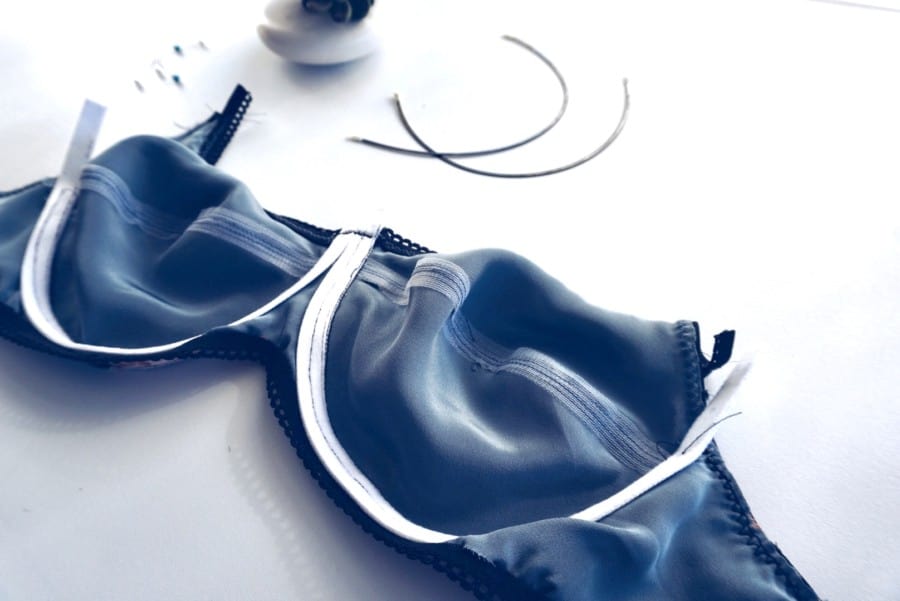
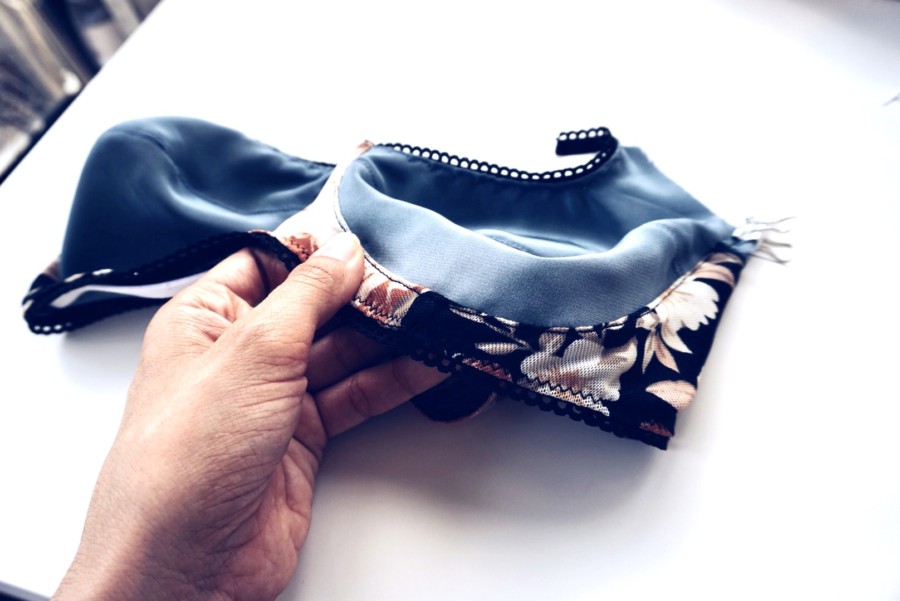
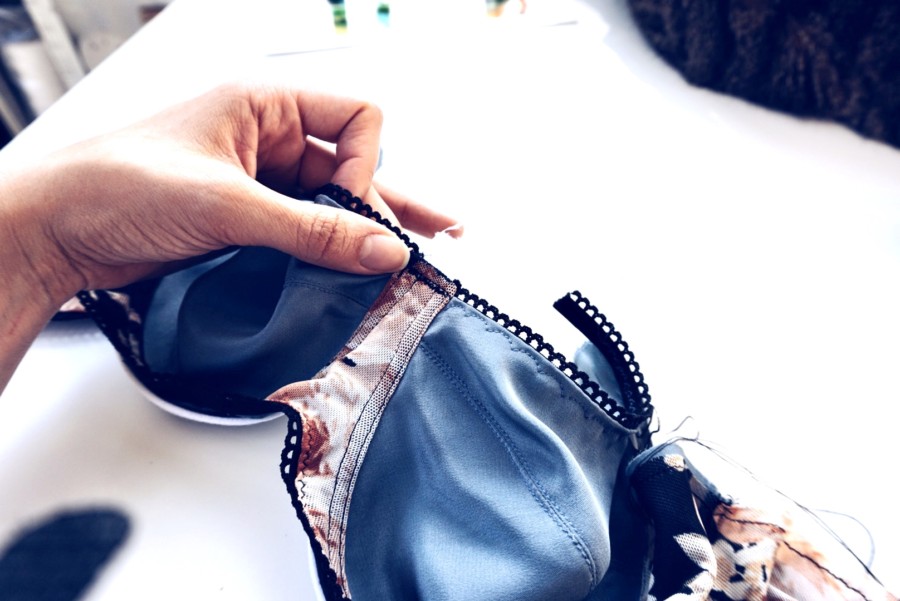
Step 3: Attach the Underwire Channeling to the Cup Seam
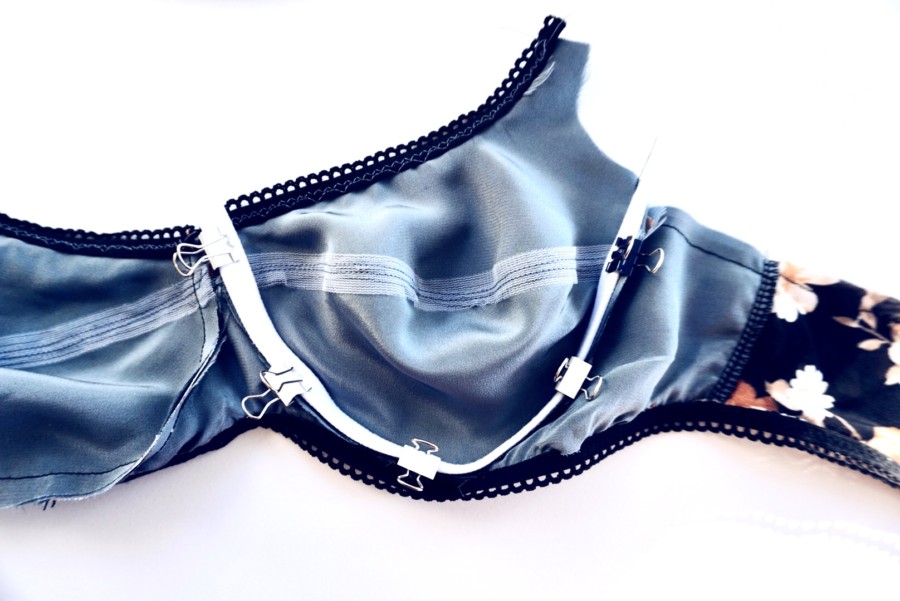
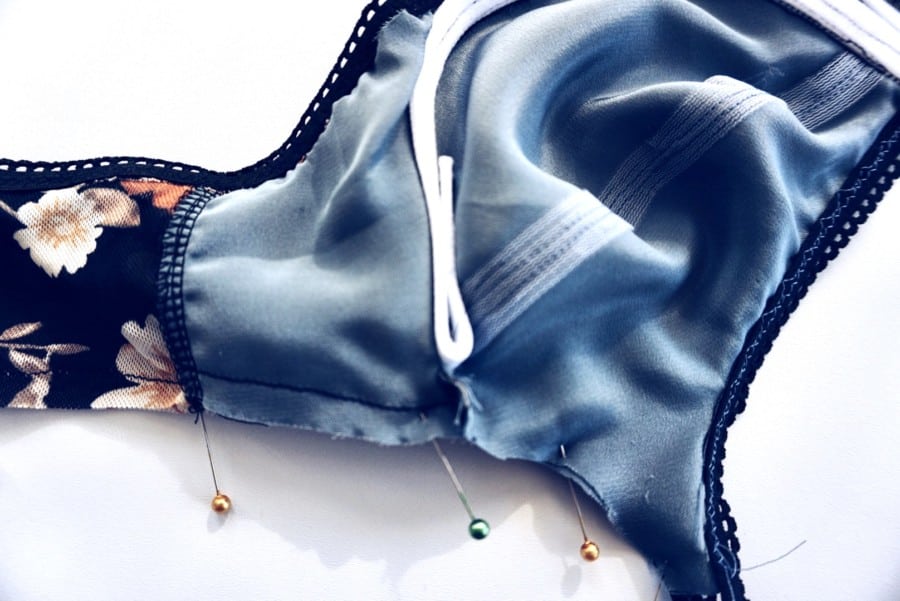
At this point, your cups should be sewn to the bra band. Working with one bra cup at a time locate the interior cup seam. This is where the bra cup is attached to the bra band. Place your channeling on top making sure the edge of one side lines up with the cup seam. You can use pins or mini binder clips to hold the channeling to the bra. Be sure that your channeling is long enough to have some excess on each end. You will adjust this later.
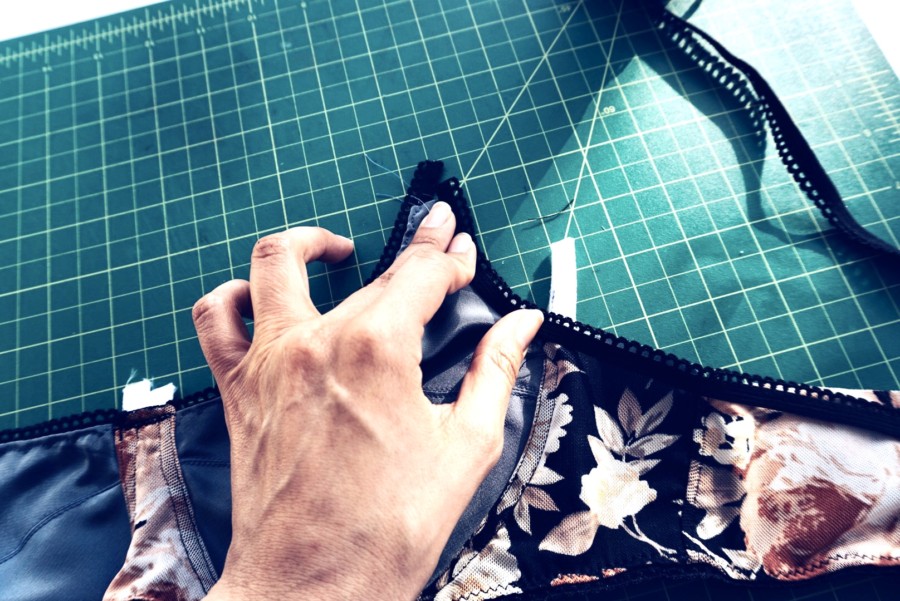
Step 4: Sew your Underwire Channeling to your Cup Seam
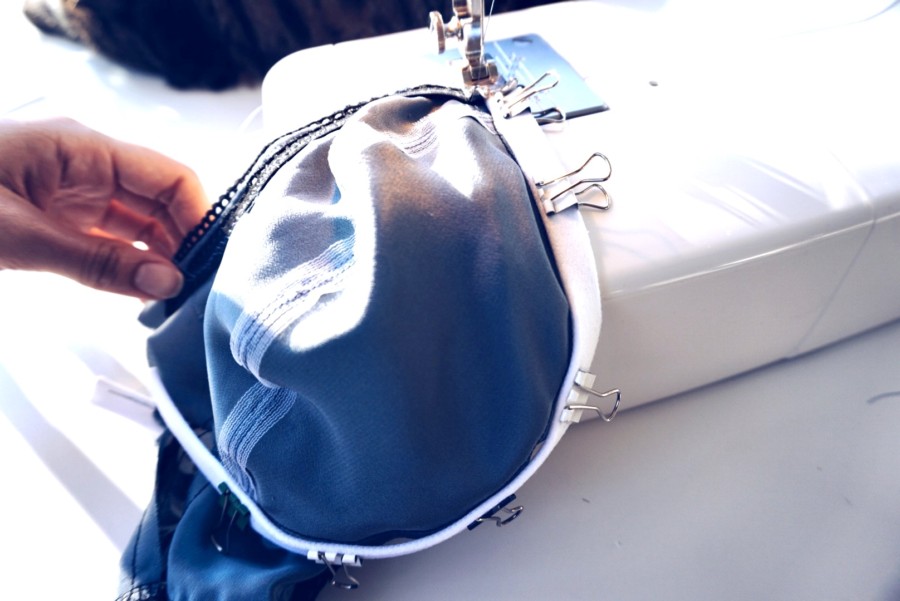
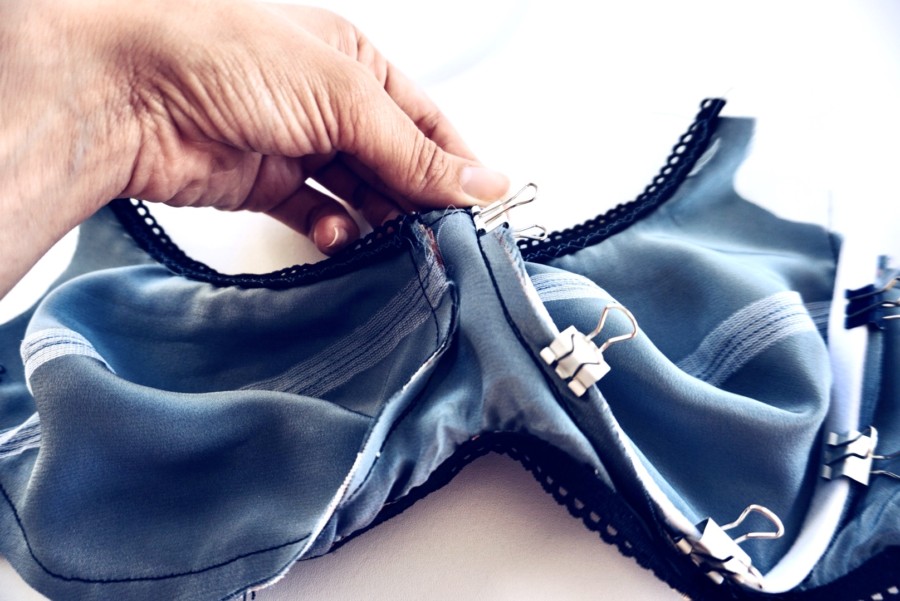
Using pins, mini binder clips or by free hand, sew your channeling directly on the same stitch as your cup seam using a straight stitch. Begin stitching at the center front where the cup and bridge meet. Be sure that you are only sewing the channeling to the seam and not to the bra band. Go slow and visually inspect that the edge of your channeling adjacent to the cup stays right on the seam line. Keep sewing directly on this seam line but finish about ½” before you get to the underarm. Be sure to secure the end of the stitch with a reverse stitch.
Some excess channeling should be extending beyond the bra cup. You will trim this after you insert your underwire and secure the channeling to the bra.
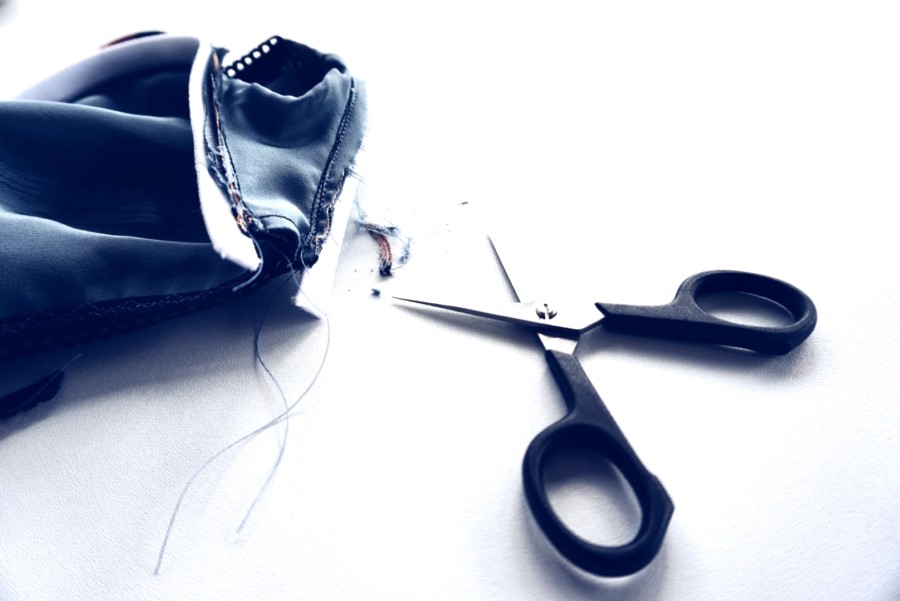
Trim the excess seam allowance from the cup and band that are underneath the channeling to reduce bulk.
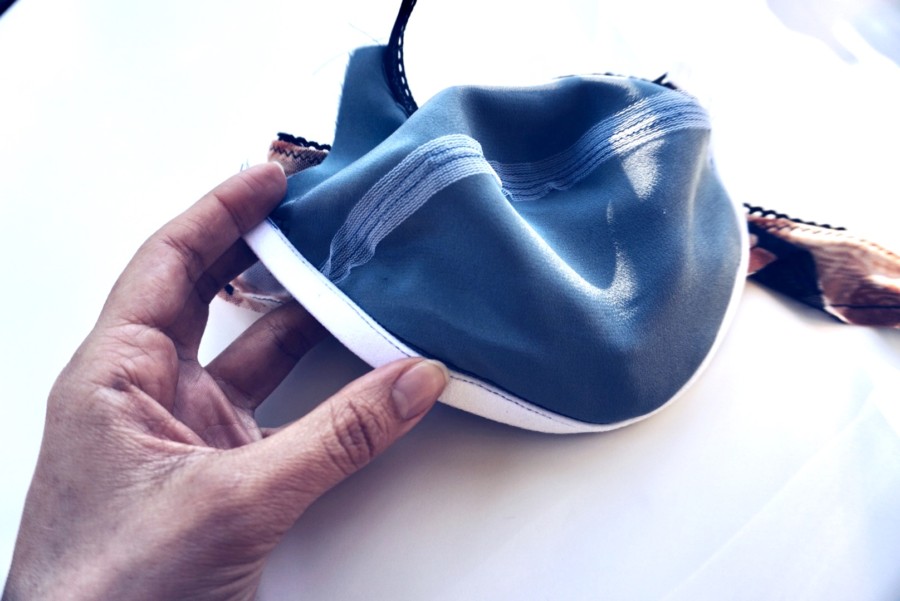
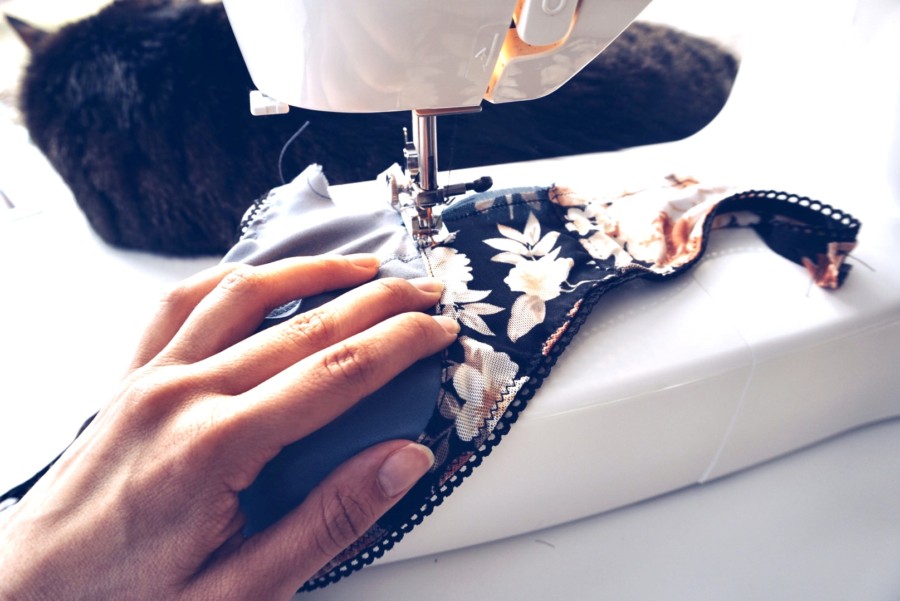
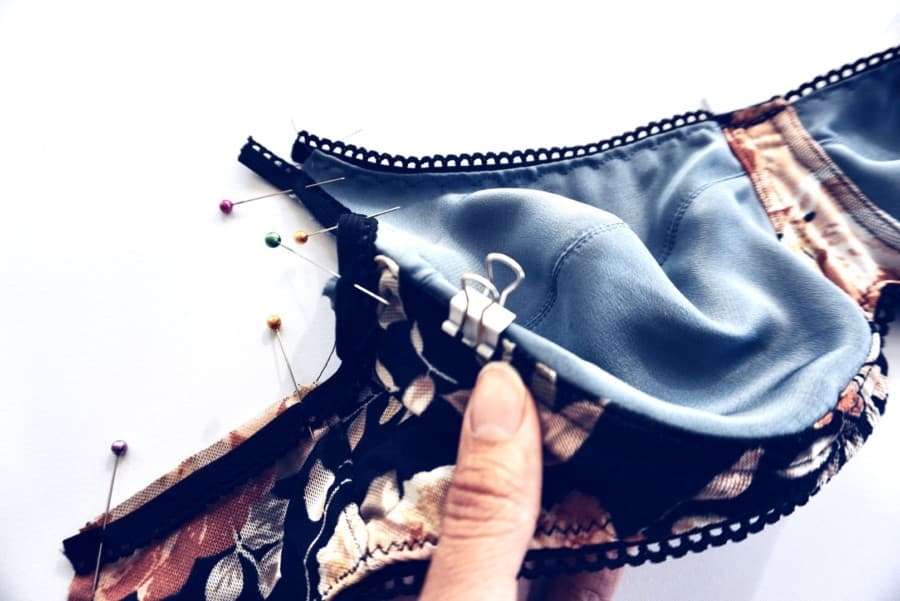
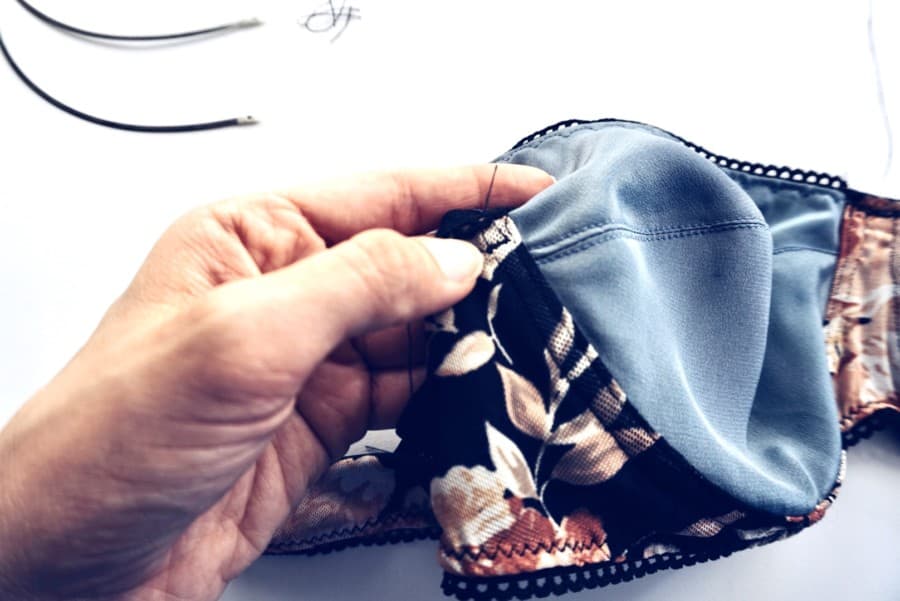
Step 5: Topstitch your Channeling to the Cup and Band
Fold your channeling and any seam allowance below it toward the bra band. If any fabric from the seam allowance is popping out be sure to trim it. You can use your embroidery scissor for a precise trim.
Flip your bra over to the front side while still holding your channeling down. Begin near the underarm. Using a straight stitch, position your bra underneath your presser foot so that your needle is about ⅛” to the left of the cup seam. Stitch slowly and carefully while making sure the channeling is still caught by the stitch. You will not be able to see that channeling while topstitching, therefore it is important to go slow and check visually and by touch that it is still on the correct path.
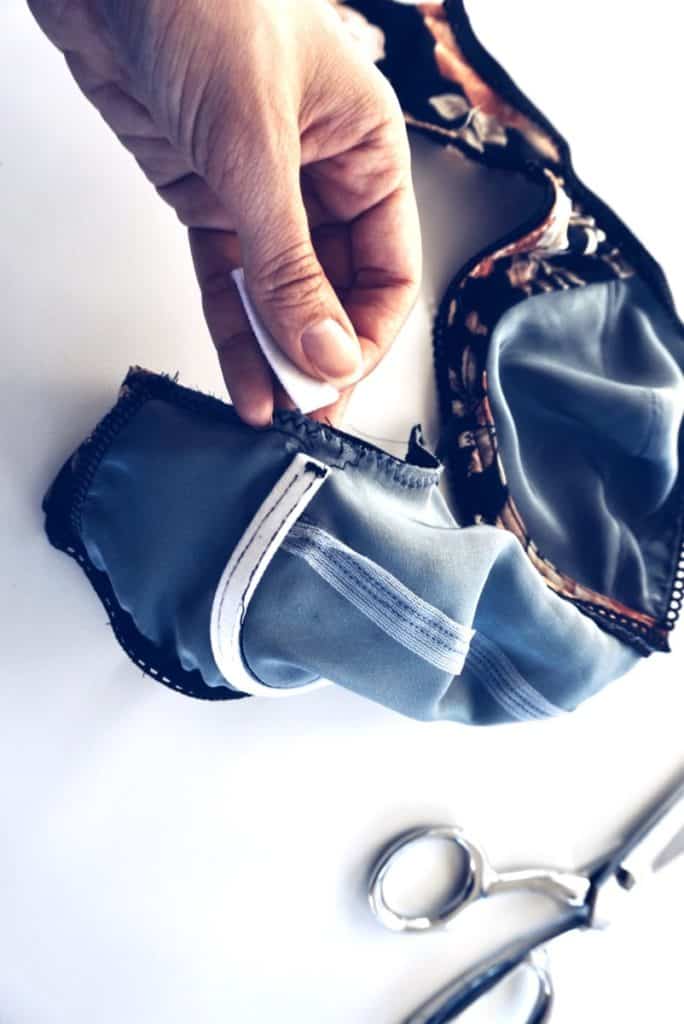
Next, sew a second line of topstitching an 1/4” below the first one. This will secure the bottom portion of the underwire channeling to the band. Begin at the underarm about ½” away from the channel opening. Using a straight stitch, begin topstitching while making sure that the bottom of the channeling is being stitched to the bra band.
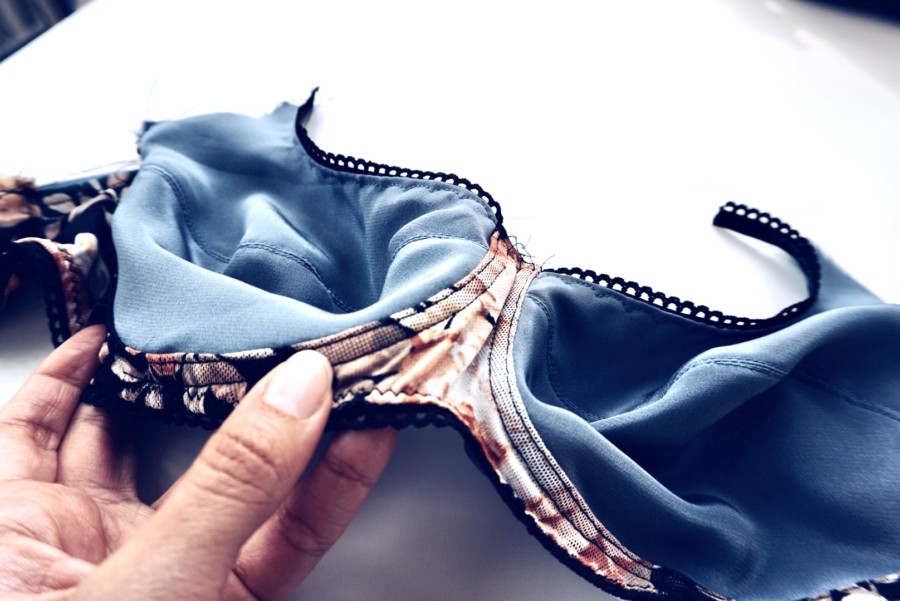
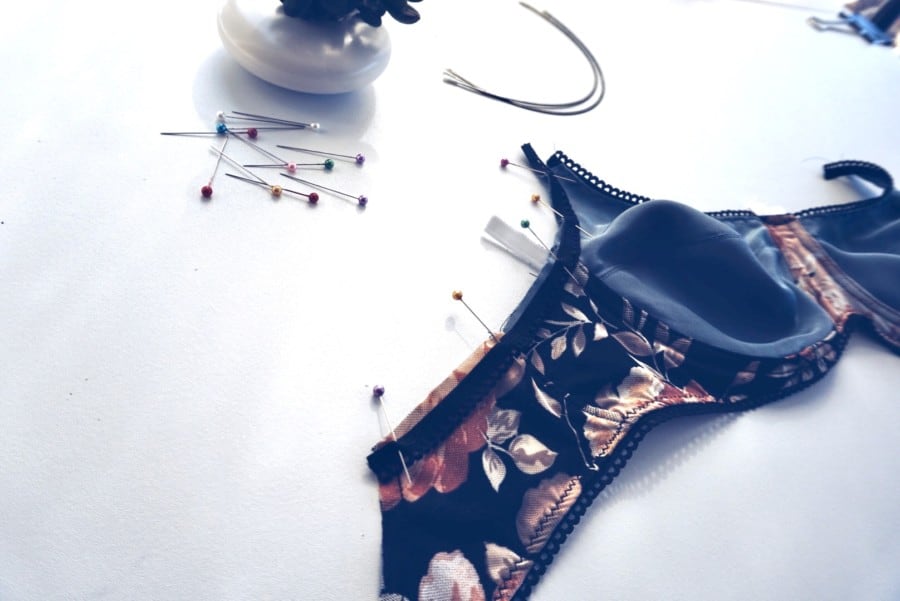
Step 6: Secure the Front Underwire Channeling
Close the underwire channeling that is located in the front where the cup and bridge meet. Secure the closure using a narrow zigzag stitch or bartack. Be sure to only sew along the seam line of the bridge so that you do not have two stitch lines.
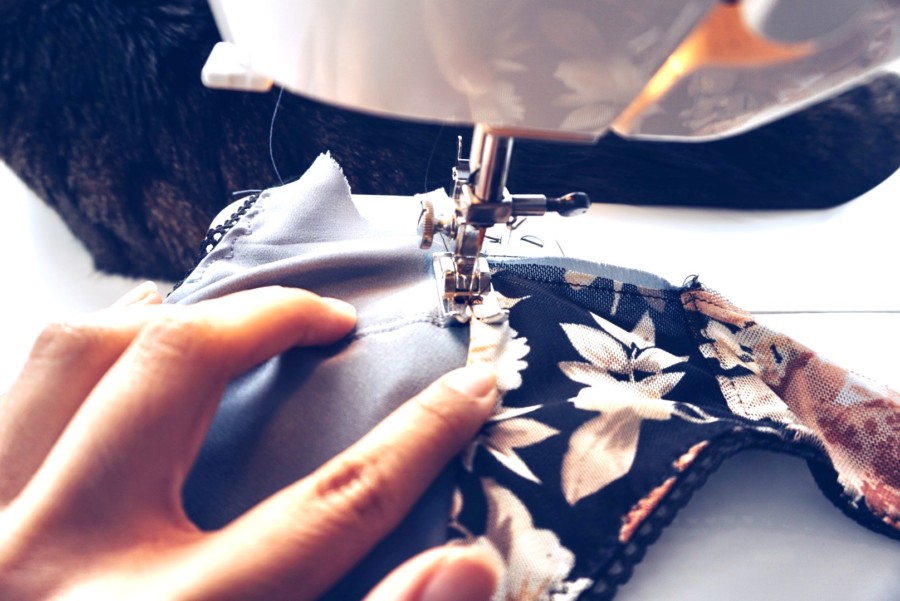
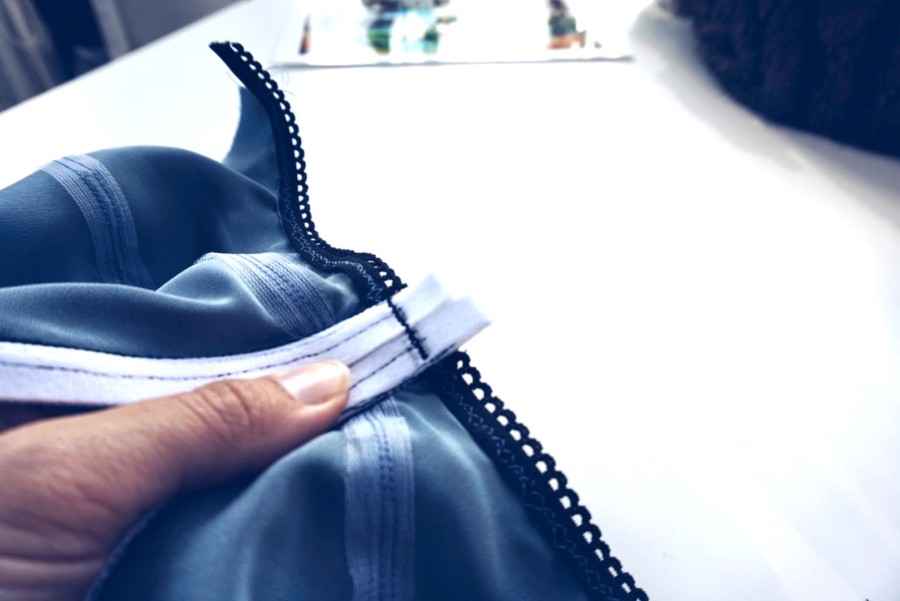
Step 7: Sew the Underarm Elastic
In this example, we are using picot elastic. Using a zigzag or 3-step zigzag stitch, we are going to sew the elastic to the underarm with the scallop edge on the right side and pointed toward the fabric. As you near your channeling, lift it and move it out of the way. You do not want to sew it down.
I use a mini binder clip to move the channeling out of the way. I clip the channeling down from the outside so I don’t unnecessarily pinch or distort any of the fabric. I remove it as I am nearing the needle while sewing on the elastic.

Trim any excess fabric seam allowance from under your underarm elastic.
Step 8: Insert the Underwire – Optional
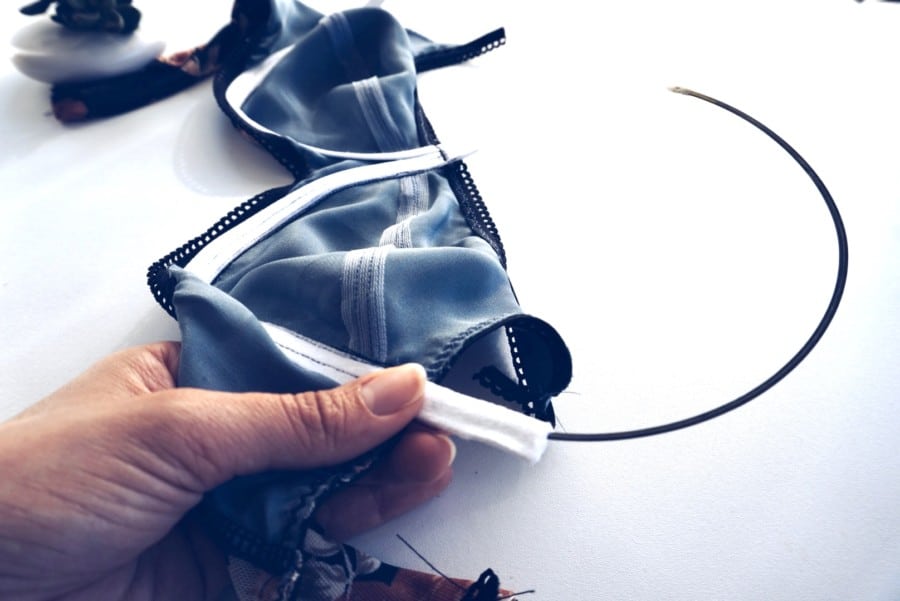
If you are inserting underwire, you can do that now. Be sure to insert the underwire from the underarm opening to the front of the bra. Make sure to feel that the underwire has made it all the way to the front and it is tight and secure.
Double check that you are inserting your underwire in the right direction depending on your type of underwire.
If you want to learn more about bra underwire including how to measure yourself for the correct underwire size, the types of underwire available and where to purchase underwire take a look at my article: How to Find Your Underwire Size.
Step 9: Secure the Underwire and Close the Channeling

Close the channeling off at the underarm just above the underwire with a sturdy bartack. You want to make sure that the underwire will stay in place. Trim the excess channeling on both ends up to the bartack.
Step 10: Finish the Underarm Elastic
Fold your picot elastic so that the scallop edge is now pointing away from the bra and zigzag stitch. This should encase the raw edge of your underwire channeling and add extra strength to your bra.
Tips & Tricks
How can you prevent the underwire from popping out of the channeling and poking you?
You can prevent your underwire from popping out of the channeling by making sure your channeling is long enough to fit your underwire. Also use a high quality heavy duty channeling such as a 100% nylon plush underwire channeling.
Do you have to add underwire channeling if you do not plan on adding underwire?
You do not have to add underwire channeling if you do not plan on adding underwire but you will likely want to finish the seam so that you don’t have a raw edge. It is best practice to use channeling regardless of your use of an underwire. The underwire channeling provides structure and strength to your bra that will increase the longevity.
If you still opt not to add underwire channeling you can serge the seam or use bias tape to encase it.
How to Make Your Own Underwire Channeling
You can make your own underwire channeling the same way you would make bias tape. Just be sure to use a sturdy 100% nylon fabric that doesn’t stretch but can conform to a curve. Underwire channeling is essentially like a spaghetti strap so you would use the same method. Be sure to make your underwire channeling at a finished ⅜” width.
Where to Buy Underwire Channeling
There are several online retailers that sell underwire channeling especially on Etsy. You will typically find a standard width of ⅜” in white, black or tan. Check out my Recommended Notions page for where to buy Underwire Channeling.
Conclusion
Underwire Channeling is an important component to any bra. I hope that you will be able to use this tutorial to further your bra-making skills and make many beautiful and well-structured bras whether they require underwire or not.
Happy bra-making!
