Have you seen beautiful silky pillowcases claiming to promote better sleep, less hair damage and prevent wrinkles? Or maybe they have caught your eye because they are so luxurious and comforting. Either way, now you can learn how to sew a pillowcase so you can have your very own silky pillowcase.
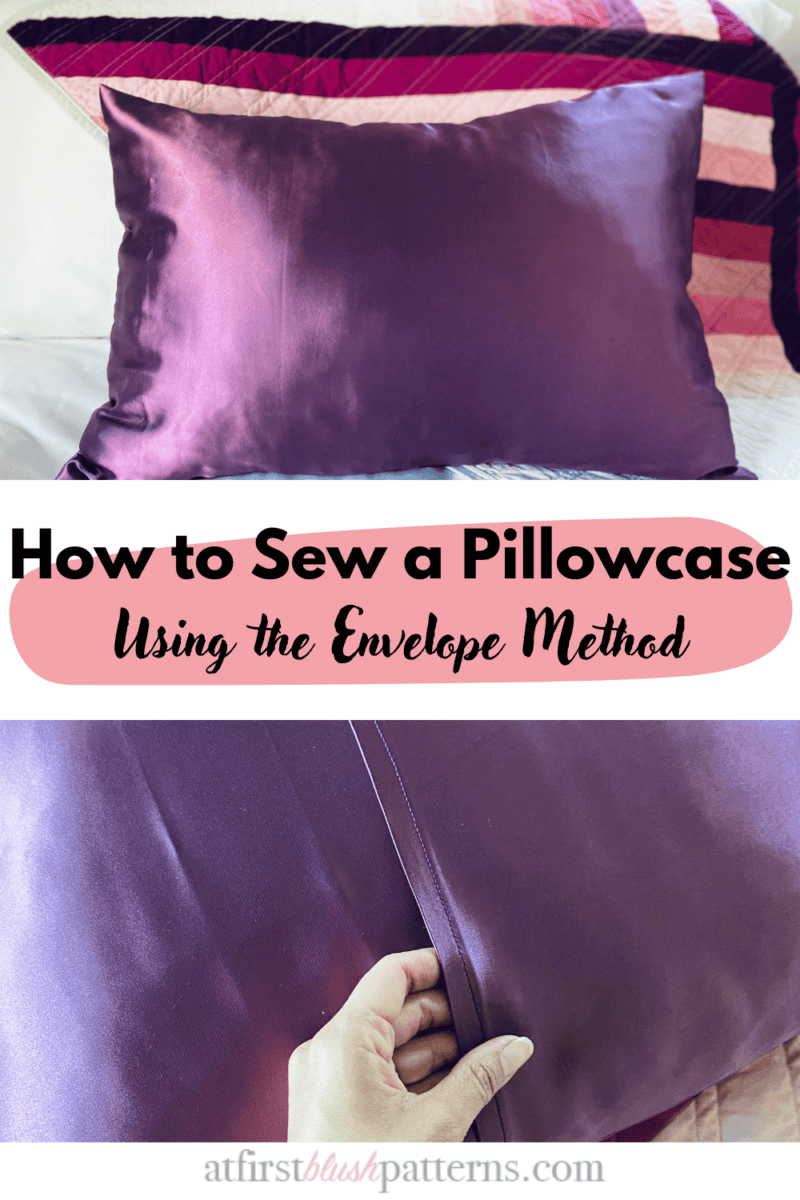
In this tutorial, I am going to show you how to sew a pillowcase using the envelope method. The envelope method is used to make sure you keep the pillow snugly in place by creating an opening in the back similar to an envelope rather than inserting the pillow through the side.
This post contains affiliate links. When you click and make a purchase from these links, we might get a commission. It doesn’t cost you anything extra!
How to Sew a Pillowcase
We are focusing on silky fabrics for this tutorial because it has a relaxing and luxurious feel. Some believe there are added benefits to silk or even satin pillowcases including less friction for your hair, reduced wrinkles and acne and hypoallergenic. I’m not sure how accurate this is but I do enjoy sleeping on a silky pillowcase especially during the warmer months.
Want to learn more about Silky Fabrics? Check out this article: How to Sew Silk Fabric
Preparing Your Fabric
Wash your fabric before you start your project then hang dry. Be sure to look at the specific washing instructions for your specific fabric. Never put silky fabrics in the dryer.
Supplies Needed
- 1 Yard of silky fabric (Satin)
- Thread (matching is ideal)
- Pinking shears (Standard fabric shears are fine but the fabric will start to come a part)
- Measuring tape
- Long Ruler
- Tailor’s chalk/pencil
- Pins
- Iron and Ironing board
Measuring Your Pillow and Fabric
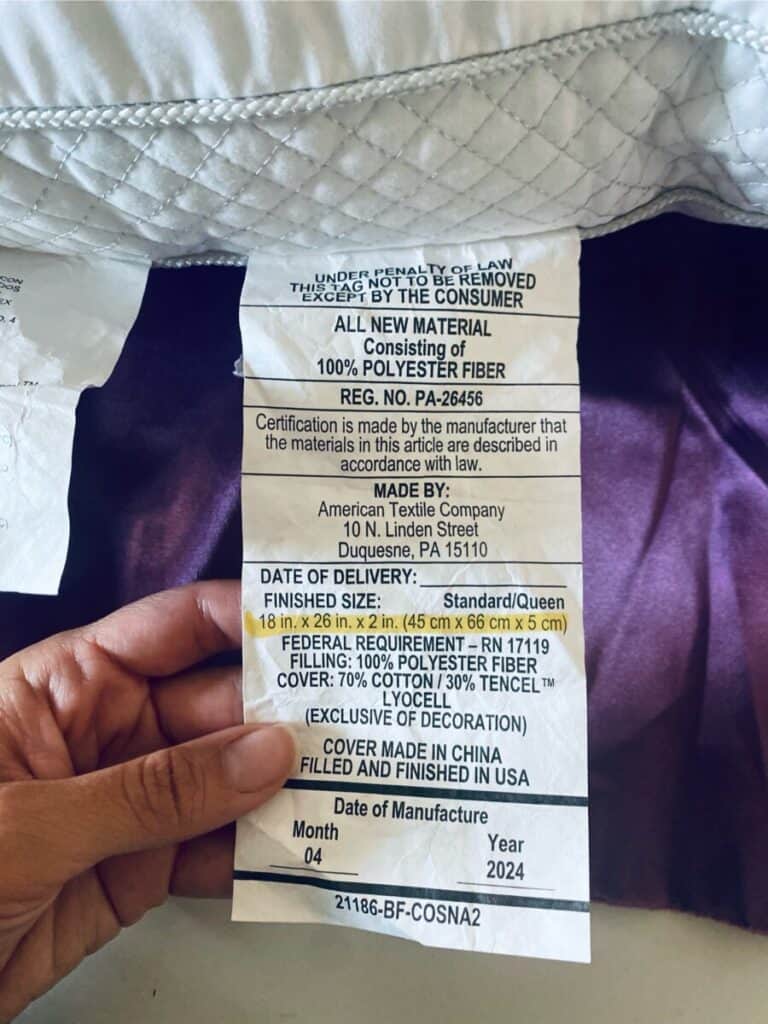
I am using a Standard/Queen size pillow. I found the measurements for my pillow on the tag. (See photo). You can also measure your pillow using measuring tape. You will want to measure seam to seam following the curve. You can also measure an existing pillowcase.
Standard/Queen measurements: 18” L x 26” W x 2” H
May pillow has a height of 2” and two seams around the perimeter so I added 2” to the length and width for each piece to account for that. I want to make sure the pillow isn’t too snug so the seams do not pucker.
Pillowcase fabric measurements:
- Front 1: 20” x 28”
- Back 1: 20” x 18”
- Back 2: 20” x 18”
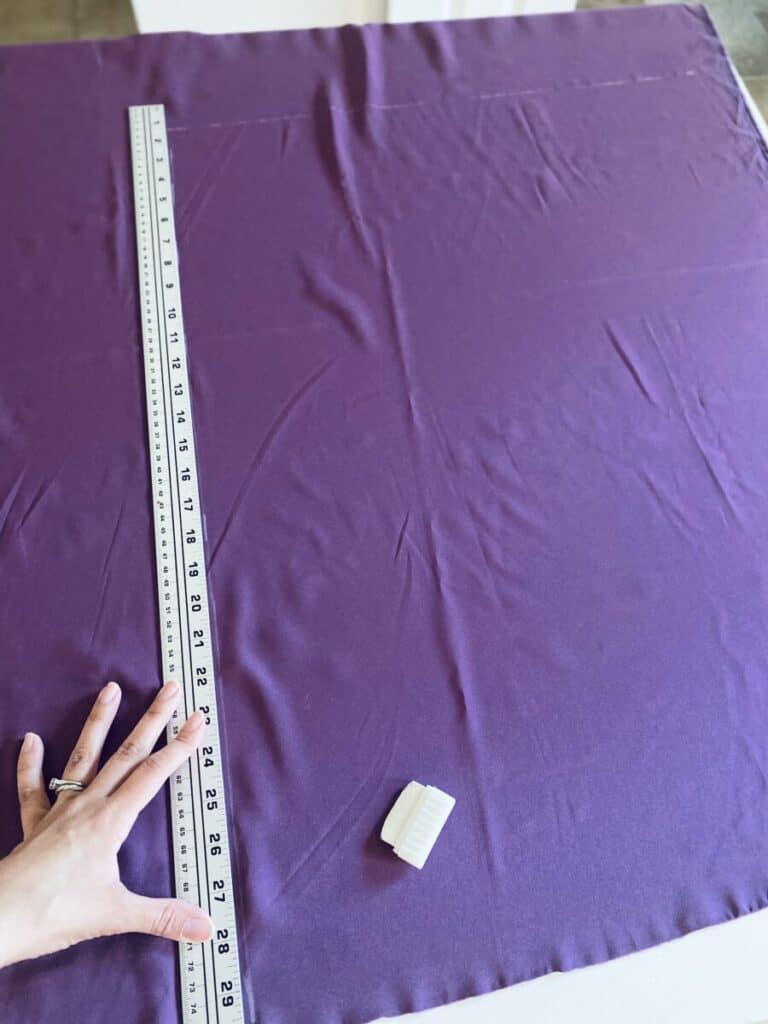
Cutting Out Your Fabric
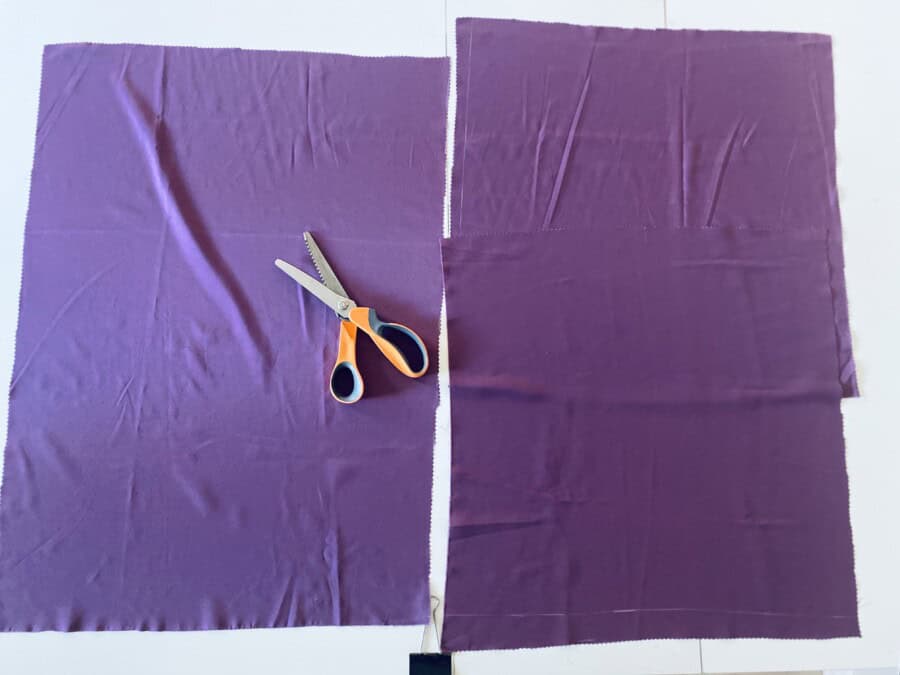
Press your fabric on the wrong side. Using your long ruler measure out your pillowcase measurements. Mark with your chalk or pencil then cut your with your pinking shears.
How to Sew a Pillowcase
Need extra guidance on sewing silky fabric read this article here.
Step 1: Sew the hem of your back pieces
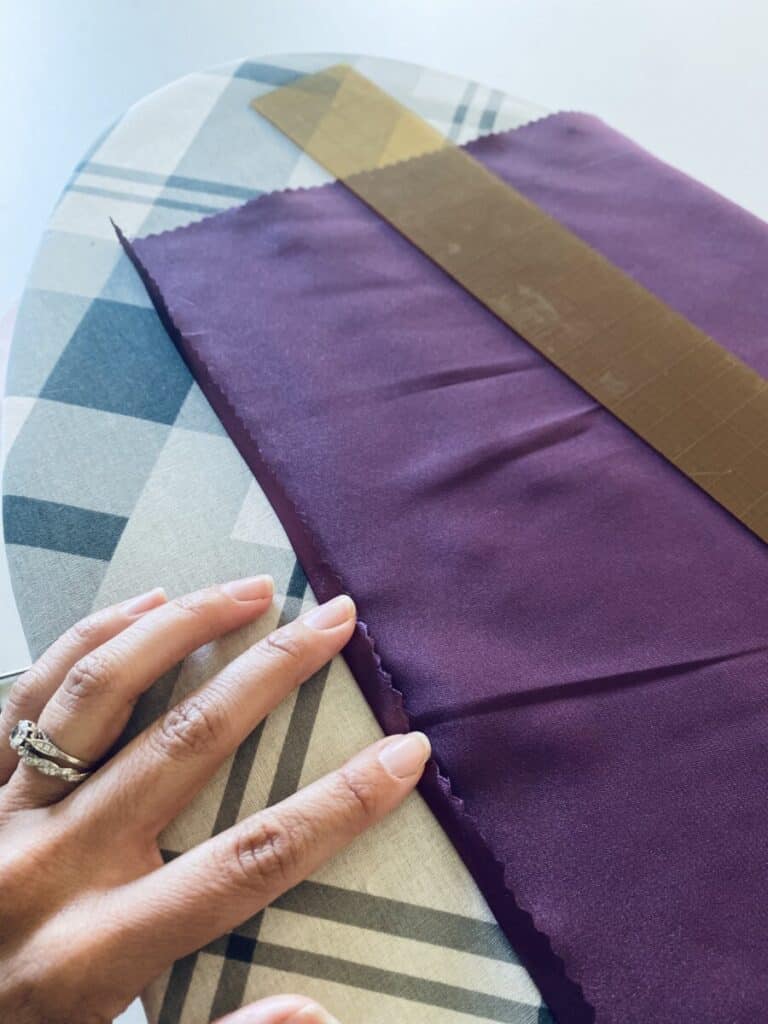
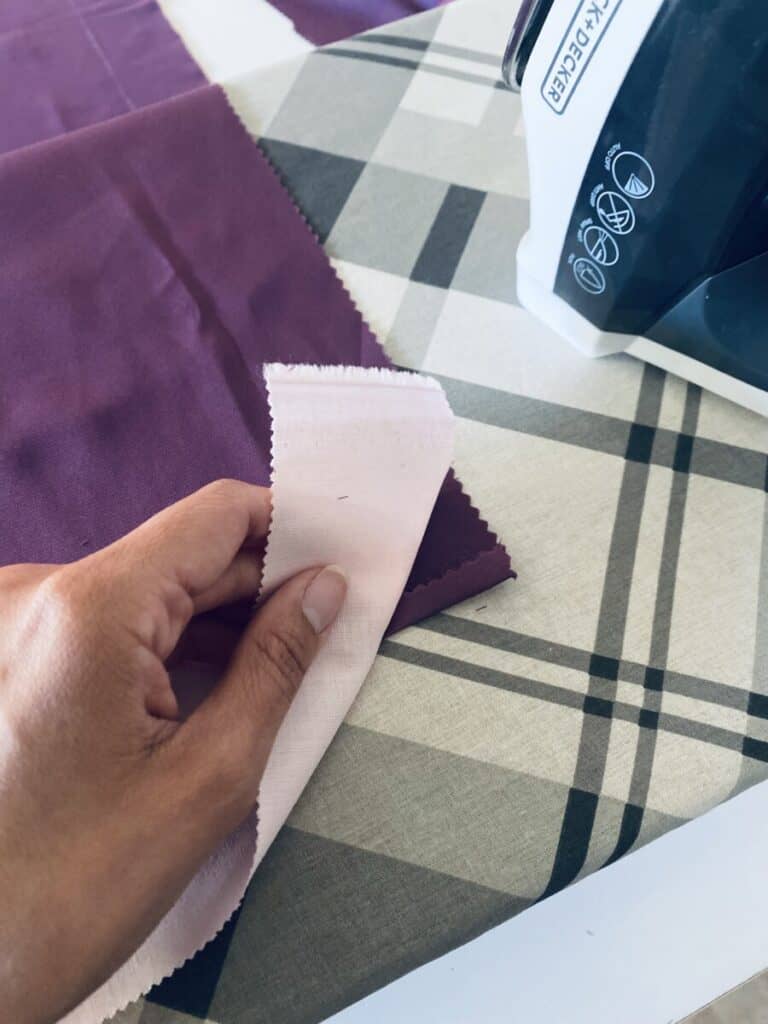
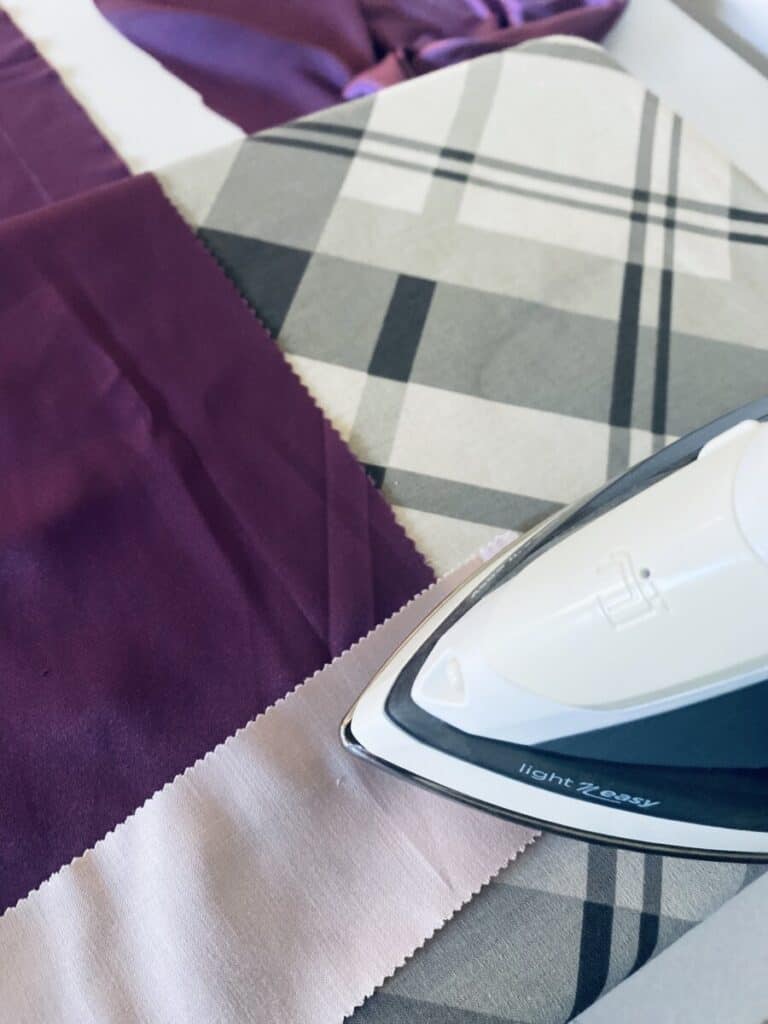
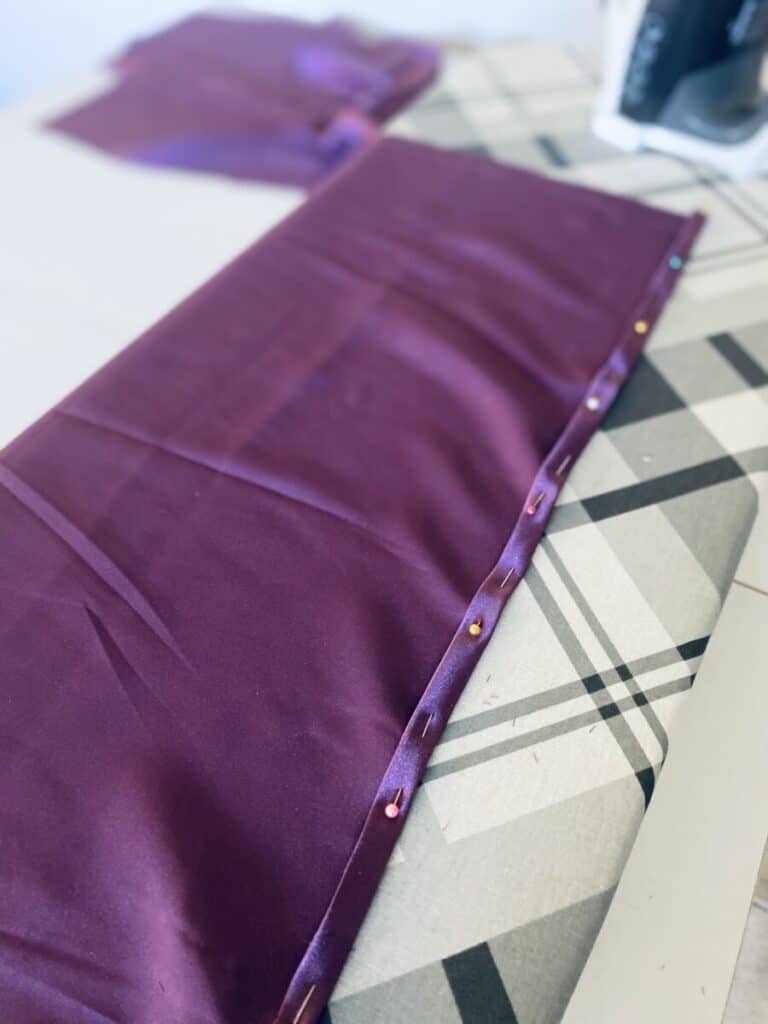
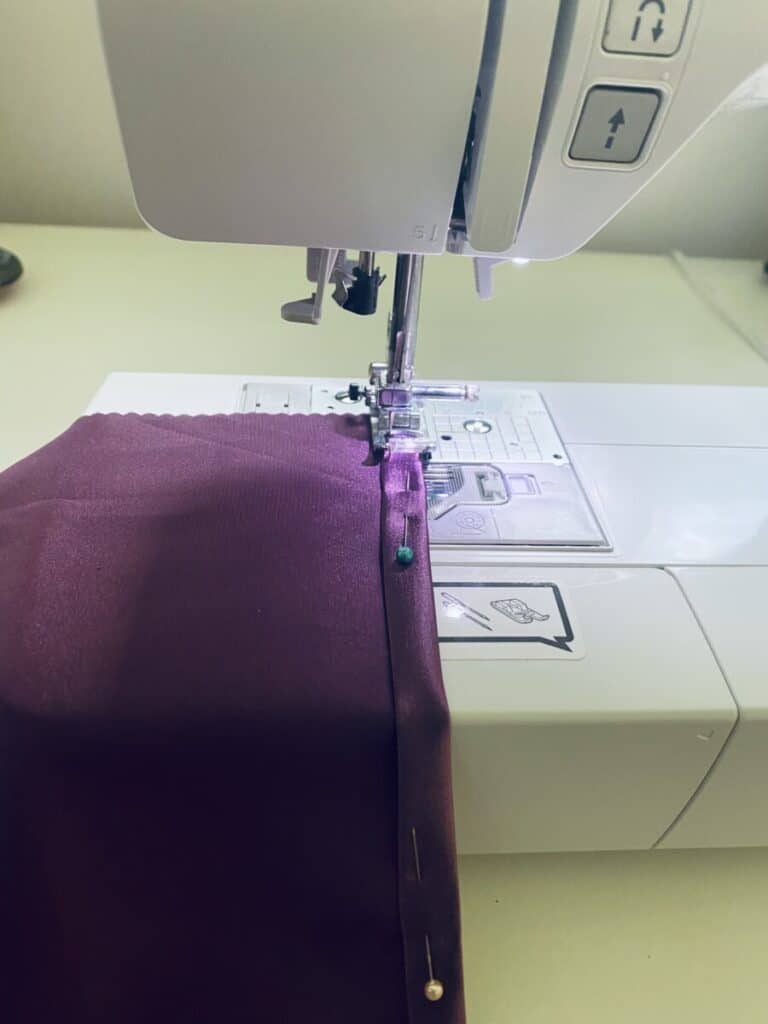
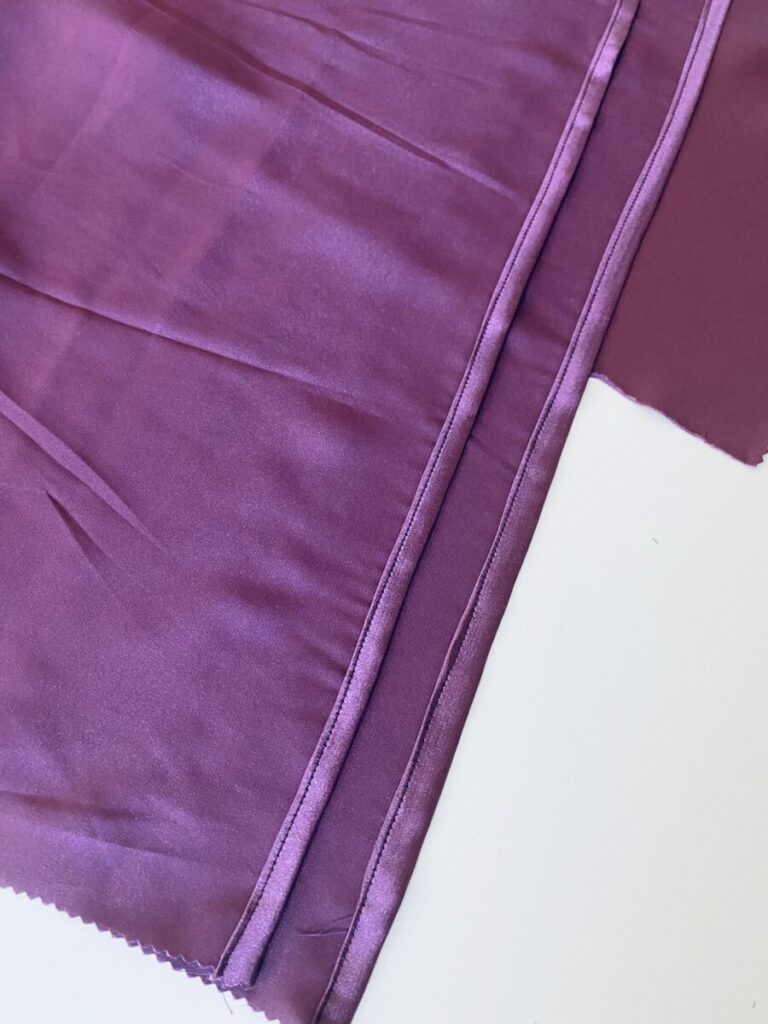
With the wrong side facing up, fold the short side of your back fabric panel 1/4” then press. Repeat with one more 1/4” fold to enclose the raw edge. Press then sew across the hem at about 1/8”-1/4″. Since we are using silky fabric do not press directly on the right side of the fabric. Use a piece of muslin or other thin scrap fabric to place on top then press.
Repeat this step with the other back fabric panel.
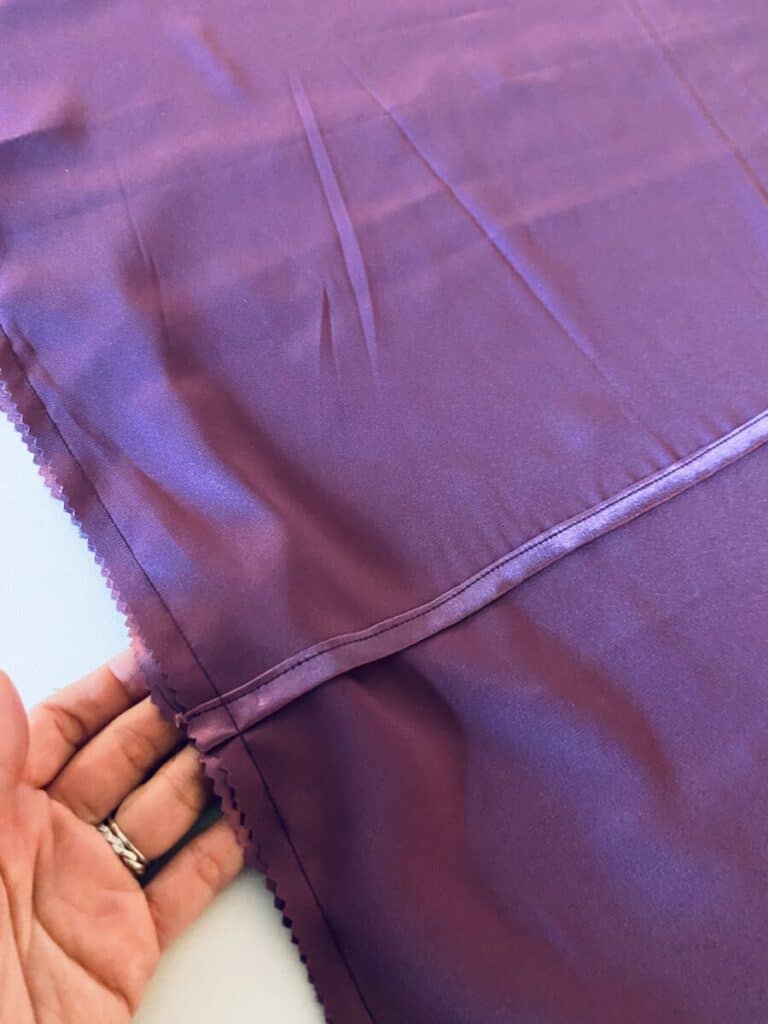
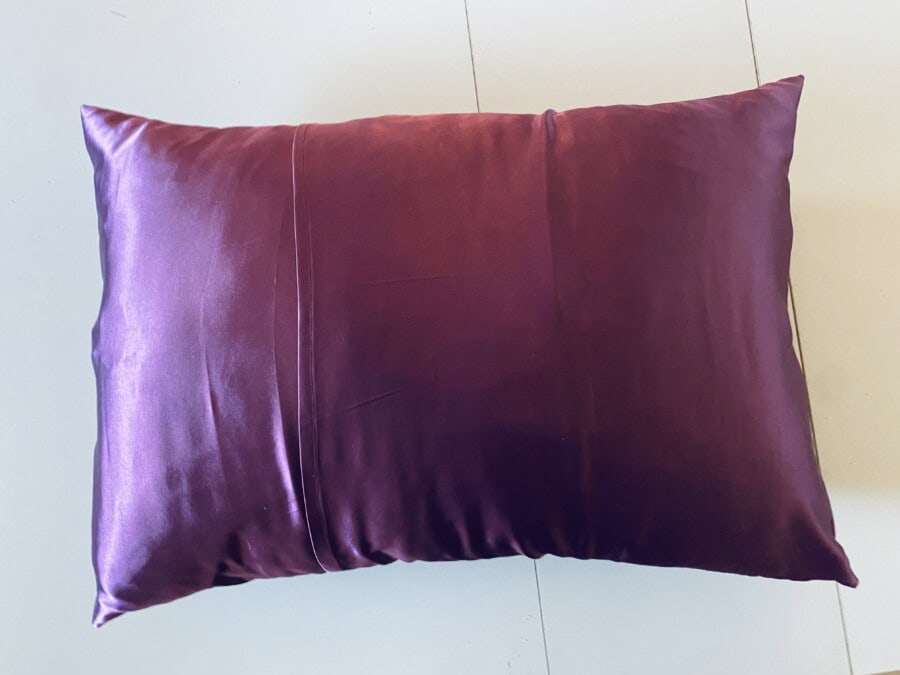
Step 2: Sew the front panel and back panels together
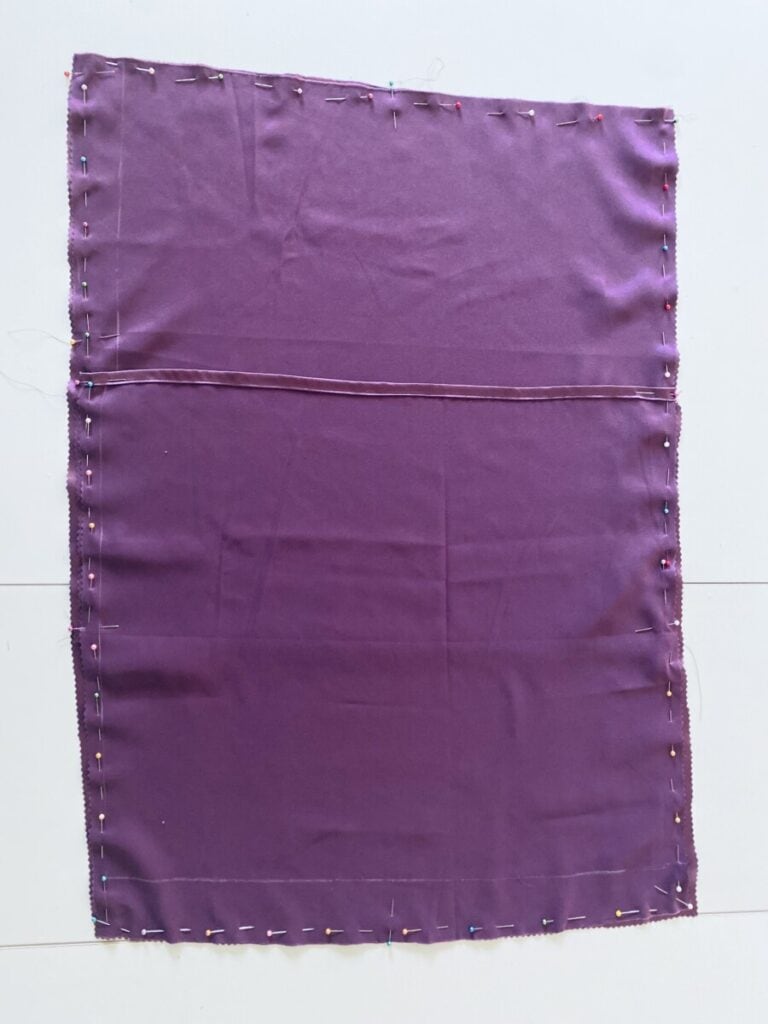

Lay your front panel down with the right side facing you. Place one back panel on top with the wrong side facing you. Pin to the front panel. Take your second panel and place that on the other end of the front panel overlapping the other back panel with the wrong side facing you. Pin together making sure to secure the envelope opening very well so they do not slide during sewing.
Sew around the perimeter of the pillowcase.
Step 3: Finishing touches
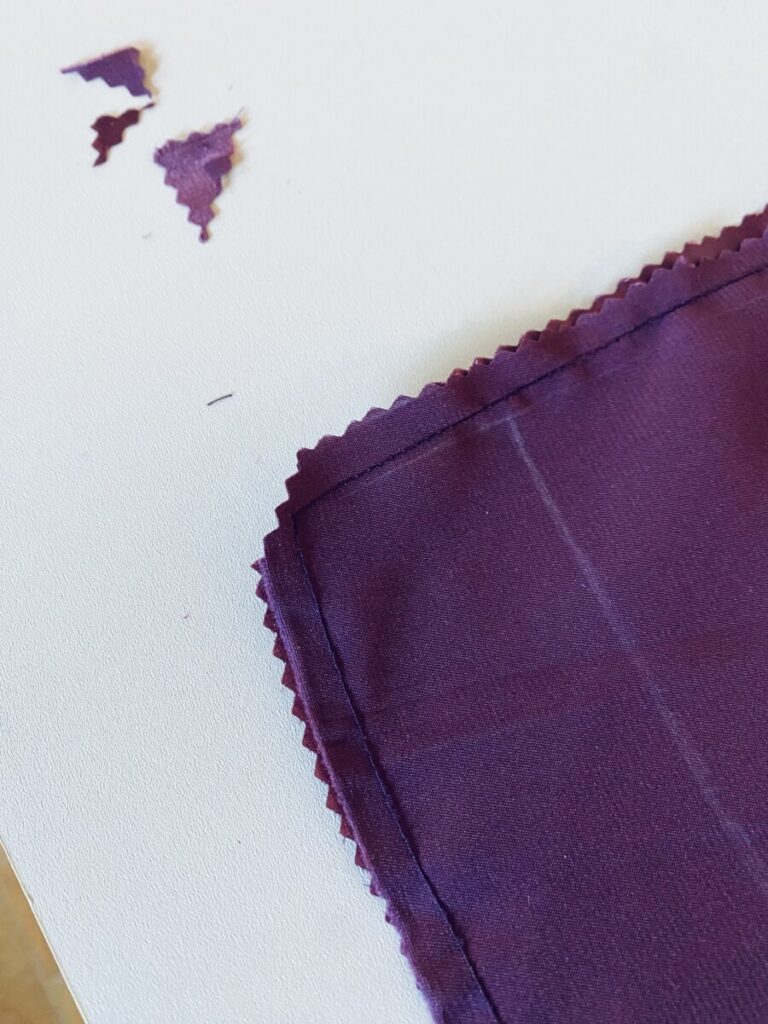
Trim the edges of the pillowcase with pinking shears. Reverse the pillowcase and poke out the corners. You can use a bone folder or other soft pointed tool. If you want to press your silky new pillowcase make sure to do so on by turning it inside out and sewing the wrong side.
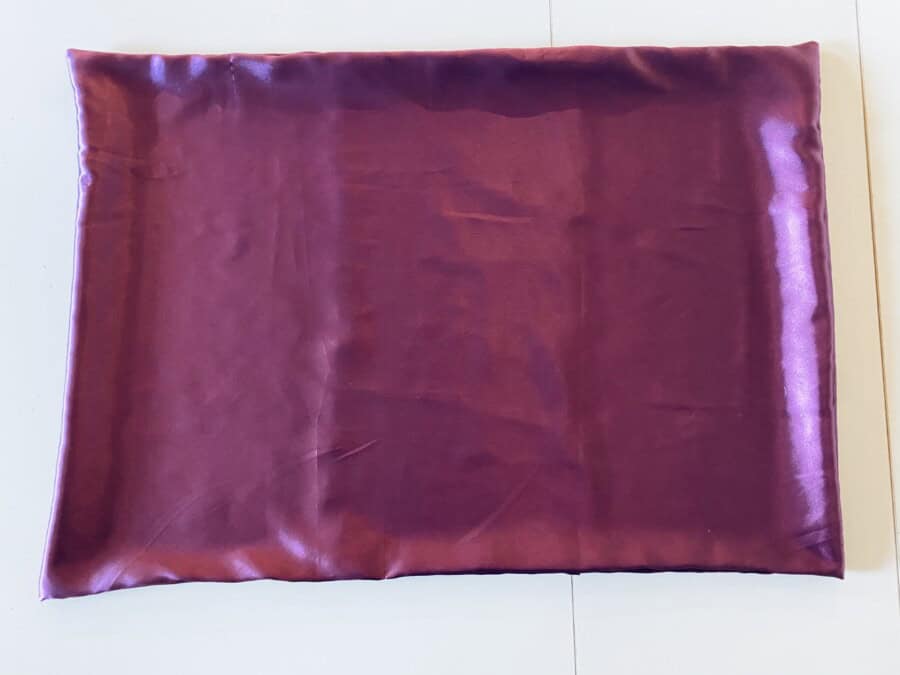
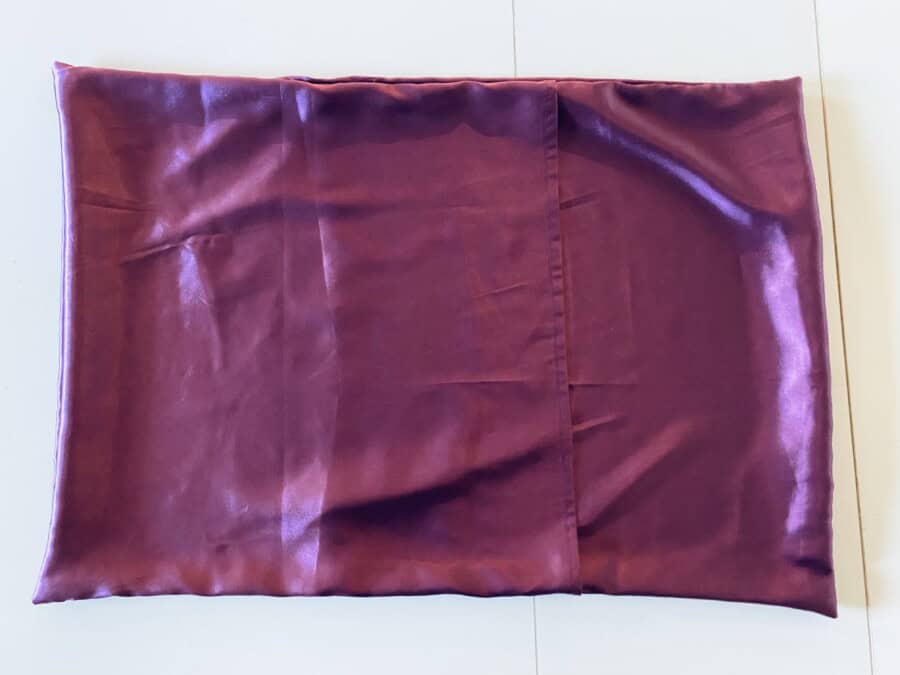
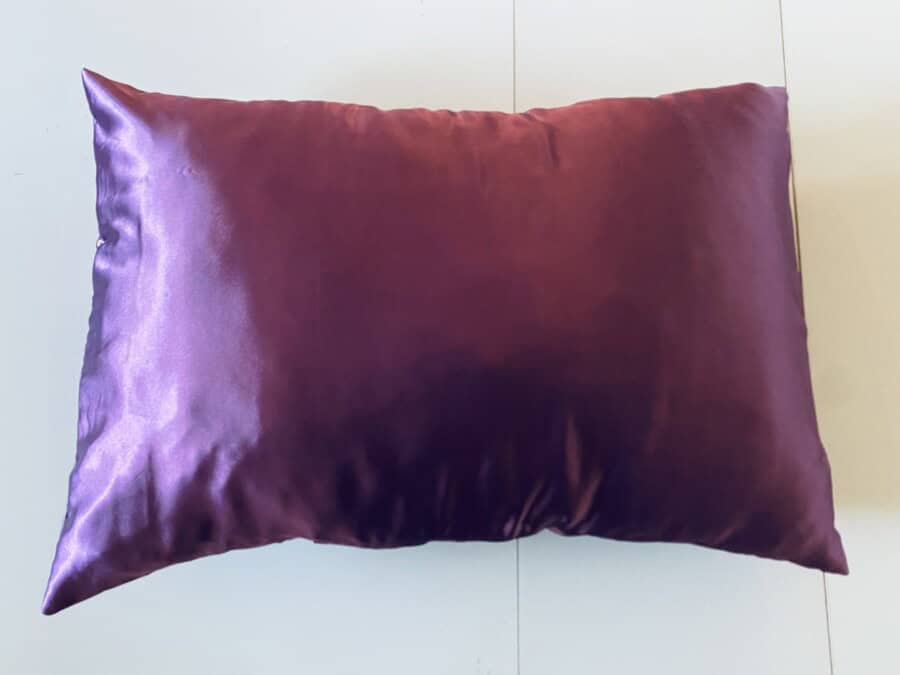
Insert your pillow and you’re done! 🙂
Now you know how to sew a pillowcase and its super easy!
More DIY Articles:
DIY Underwear Tutorial | Free Pattern | Be Bashful Bikini
How to Make Underwear Out of a T-Shirt
Pin for Later